Shaping Lips with Concealer: Guide for Women Over 40

TL;DR:
- Shaping lips with concealer creates a natural, fuller appearance without fillers or surgery. This technique involves erasing the natural lip border with matte concealer, then adding shadows and highlights to enhance shape and lift. Proper blending and lip liner help maintain a long-lasting, realistic result, especially on mature skin.
Shaping lips with concealer is a professional makeup technique that uses light and shadow to create the illusion of fuller, more defined lips without filler or surgery. The method works by erasing your natural lip border with a matte concealer, then rebuilding the shape exactly where you want it. For women over 40 in Australia and Europe, this technique is especially valuable because lips naturally lose volume and definition with age. Makeup industry standards recommend matte concealer and blurred edges over sharp lines for results that look genuinely natural. Lumeracosmetica’s approach to lip enhancement is built on this same principle: subtle, blended, and flattering for mature skin.
What tools and concealer types do you need?
The right products make or break this technique. A thick, matte-finish concealer is the professional standard for erasing natural lip contour, redness, and uneven pigmentation. Creamy or dewy formulas slide too much and break down faster, so matte is non-negotiable here.
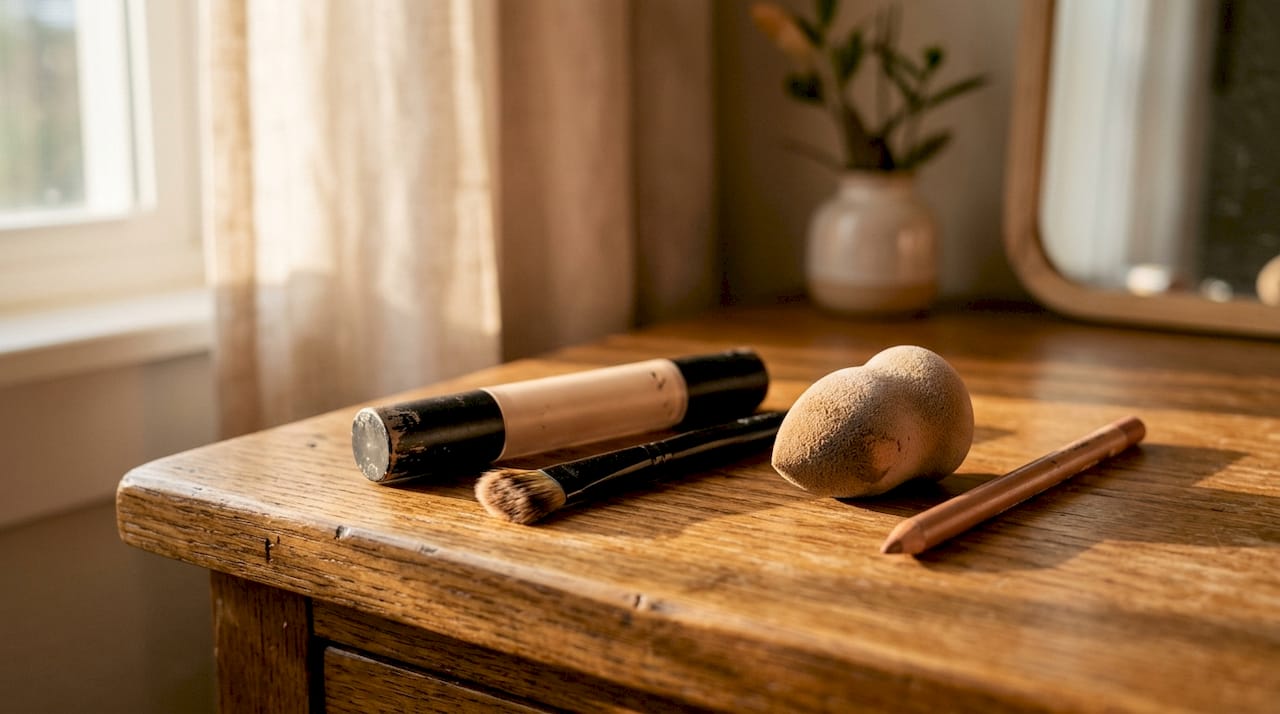
Shade selection matters more than most people realize. You need two concealers: one that matches your skin tone exactly, and one that is one to two shades darker. The skin-tone match erases and resets your lip border. The darker shade creates shadow below the lower lip to add depth and lift.
| Product | Purpose |
|---|---|
| Matte concealer (skin-tone match) | Erases natural lip border and neutralizes pigmentation |
| Matte concealer (one shade darker) | Creates shadow effect for depth and lift |
| Angled brush | Applies concealer with control along lip edges |
| Blending sponge | Diffuses edges for a natural, blurred finish |
| Lip liner (close to natural lip color) | Rebuilds and locks in the new lip shape |
| Hydrating lip balm | Preps lips before application to prevent cakey texture |
You also need a fine angled brush for controlled placement, a damp blending sponge for diffusing edges, and a lip liner in a shade close to your natural lip color. Avoid overly dark liners. Correct shade choice prevents harshness and an unnatural appearance.
Pro Tip: Warm the concealer between your fingertip and thumb for five seconds before applying. The heat melts the product slightly, helping it blend into the skin rather than sit on top of fine lines.
How do you shape lips with concealer step by step?
This is the core of the technique. Follow each step in order, and blend as you go rather than waiting until the end.
-
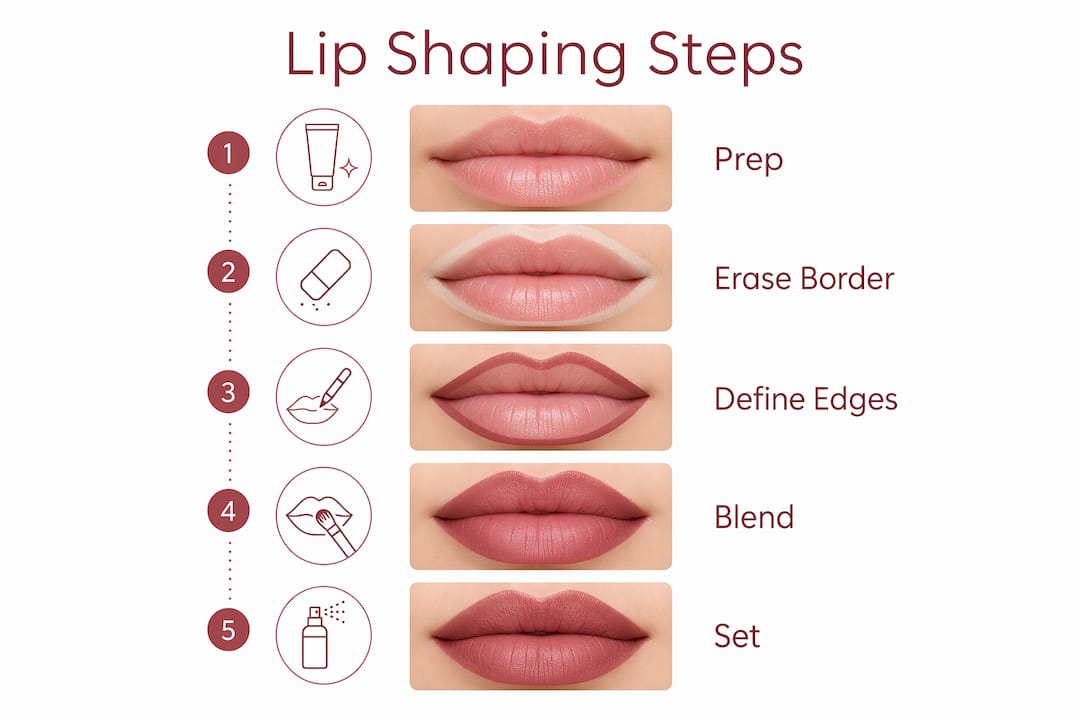
Prep your lips. Exfoliate and apply a hydrating balm before any makeup. This prevents concealer from settling into dry creases, which is a common problem on mature lips. Let the balm absorb for two minutes, then blot off any excess.
-
Erase your natural border. Using your angled brush, apply the skin-tone concealer along the outer edge of your lips. Work just outside your natural lip line to neutralize the border. This gives you a clean canvas to draw a new shape.
-
Create shadow below the lower lip. Take the darker concealer and draw an ascending line from each lip corner upward, staying 5–7mm below the lower lip. This shadow creates the illusion that the lower lip projects forward, giving a lifted, fuller appearance.
-
Blend every edge. Use a damp blending sponge to diffuse all concealer edges. Modern makeup artists advise blurred, diffused edges rather than sharp, ruler-straight lines. Blurred edges mimic natural lip shadows and look far more convincing on mature skin.
-
Highlight the Cupid’s bow. Apply a tiny amount of your lightest concealer or a cream highlighter to the peaks of the Cupid’s bow. Highlighting the Cupid’s bow lifts and volumizes the upper lip and guides where your lip liner should sit.
-
Line and fill with lip liner. Use a liner close to your natural lip color to draw your new lip shape just outside your natural border. Expert Katie Jane Hughes advises mapping your natural lip shadows for realistic fullness rather than overlining indiscriminately. Fill in the entire lip with liner to create a base that holds color longer.
-
Apply lipstick and finish with gloss. Press your lipstick on top of the liner base. For extra volume, apply a small amount of gloss to the center of the lips. Gloss applied to the lip center reflects light and enhances the volume illusion created by the concealer work beneath.
Pro Tip: If you notice concealer building up in fine lines around your mouth, press a dry sponge gently over the area rather than adding more product. More product makes the problem worse, not better.
The table below compares the two most common approaches to lip shaping so you can see where concealer fits.
| Approach | Effect | Best for |
|---|---|---|
| Concealer only | Erases and resets lip border, creates shadow depth | Subtle reshaping and natural finish |
| Lip liner only | Defines and slightly extends lip shape | Quick definition, everyday wear |
| Concealer plus liner | Full reshaping with locked-in color and longevity | Maximum definition and lasting results |
How do you fix common mistakes and make the look last?
Even experienced women run into the same handful of problems with this technique. Knowing what to watch for saves time and product.
-
Harsh lines around the mouth. This happens when concealer is applied too thickly or not blended fast enough. Always blend within 30 seconds of application before the product sets. If a line has already dried, dampen your sponge slightly and press, do not rub, over the edge.
-
Color buildup in fine lines. Mature skin shows product buildup faster than younger skin. Prepping lips with a hydrating balm before application is the most effective prevention. If buildup appears mid-day, blot with a tissue and press a clean sponge over the area.
-
Uneven lip shape. Step back from the mirror and check your work at arm’s length. Small asymmetries that look dramatic up close are often invisible at normal distance. If one side looks heavier, use a clean brush with a tiny amount of skin-tone concealer to correct the edge.
-
Concealer disappearing by midday. Lip liner is the key to longevity. Lip liner defines edges and prevents smudging while rebuilding shape. Filling the entire lip with liner before lipstick gives the color something to grip. You can also learn more about liner techniques for defined lips to extend wear time significantly.
-
Cakey or flat appearance. Overly dark shades and dull textures collapse the volume effect. Light, matte, and cool-toned concealers work best for enhancing lip shape naturally. Avoid anything with a heavy, opaque finish that sits visibly on the skin.
For touch-ups during the day, carry your lip liner and a small sponge. Reapply liner first, then press lipstick on top. Skip re-applying the concealer base unless you are doing a full retouch.
How does concealer lip shaping work with your full makeup routine?
Concealer lip shaping does not exist in isolation. It works best when it connects with the rest of your face makeup, particularly for women over 40 who want a balanced, harmonious result.
-
Pair with foundation first. Apply your foundation and set it before starting on the lips. Concealer blends more naturally into a foundation base than onto bare skin, and the colors read more accurately against a unified skin tone.
-
Use lip liner as the anchor. Lip contouring and lip liner serve different purposes but work best in combination. The concealer creates the illusion of shape. The liner locks that shape in place and prevents feathering, which is a real concern on mature skin where fine lines around the mouth can catch color.
-
Balance with blush placement. Lifting blush slightly higher on the cheekbones draws the eye upward and complements the lifted effect created by the shadow below the lower lip. The two techniques reinforce each other without requiring extra product.
-
Keep the rest of the face light. When lips are the focal point, heavy eye makeup competes for attention. A clean, defined eye with mascara and a neutral lid color lets the lip work stand out. You can find detailed guidance on how to line lips for fullness to build on the concealer base you have created.
-
Choose the right lipstick finish. Satin and cream finishes work well over a concealer base because they add a slight sheen without the heaviness of a full gloss. Matte lipsticks can look beautiful but require a well-moisturized base to avoid emphasizing dryness.
Key Takeaways
Shaping lips with concealer requires a matte formula, two shades, blurred edges, and lip liner to achieve a natural, lasting result on mature skin.
| Point | Details |
|---|---|
| Use two concealer shades | A skin-tone match erases the border; a darker shade creates depth below the lower lip. |
| Always blend edges | Diffused edges look natural; sharp lines read as artificial, especially on mature skin. |
| Prep lips before starting | Exfoliating and applying balm prevents cakey buildup in fine lines. |
| Lip liner locks in the shape | Filling the lip with liner before lipstick extends wear and prevents feathering. |
| Highlight the Cupid’s bow | A small amount of light concealer on the bow lifts the upper lip and guides liner placement. |
What I have learned from years of watching this technique evolve
The biggest shift I have seen in lip makeup over the past several years is the move away from graphic, drawn-on edges toward something that actually looks like a real lip. That shift matters most for women over 40, and here is why: sharp lines on mature skin draw attention to the very things most people want to minimize, including fine lines, asymmetry, and any unevenness in lip texture. A blurred edge, by contrast, reads as natural shadow. It looks like your lips are simply that shape.
The other thing I have noticed is that women often underestimate how much the shadow below the lower lip changes the whole face. It is not just a lip trick. It lifts the chin area visually and creates a sense of structure that foundation alone cannot deliver. That one step, a slightly darker concealer drawn in a gentle arc below the lower lip, does more work than most people expect.
My honest advice: start with less product than you think you need. You can always add, but removing concealer from around the mouth without disturbing your foundation takes patience. Use your fingertip to warm the product, blend immediately, and check your work at arm’s length before moving on. The technique rewards patience more than any other lip method I know.
— Rebecca
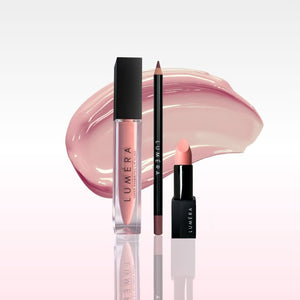
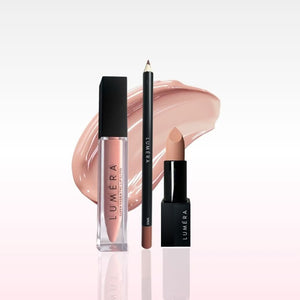
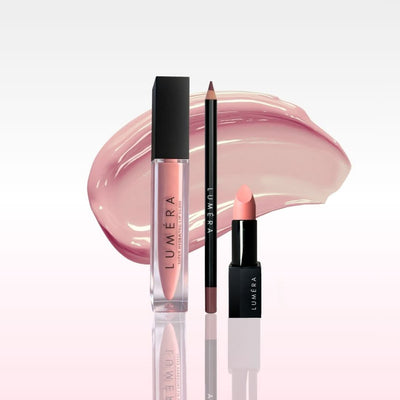
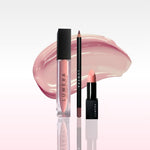
Lumeracosmetica’s Perfect Kiss Lipstick pairs beautifully with shaped lips
Once your concealer base is set and your liner is locked in, the lipstick you choose makes a real difference to the final result.

Lumeracosmetica’s Perfect Kiss Lipstick is formulated with a rich, smooth texture that glides over a concealer and liner base without dragging or pulling. The satin finish adds just enough sheen to catch light at the lip center, reinforcing the volume illusion you have built with your contouring work. For women over 40, the formula’s hydrating quality means the color stays comfortable and does not settle into fine lines by midday. Pair it with the concealer shaping technique covered here for a defined, polished look that holds from morning through to evening.
FAQ
What type of concealer works best for lip shaping?
A thick, matte-finish concealer in a shade matching your skin tone works best for erasing the natural lip border. Avoid dewy or liquid formulas, as they move too much and break down faster.
How do I avoid concealer settling into fine lines around my mouth?
Exfoliate your lips and apply a hydrating balm before any makeup, then use your fingertip to warm the concealer before applying. Pressing a dry sponge over any buildup mid-application removes excess product without disturbing the base.
Can I use this technique without lip liner?
You can, but the result will not last as long. Lip liner fills the lip with color that grips the lipstick and prevents feathering, which is especially important on mature skin where fine lines can catch pigment.
How far outside my natural lip line should I draw?
Stay within 1–2mm of your natural border for a believable result. Overlining too far looks unnatural and is harder to blend convincingly, particularly on the upper lip.
Does this technique work on thin lips specifically?
Yes. The combination of erasing the natural border, adding shadow below the lower lip, and highlighting the Cupid’s bow is designed precisely for adding the illusion of volume and definition to lips that have lost fullness over time.