Overlining Lips Step by Step for a Fuller Look

TL;DR:
- Overlining lips involves drawing lip liner just outside the natural lip edge to create a fuller look without surgery. Proper product choice, lip prep, and subtle blending are essential for a natural and long-lasting effect.
Overlining lips step by step is the technique of drawing your lip liner just outside your natural lip edge to create the illusion of fuller, more defined lips without filler or surgery. Professional makeup artists use targeted shading, blending, and color selection to make this look believable rather than obvious. The key is working with your natural lip shape, not against it. Done correctly, the result is a subtly plumper pout that holds up through the day. This guide covers every stage: product selection, lip prep, liner application, and the finishing touches that separate a natural result from an overdone one.
What tools and products do you need for overlining lips?
The right products make overlining work. Without them, even a careful technique falls apart.
Lip liner is the foundation of the technique. Professional makeup artists recommend a cool-toned liner 1–2 shades deeper than your natural lip color. That slight depth creates a shadow effect that reads as volume, not as a drawn-on border.
Lipstick or gloss finishes the look. A lighter shade or gloss at the lip center contrasts with the deeper liner at the edges, producing a three-dimensional effect. Contrasting deeper edges with a lighter center creates a natural cushiony appearance that flatters most lip shapes.
Concealer or foundation applied around the lip line erases your natural border before you draw a new one. This step is optional but makes the overlined shape far more convincing.
| Product | Purpose |
|---|---|
| Lip liner (1–2 shades deeper) | Defines and extends the lip line with shadow depth |
| Lip balm | Hydrates and smooths for even liner application |
| Exfoliating scrub or soft toothbrush | Removes dead skin before application |
| Concealer or foundation | Erases natural lip edge for a clean canvas |
| Lipstick or gloss | Fills in color and adds dimension at the center |
| Highlighter | Lifts the Cupid’s bow for a more defined arch |
- Choose a liner with a creamy, blendable formula. Waxy or stiff liners drag across the skin and create harsh lines.
- Avoid liners more than 2 shades darker than your lip color. High contrast looks artificial in daylight.
- A small lip brush gives you more control than applying liner directly from the pencil.
Pro Tip: Keep a clean spoolie brush in your kit. Running it lightly over freshly applied liner softens edges in seconds and is the single fastest way to make overlining look professional.
How to prepare your lips before overlining
Lip prep is not optional. Liner applied to dry, flaky lips catches on rough patches and creates an uneven line that no amount of blending fixes.
- Exfoliate. Use a gentle lip scrub or a soft toothbrush in small circular motions for 30 seconds. This removes dead skin and creates a smooth surface for liner to glide across.
- Apply lip balm. Coat your lips with a thin layer and let it absorb for 2–5 minutes. Exfoliating and moisturizing with balm, then blotting excess, prepares lips for smooth, long-lasting liner application.
- Blot the excess. Press a tissue gently against your lips. Oily residue left on the surface causes liner to slip and smear within minutes of application.
- Prime the border (optional). Dab a small amount of concealer or foundation around the outer edge of your lips with a brush or fingertip. Concealer around the lips erases the natural line and gives you a clean canvas to draw a new, slightly larger shape.
- Set with powder (optional). A light dusting of translucent powder over the concealer locks it in place and prevents the liner from migrating.
Pro Tip: If your lips tend to dry out mid-day, apply a thin layer of balm the night before as well. Consistently hydrated lips hold liner longer and show far less feathering by afternoon.
Skipping prep is the most common reason overlining looks messy on women with mature skin. Fine lines around the mouth catch pigment and pull it outward, making the shape bleed. A smooth, blotted base prevents this entirely.
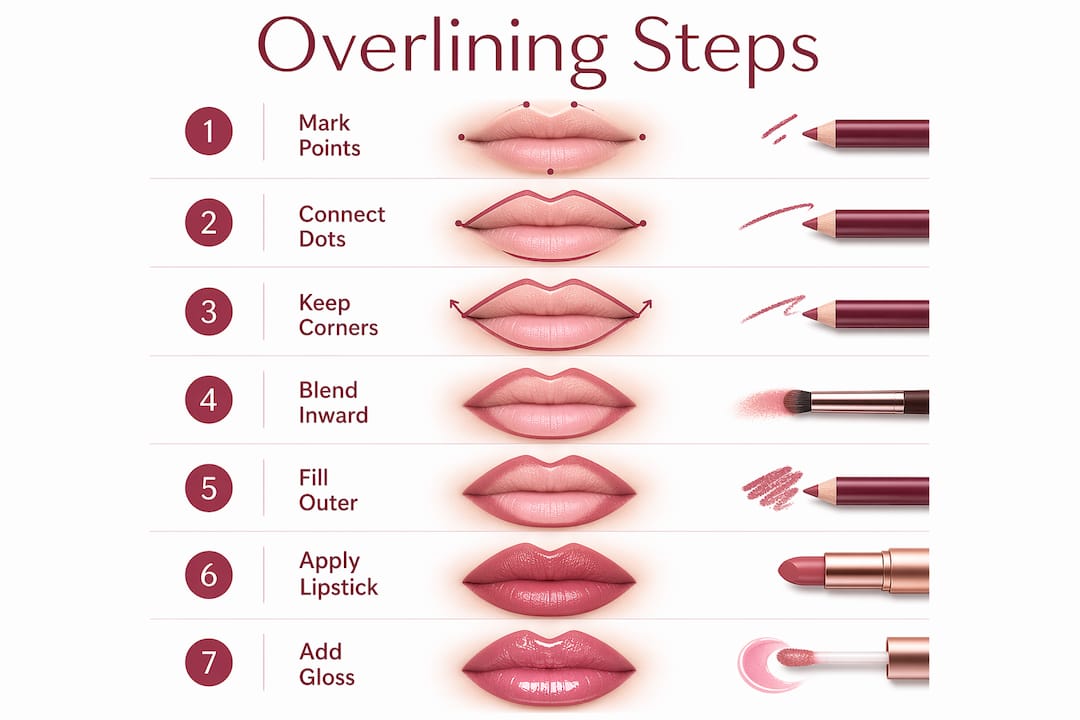
Overlining lips step by step: the full application guide
This is where technique matters most. Work slowly, use light pressure, and check your progress in natural light.
Step 1: Mark your anchor points
Start at the two peaks of your Cupid’s bow and the center of your bottom lip. Place a small dot just outside your natural lip line at each point. These three marks are your guide. Using light strokes and blending liner inward keeps the shape natural and prevents harsh outlines.
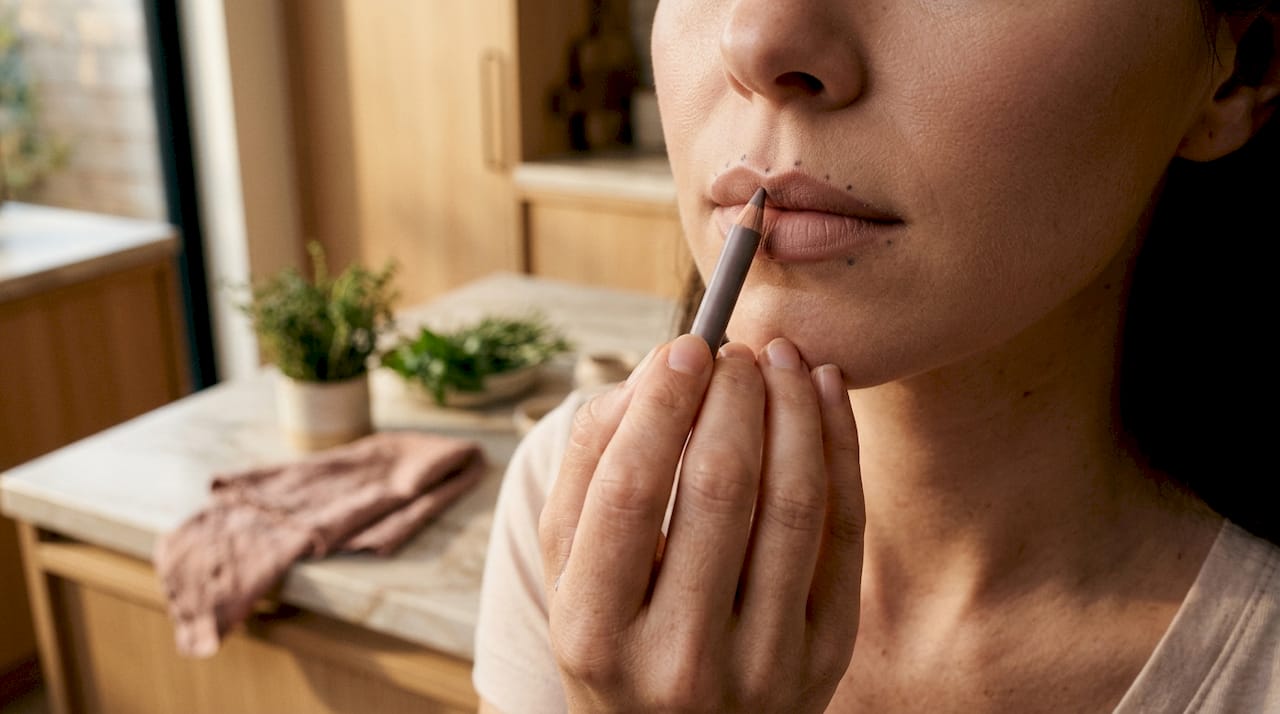
Step 2: Connect the dots with short strokes
Do not draw one continuous line from corner to corner. Short, light strokes mimic skin texture and produce a more natural lip line than a single drawn stroke. Work from each anchor point outward toward the corners, staying just outside your natural edge at the center and gradually returning to your natural line as you approach the corners.
Step 3: Keep the corners on your natural line
Only overline the center parts of the lips, specifically the Cupid’s bow and the middle of the bottom lip. Overlining the corners creates a shape that looks unnatural from any angle. The corners anchor the illusion; moving them outward breaks it.
Step 4: Blend the liner inward
Use a small lip brush, a clean fingertip, or a spoolie to blend the liner edge toward the center of your lips. This diffuses the outer border so there is no visible line between liner and skin. Blending is what separates a professional result from an obvious one.
Step 5: Fill in the outer thirds
Apply liner across the outer third of each lip, top and bottom. Leave the center lighter for now. This contour effect adds depth at the edges and sets up the dimension you will create in the next step.
Step 6: Apply your lipstick
Fill in the center of your lips with your chosen lipstick shade. Blend it into the liner at the edges so the two colors merge smoothly. Applying a lighter shade or gloss at the center enhances fullness by making the middle of the lip appear to project forward.
Step 7: Add gloss or highlighter
Apply a small amount of gloss to the center of both lips for a three-dimensional finish. For extra lift, a subtle highlighter on the Cupid’s bow enhances the arch and gives the upper lip a more defined, lifted appearance.
Pro Tip: Keep your mouth relaxed and slightly open during application. Avoid smiling while lining because it distorts the lip shape and causes uneven lines that look crooked once your face returns to a neutral expression.
| Step | Action | Why it matters |
|---|---|---|
| 1 | Mark Cupid’s bow and bottom center | Sets accurate anchor points for the shape |
| 2 | Use short strokes outward | Mimics natural skin texture |
| 3 | Keep corners on natural line | Prevents unnatural, stretched appearance |
| 4 | Blend liner inward | Removes visible liner edge |
| 5 | Fill outer thirds with liner | Creates contour depth at edges |
| 6 | Apply lipstick to center | Adds color and blends with liner |
| 7 | Add gloss or highlighter | Creates three-dimensional fullness |
Common mistakes and how to avoid them
Most overlining errors come from doing too much. The technique works through subtlety, and every mistake below breaks that principle.
- Overlining the entire lip evenly. Beginners who overline the full lip create an unnatural shape that reads as a drawn-on border. Focus only on the center sections.
- Choosing a liner that is too dark. High-contrast shades look artificial in natural light. Stay within 1–2 shades of your natural lip color.
- Leaving harsh, unblended edges. An unblended liner line is the clearest sign of amateur technique. Always blend inward before applying lipstick.
- Smiling during application. A smile pulls the corners outward and upward, distorting the shape. The line looks uneven once your face relaxes.
- Skipping lip prep. Dry, flaky lips cause liner to catch and skip. Exfoliation and balm are not optional steps.
The most believable overlined lips look like your own lips, only slightly better. If someone can immediately tell you have overlined, the technique has failed. Subtlety is the entire point.
Pro Tip: If you overline too far and notice it, do not try to erase with a cotton swab. Instead, blend the liner inward more aggressively and add concealer to the outer edge to pull the border back in. Blending fixes most errors faster than removal.
Choosing the right liner shade for your skin tone and lip color is one of the most underrated decisions in this technique. The wrong shade undoes every other step.
Key Takeaways
Overlining lips works when you focus on the center, blend every edge, and choose a liner no more than 2 shades deeper than your natural lip color.
| Point | Details |
|---|---|
| Prep lips thoroughly | Exfoliate, apply balm, and blot before any liner touches your lips. |
| Use the right liner shade | Choose a cool-toned liner 1–2 shades deeper to create believable shadow depth. |
| Overline only the center | Focus on the Cupid’s bow and bottom lip center; keep corners on the natural line. |
| Blend every edge | Use a brush or fingertip to diffuse liner inward before applying lipstick. |
| Add dimension at the center | Apply gloss or a lighter lipstick shade to the center for a three-dimensional effect. |
What I have learned about overlining for women over 30
The advice I give most often to women in their 30s, 40s, and 50s is this: your goal is not bigger lips. Your goal is better-defined lips. Those are two different things, and the technique reflects that difference.
Creamy, blendable liners are the only formulas worth using on mature skin. Stiff or waxy liners sit on top of the skin and settle into fine lines within an hour. A blendable formula moves with the skin and stays put without feathering. This is not a minor preference. It is the difference between a look that holds until evening and one that needs constant touch-ups.
The other thing I have noticed is that most women underestimate how little liner they need. A single millimeter of extension at the Cupid’s bow and bottom center is enough to create visible fullness. Going further than that rarely improves the result. It usually makes it worse. Practice with a light hand first, then build from there if you want more.
Lip shape is also personal. A technique that works beautifully on a wide, flat upper lip may not suit a naturally full lower lip. Spend time looking at your own lip shape in natural light before you start. The best lip liner techniques are always adapted to the individual, not copied from a tutorial without adjustment.
— Rebecca
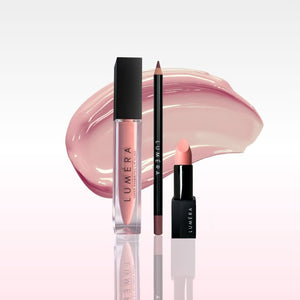
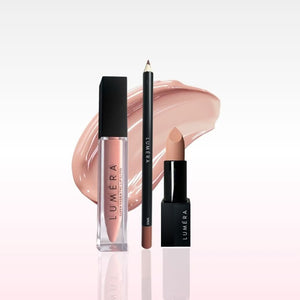
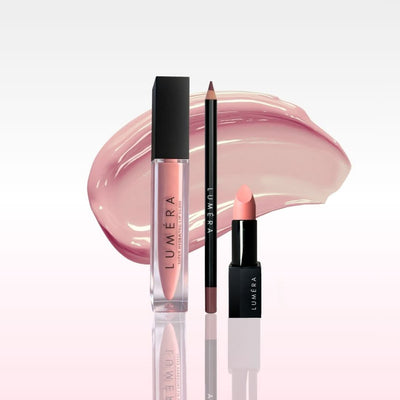
Lumeracosmetica lip liners for your overlining practice
Lumeracosmetica carries lip liners formulated specifically for blendability and staying power, which are the two qualities this technique demands most.

The Lumeracosmetica liner range includes shades suited to a wide range of skin tones, from fair to deep, with cool-toned options that create the shadow depth professional artists rely on. Each formula is creamy enough to blend without dragging and firm enough to draw a controlled line. Pair a liner with a hydrating balm from the same collection to keep your prep and finish consistent. Visit Lumeracosmetica’s lip collection to find the shade and formula that fits your natural lip color and your technique goals.
FAQ
What is overlining lips and how does it work?
Overlining lips is the technique of drawing lip liner just outside your natural lip edge to create the illusion of fuller lips. It works by using shadow depth and color contrast to make the lip appear larger without changing its actual shape.
How far outside my natural lip line should I draw?
Stay within 1 millimeter of your natural lip line, focusing only on the center sections. Extending further or overlining the corners creates an unnatural result that is immediately visible.
What is the best lip liner shade for overlining?
Choose a cool-toned liner 1–2 shades deeper than your natural lip color. This creates a believable shadow effect without the high contrast that makes overlining look obvious.
Can overlining work on thin or uneven lips?
Overlining works on most lip shapes, including thin and asymmetrical lips. Focus on the Cupid’s bow and bottom center, blend carefully, and use concealer around the border to create a clean canvas before you start.
How do I stop my lip liner from feathering into fine lines?
Exfoliate and moisturize your lips before application, then blot excess balm. Blendable liner formulas designed for mature skin resist feathering far better than stiff or waxy alternatives.
Recommended
- Make Lips Look Fuller Step by Step: Achieve a Plumper Pout – Luméra Cosmetica
- How to Line Lips to Look Fuller Naturally Step by Step – Luméra Cosmetica
- How to Make Lips Look Bigger With Lip Liner Naturally – Luméra Cosmetica
- How to Make Lips Look Fuller Naturally: A Step-by-Step Guide – Luméra Cosmetica