Make Lips Look Fuller Step by Step: Achieve a Plumper Pout

Everyone wants fuller lips, but most people think you need injections to get that perfect pout. Turns out, the real secret starts with something much simpler: expert makeup techniques and the right care can make your lips look way bigger, instantly—no needles needed. Most people skip the basics, but that first simple step of checking your natural lip shape changes everything.
Table of Contents
- Step 1: Assess Your Current Lip Condition
- Step 2: Exfoliate For Smoothness And Hydration
- Step 3: Apply Lip Liner For Definition
- Step 4: Choose And Apply Lip Color Strategically
- Step 5: Highlight For A Plumper Appearance
- Step 6: Maintain Your Fuller Lips Throughout The Day
Quick Summary
| Key Point | Explanation |
|---|---|
| 1. Assess your lip condition first | Evaluate your lips’ shape, color, and volume to tailor enhancement methods effectively. |
| 2. Exfoliate for smooth and hydrated lips | Use a gentle scrub to remove dead skin and prepare for lip products. |
| 3. Use lip liner for definition | Outline and minimally overdraft your lips to create a fuller appearance and prevent lipstick bleeding. |
| 4. Choose lip color strategically | Lighter, luminous shades enhance the perception of volume; avoid dark colors that may shrink the look. |
| 5. Maintain hydration and touch-ups throughout the day | Keep a lip care kit handy for quick hydration and color refresh to sustain your enhanced lip look. |
Step 1: Assess Your Current Lip Condition
Creating a fuller, more voluminous lip look begins with understanding your current lip condition. This crucial first step helps you develop a personalized approach to lip enhancement that works specifically for your unique features. Proper assessment allows you to choose the most effective techniques and products for achieving your desired lip appearance.
Start by examining your lips in natural lighting using a clean mirror. Take note of your lips’ natural shape, color, and current volume. Look closely at the symmetry between your upper and lower lips, as well as any existing fine lines or texture variations. Some individuals have naturally thinner lips with less defined borders, while others might have more pronounced lip shapes that simply need subtle enhancement.
Understanding Your Lip Characteristics
Carefully observe the specific characteristics of your lips. Check for areas of dryness, uneven pigmentation, or slight asymmetry. Pay attention to how your lips look when relaxed and when you smile. These observations will guide your lip enhancement strategy. Some key aspects to evaluate include lip border definition, natural color intensity, hydration levels, and overall fullness.
According to dermatological research from the National Center for Biotechnology Information, a comprehensive lip assessment should consider multiple factors beyond just volume. This includes evaluating skin texture, hydration, and the presence of perioral rhytides (fine lines around the mouth) that might impact your lip enhancement approach.
To ensure a thorough assessment, consider taking close-up photos of your lips from multiple angles. This allows you to track changes and compare results as you progress through different lip enhancement techniques. Natural lighting works best for capturing accurate details. Use a neutral background and keep the images consistent to create a reliable reference point for your lip transformation journey.
Step 2: Exfoliate for Smoothness and Hydration
Exfoliation is a transformative step in creating fuller, more attractive lips by removing dead skin cells and preparing the lip surface for enhanced volume and smoothness. This critical process helps create an optimal canvas for subsequent lip enhancement techniques, ensuring that your lips look and feel refreshed and ready for further treatment.
Gentle exfoliation works by eliminating rough patches and dry skin that can make lips appear smaller and less vibrant. Start by selecting a lip scrub with fine, soft granules that will not damage the delicate lip skin. You can create a homemade scrub using natural ingredients like sugar mixed with honey or purchase a specialized lip exfoliant from beauty retailers. Approach this process with a light touch, using circular motions to avoid irritating the sensitive lip area.
Creating the Perfect Exfoliation Technique
When performing lip exfoliation, use your fingertips or a soft lip brush to apply the scrub. Massage the product in gentle, circular motions for approximately 30 seconds, focusing on areas with visible dry skin or uneven texture. Be mindful of applying just enough pressure to remove dead skin cells without causing redness or sensitivity. After exfoliating, rinse with lukewarm water and immediately follow with a hydrating lip balm to lock in moisture and soothe the newly exposed skin.
According to research published in the International Journal of Women’s Dermatology, proper exfoliation can significantly improve lip texture and prepare the surface for better hydration absorption. The key is maintaining a delicate balance between removing dead skin and preserving the lip’s natural protective barrier.
To verify you have completed this step effectively, your lips should feel smooth, soft, and slightly plumper. They should have a natural sheen and show no signs of irritation or excessive redness. Allow a few minutes after exfoliation for your lips to settle, which will help you assess the true results of your gentle skin renewal process.
Step 3: Apply Lip Liner for Definition
Lip liner is a transformative tool in creating the illusion of fuller, more defined lips. This strategic step helps create crisp borders and visually expands lip volume, working as a foundational technique for achieving a plumper pout. By carefully outlining and slightly overdrawing your natural lip line, you can dramatically enhance lip shape and perceived fullness.
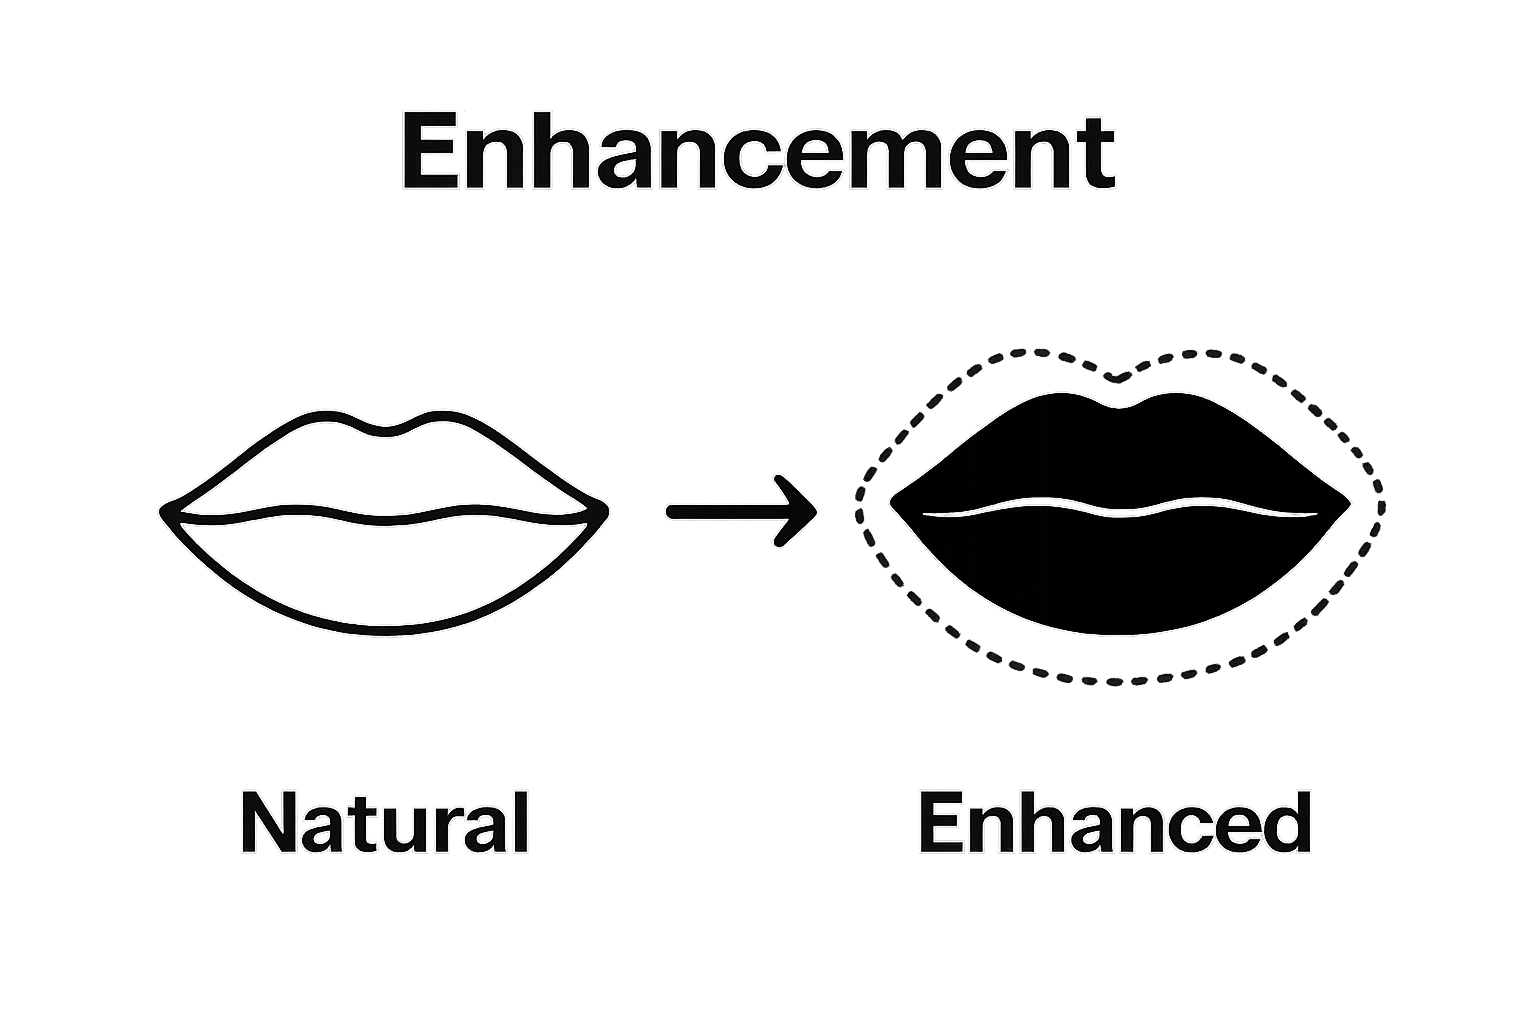
Begin by selecting a lip liner that closely matches your natural lip color or the lipstick shade you plan to wear. A neutral tone provides the most versatile and natural-looking results. Hold the lip liner pencil at a slight angle, ensuring a steady grip that allows precise application. Start by defining the cupid’s bow at the center of your upper lip, creating a crisp line that accentuates this natural curve.
Precise Lip Liner Application Technique
When applying lip liner, use gentle, short strokes to trace slightly outside your natural lip line. Focus on creating symmetry and subtle expansion, particularly at the corners and center of your lips**. The key is to overdraw minimally and blend seamlessly to avoid an artificial appearance**. Work from the outer corners inward, using soft, feathered motions that create a natural transition between your skin and lip line. After outlining, use the side of the liner to softly fill in the lips, creating a base that helps lipstick adhere more effectively and appear more voluminous.
According to cosmetology experts at Ogle School, strategic lip liner application prevents lipstick bleeding and creates a more defined lip shape. The technique involves carefully gliding the liner along lip edges and filling in corners to enhance the overall lip appearance.
To verify successful application, check for symmetry in your lip lines and ensure the overdrawing looks natural and subtle. Your lips should appear slightly fuller and more defined without looking obviously lined or artificial.
Blend the liner edges gently with a lip brush or your fingertip to create a seamless, soft transition that enhances your natural lip shape.
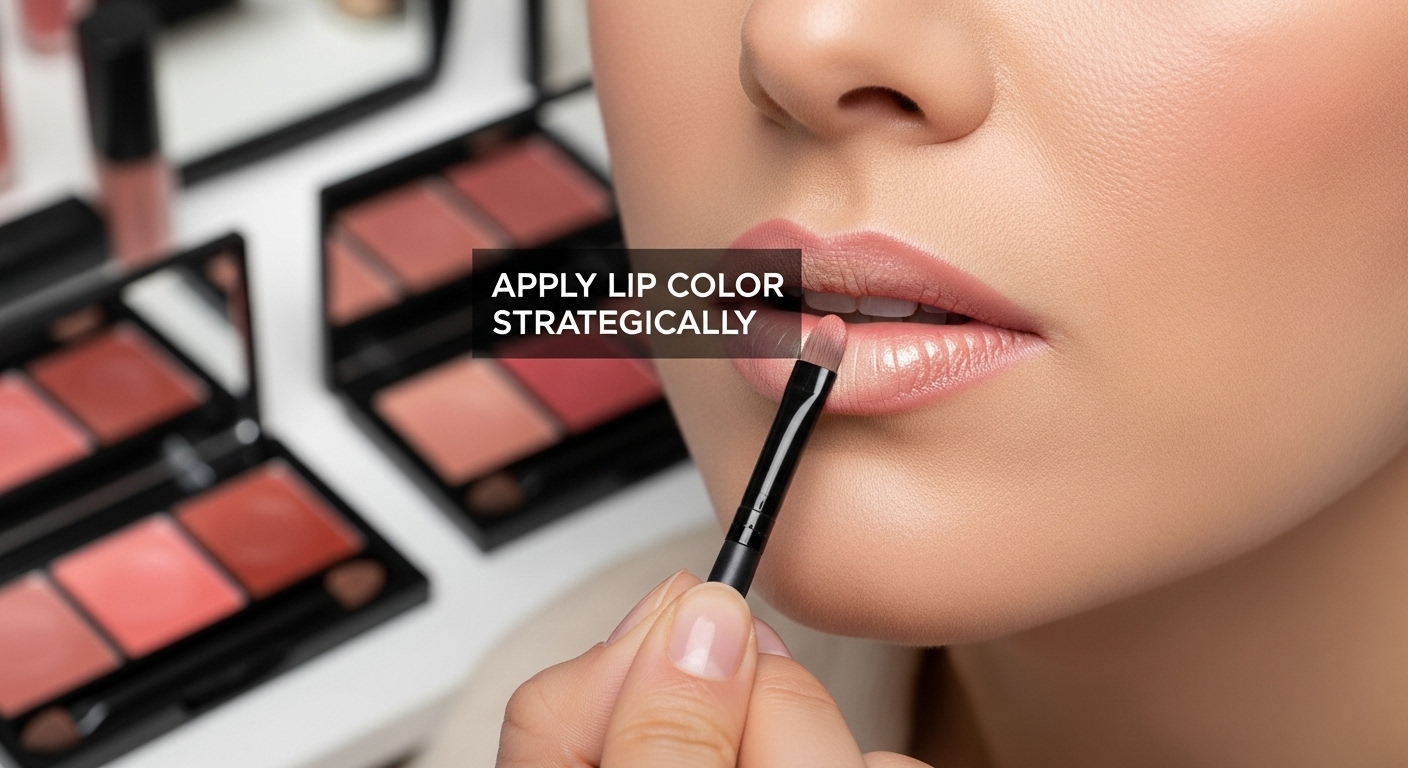
Step 4: Choose and Apply Lip Color Strategically
Selecting and applying lip color is a nuanced art that can dramatically enhance lip fullness and create the illusion of more voluminous lips. The right color and application technique can transform your lip appearance, making them look larger and more defined without invasive procedures. Your goal is to choose shades and application methods that optically expand lip volume and create depth.
Begin by selecting lipstick or lip gloss shades that complement your natural lip color and skin tone. Lighter, luminous colors with subtle shimmer tend to create the most impressive volume-enhancing effect. Nude and soft pink tones work exceptionally well for creating depth and dimension. Avoid extremely dark or matte colors, as these can make lips appear smaller and more compressed.
Precision Application for Maximum Volume
Apply your chosen lip color using a lip brush for maximum control and precision. Start from the center of your lips and blend outward, ensuring smooth and even coverage. Use a technique called “center highlighting” where you apply a slightly lighter shade or a touch of shimmery gloss directly in the center of your lips. This creates an optical illusion of fullness by reflecting light and making lips appear more voluminous. Blend the colors seamlessly to avoid harsh lines or obvious demarcations.
According to research published in the Journal of Cosmetic Dermatology, strategic lip color application can significantly influence the perception of lip volume. The study emphasizes the importance of understanding individual lip anatomy and tailoring color techniques accordingly.
To verify successful application, check that your lips look smooth, with a subtle gradient effect that makes them appear fuller. The color should look natural and enhanced, not overdone or artificial. Your lips should have a soft, dimensional appearance with light-reflecting qualities that create the illusion of increased volume.
 A perfect application will make your lips look plump and vibrant without appearing heavily made up.
Step 5: Highlight for a Plumper Appearance
Highlighting is the secret weapon in creating the illusion of fuller, more voluminous lips. This final enhancement technique uses light-reflecting products to visually expand lip volume, creating a dimensional and plump appearance that goes beyond traditional color application. The strategic placement of highlight can transform your lip look, making them appear larger and more defined.
Begin by selecting a highlighting product with a subtle shimmer or light-reflecting quality. Choose a shade that complements your skin tone and lip color. Cream or liquid highlighters work best for this technique, offering a more natural and seamless finish compared to powder formulations. Use a small, precise brush or your fingertip to apply the highlighter, ensuring controlled and delicate application.
Precision Highlighting Technique
Focus on applying the highlighter to the center of your lower lip and the cupid’s bow of your upper lip. These strategic locations catch and reflect light, creating an optical illusion of increased volume. Gently tap and blend the highlighter, ensuring no harsh lines or obvious demarcations. The key is to create a soft, diffused effect that looks natural and enhances your lip’s inherent shape. A small amount of highlighter on the center of the lips can make them appear more pronounced and fuller, drawing attention to their natural contours.
According to research published in the Aesthetic Surgery Journal, maintaining proper lip proportions is crucial for aesthetic appeal. While the study focuses on surgical techniques, the principle of creating balanced, proportional lip appearance applies equally to makeup highlighting techniques.
To verify successful highlighting, check that your lips look dimensional and soft, with a subtle light-catching quality. The highlight should create a natural-looking depth and volume, making your lips appear plumper without looking overly made up. When you smile or move, the light should catch the highlighted areas, creating a beautiful, three-dimensional effect that enhances your overall lip appearance.
Step 6: Maintain Your Fuller Lips Throughout the Day
Maintaining the full, plump appearance of your lips requires strategic care and periodic touch-ups throughout the day. This final step ensures your lip enhancement techniques remain effective and your lips continue to look voluminous and hydrated. Preparation and consistent attention are key to preserving the beautiful lip look you’ve carefully created.
Carry a small lip care kit with you that includes a hydrating lip balm, your chosen lip liner, and a compact mirror for quick touch-ups. Lip hydration is crucial in maintaining volume and preventing dryness that can make lips appear smaller and less defined. Choose a balm with nourishing ingredients like hyaluronic acid, vitamin E, and natural oils that provide continuous moisture and protect your lip’s delicate skin.
Strategic Midday Lip Maintenance
Every few hours, take a moment to assess and refresh your lip look. Gently blot your lips with a tissue to remove any excess product and prevent buildup. Reapply a thin layer of lip balm to maintain hydration, then lightly touch up your lip liner and color if needed. Pay special attention to the corners and center of your lips, where color tends to fade first. Use your fingertip to softly blend and restore the dimensional effect you created earlier. If your lips feel dry or the color looks uneven, a small amount of gloss can instantly revive their plump appearance.
According to research published in the Journal of Cutaneous and Aesthetic Surgery, consistent hydration and protective care are essential for maintaining lip volume and softness throughout the day. The study emphasizes the importance of regular application of moisturizing agents to sustain lip appearance.
To verify successful maintenance, check that your lips remain smooth, hydrated, and full-looking. They should have a natural sheen and consistent color without apparent dryness or feathering. Your lips should feel comfortable and look vibrant, reflecting the careful enhancement techniques you’ve applied.
Below is a checklist summarizing verification steps for each main stage to ensure you have completed every part of the process for achieving fuller-looking lips.
| Step | Completion Criteria |
|---|---|
| Assess Lip Condition | Noted lip shape, color, volume, and symmetry; took close-up photos for reference |
| Exfoliate | Lips feel smooth and soft, with no irritation or redness |
| Apply Lip Liner | Lips appear naturally fuller, borders look subtle and symmetrical |
| Apply Lip Color | Color is evenly blended with a soft gradient effect, lips look vibrant and dimensional |
| Highlight | Specific areas catch light naturally, lips look soft and plump, no harsh shimmer lines |
| Maintain Throughout Day | Lips remain hydrated, color is consistent, no dryness or feathering |
Experience Effortless Lip Fullness With Professional Solutions
Are you tired of endless trial-and-error to achieve the perfect plumper pout as described in our step-by-step guide? Many readers want smoother lips, lasting definition, and vibrant color, but face common frustrations like dryness, uneven lip borders, and fading volume throughout the day. Unlock bolder lips, seamless hydration, and expert-level results with the professionally formulated lip care and color solutions from Lumera Cosmetica. Each step of your fuller lips routine can be enhanced with products designed for long-lasting smoothness and natural-looking definition.
Imagine experiencing a noticeable difference in fullness and shape without feeling self-conscious about smudging or dryness. Transform your daily routine today with trusted, science-backed products from Lumera Cosmetica. Visit our website now and discover how simple it is to put these tips into action. Start your journey toward confident, irresistible lips and enjoy exclusive offers while supplies last.
Frequently Asked Questions
How can I assess my current lip condition before enhancement?
To assess your lip condition, examine them in natural lighting using a clean mirror. Note their shape, color, volume, symmetry, and any fine lines. Consider taking close-up photos to track changes over time.
What is the best way to exfoliate my lips for a smoother appearance?
Use a gentle lip scrub or a homemade mixture of sugar and honey. Apply it in circular motions for about 30 seconds, then rinse with lukewarm water and follow with a hydrating lip balm to lock in moisture.
How do I apply lip liner to create the illusion of fuller lips?
Choose a lip liner that matches your natural lip color and outline slightly outside your lip line using short, gentle strokes. Focus on symmetry and minimal overdrawing, and use a lip brush to blend the edges for a natural look.
What lip color choices are best for making lips appear bigger?
Opt for lighter, luminous colors with subtle shimmer to enhance volume. Shades like nude and soft pink are effective. Avoid dark or matte colors as they can make lips look smaller.