

How to Make Your Lips Look Plump Without Fillers

You can make your lips look noticeably plumper without fillers using three approaches: makeup illusion techniques (results in under two minutes), targeted hydration and topical ingredients (visible improvement in minutes to hours), and safe at-home devices or DIY recipes (temporary, same-day effect). Each method works on its own, but they stack well.
Start here:
- Apply a nude lip liner one shade deeper than your natural lip, placing tiny marks at the cupid’s bow and center lower lip, then blend. Add a clear or light gloss to the center.
- Exfoliate with a sugar scrub, then apply a hyaluronic acid lip serum before any color product.
- Patch-test any cinnamon or capsaicin gloss on your inner arm before putting it on your lips.
- Keep overlining to the center of your lips. Drawing past the natural corners looks drawn-on, not full.
Key Takeaways
Micro-lining at the cupid’s bow and center lower lip, combined with a hyaluronic acid serum and a satin or gloss finish at the center, is the fastest and most reliable way to make lips look fuller without fillers.
| Point | Details |
|---|---|
| Micro-lining is the fastest fix | Place four small marks at the cupid’s bow and center lower lip, blend inward, and keep corners on the natural line. |
| Prep amplifies every method | Exfoliate 2–3 times weekly and apply a hyaluronic acid balm before any color product for better results. |
| Topical ingredients vary in duration | HA serums and peptide balms build over time; tingling glosses work immediately but fade within 30 minutes. |
| Patch-test all irritants | Test cinnamon or capsaicin mixes on your inner arm 24 hours before applying to lips. |
| Lumeracosmetica Perfect Kiss Lipstick | Integrates into the liner-to-lipstick-to-gloss routine to reinforce the volume illusion with its satin finish. |
Table of Contents
- How do you make lips look plump with makeup?
- How does lip prep help you get fuller-looking lips?
- What topical plumping ingredients actually do
- Safe DIY plumpers and home recipes that actually work
- At-home devices and professional options: what are the real trade-offs?
- How to use Luméra Cosmetica products for a fuller-looking lip
- What actually works in real life
- Luméra Perfect Kiss Lipstick fits right into this routine
- Sources
How do you make lips look plump with makeup?
The single most effective makeup trick for fuller-looking lips is micro-lining: four small, precise marks placed at the peaks of the cupid’s bow, the dip between them, and the center of the lower lip, blended to a soft edge. No obvious overline, no harsh line. Celebrity makeup artist Katie Jane Hughes uses exactly this method, and the result reads as naturally full rather than drawn-on.
The step-by-step application workflow
Prep first. Blot any balm so liner grips cleanly.
Liner placement. Use a lip crayon or pencil one shade close to your natural lip color. Place the four micro-marks: two at the cupid’s bow peaks, one at the bow’s center dip (this lifts the arch), and one at the center of the lower lip. Connect them with a light stroke, staying just outside the natural line at the center only. Keep the corners exactly on your natural edge.
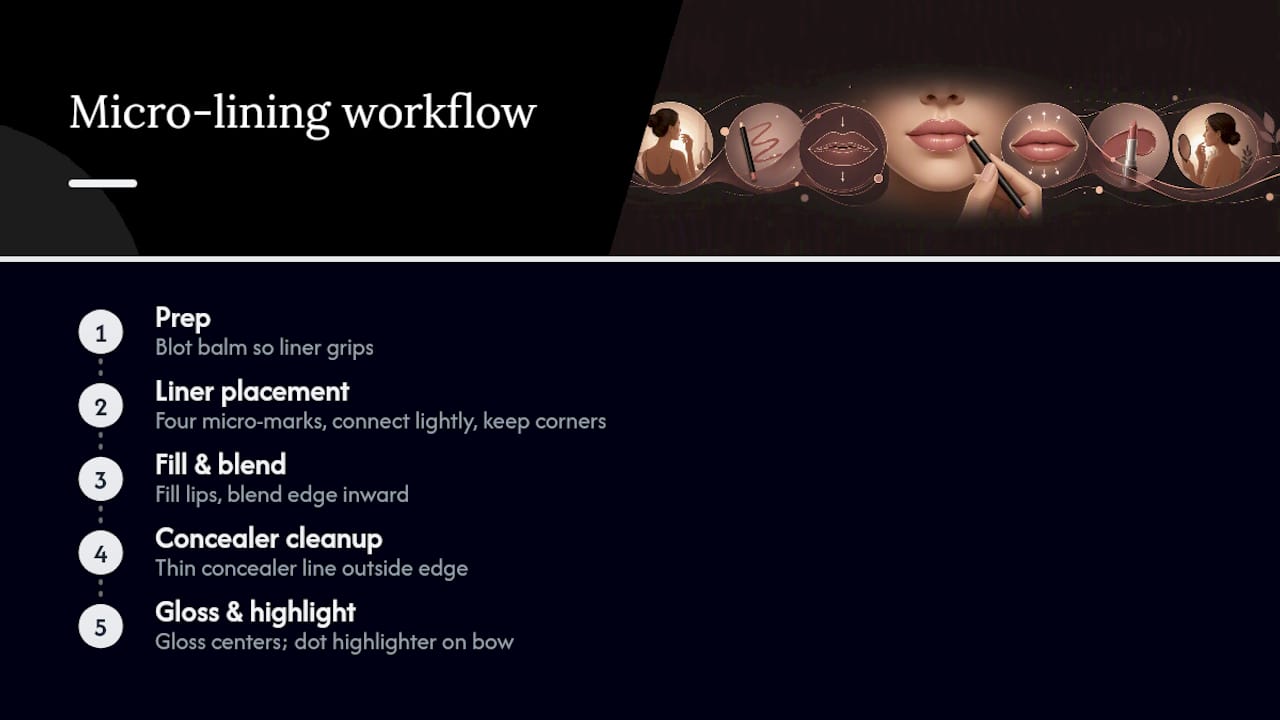
Fill and blend. Fill the entire lip with the liner, then blend the outer edge inward with a small lip brush or your fingertip. This diffuses the border so there’s no visible “line.”
Concealer cleanup. Run a thin line of concealer or foundation just outside the lip edge with a small brush. This sharpens the shape and adds contrast, which makes lips read larger through edge definition.
Gloss or highlight placement. Apply a gloss or a satin lipstick to the center of both lips only, leaving the corners slightly darker. Light reflects off the center, creating the illusion of forward projection. A small dot of highlighter above the cupid’s bow reinforces the arch.
Shade and finish choices that add volume
Matte formulas flatten and recede. Satin, cream, and glossy finishes reflect light and read fuller. Medium-to-light nudes, warm pinks, and peachy tones tend to open up the lip more than deep berry or dark plum shades, which can make lips look smaller. That said, a deep shade with a gloss center still works if you want drama with volume.
Pro Tip: Match your liner as closely as possible to your natural lip color, not your lipstick shade. When liner and lip are close in tone, the overline blends invisibly. A liner that’s too dark creates a visible border that reads as “drawn on” rather than naturally full.
Micro-lining works because it redraws the perceived edge of the lip at its fullest natural point, not uniformly around the whole mouth. The brain reads the new outer edge as the real lip shape.
For a full visual walkthrough of liner placement and gloss positioning, the make-lips-look-fuller step-by-step guide from Lumeracosmetica covers the technique with detailed application notes.
How does lip prep help you get fuller-looking lips?
Well-prepped, hydrated lips look bigger before you apply a single product. Dry, flaky lips scatter light unevenly and make any liner or gloss look patchy. Regular exfoliation and consistent hydration improve lip texture and color, which directly supports the visual effect of every plumping technique above it.
Morning and night routines
Morning (2 minutes):
- Rinse lips with lukewarm water.
- If lips feel rough, gently rub with a damp washcloth for 20 seconds.
- Apply a hyaluronic acid lip serum or a balm containing hyaluronic acid, peptides, or shea butter.
- Let it absorb for 60 seconds before applying any color product.
- Apply an SPF lip balm if you’re heading outside. UV exposure breaks down collagen over time, which thins lips gradually.
Night (3 minutes):
- Remove all lip color with a gentle oil-based cleanser.
- Apply a sugar scrub (recipe below) 2–3 times per week.
- Follow immediately with a thick, occlusive balm or a peptide-rich overnight lip mask.
How to make a simple sugar scrub
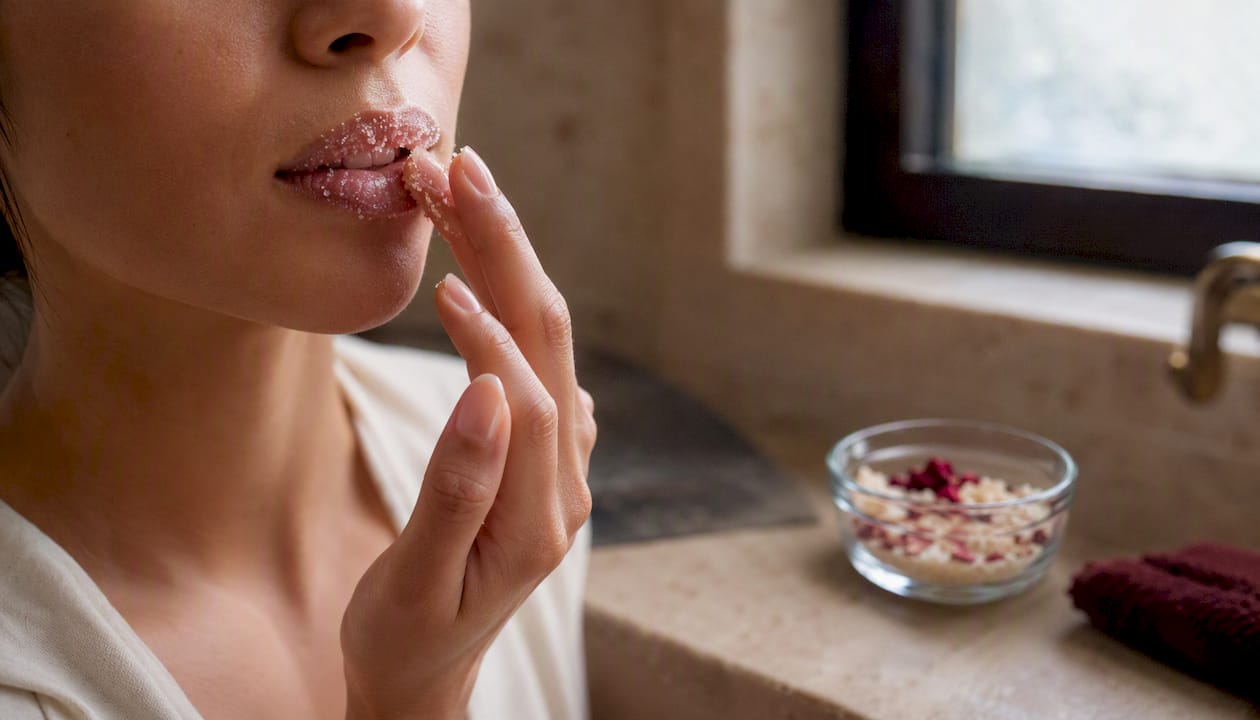
Mix 1 teaspoon of white or brown sugar with 1 teaspoon of a carrier oil (coconut, jojoba, or olive oil). Rub gently on lips for 30–60 seconds using a circular motion, then rinse. That’s it. Don’t scrub hard; the goal is to lift dead skin, not irritate tissue.
Ingredients worth prioritizing in your balm or serum:
- Hyaluronic acid: draws moisture to the surface, temporarily smoothing and plumping
- Peptides: support skin-barrier function with cumulative benefit over weeks
- Shea butter or beeswax: occlusive seal that locks in hydration overnight
Sensitive lips: skip scrubbing on broken or chapped skin. Wait until the skin heals, then introduce exfoliation once a week before moving to twice or three times weekly.
What topical plumping ingredients actually do
Ingredients like hyaluronic acid, peptides, and mild irritants each produce predictable, temporary effects. Topical hyaluronic acid increases surface hydration and can temporarily make lips appear smoother and fuller, though effects depend on formulation. Peptides work more slowly, improving skin texture over days to weeks. Irritants like cinnamon and capsaicin work immediately through mild vasodilation but wear off within an hour or two.
Cinnamon and capsicum-based glosses work by mild irritation and vasodilation, increasing blood flow to the lip surface. The tingle is the mechanism. Results are immediate but short-lived, and users with sensitive skin often experience redness or discomfort that outlasts the plumping effect.
What to look for on labels:
- Hyaluronic acid listed in the first half of the ingredient list (higher concentration)
- Palmitoyl tripeptide or similar peptide complexes for barrier support
- Capsicum oleoresin or cinnamaldehyde for tingling formulas (patch-test these)
- Avoid formulas with heavy fragrance if your lips are reactive
For a deeper breakdown of what’s inside common plumpers, the Lumeracosmetica guide on what makes lip plumpers work explains each ingredient class clearly.
Safe DIY plumpers and home recipes that actually work
A few simple at-home recipes can temporarily improve lip appearance when used carefully. The sugar scrub above handles texture. Two other options worth knowing:
Cinnamon lip plumper (patch-test required): Mix 1 drop of cinnamon essential oil into 1 teaspoon of a carrier oil (coconut or jojoba). Apply a small amount to your inner arm and wait 24 hours before using it on your lips. If no redness or itching appears, apply a thin layer to lips, leave for 2–3 minutes, then wipe off. Do not leave it on. Do not use more than once daily.
Honey hydration mask: Apply a thin layer of raw honey to clean lips. Leave for 5–10 minutes, then rinse. Honey is a humectant that draws moisture to the surface and leaves lips visibly smoother. No irritation risk for most people.
Safety checklist before any DIY irritant:
- Always patch-test on inner arm 24 hours in advance
- Stop immediately if you feel burning that doesn’t subside within 2 minutes
- Redness that lasts more than 30 minutes after removing the product is a sign of over-irritation
- Never apply DIY irritant mixes to cracked or broken lip skin
Realistic expectations: these recipes improve circulation and surface texture temporarily. They don’t change lip structure. The visual improvement is real but modest, and it fades within an hour or two for irritant-based mixes.
Pro Tip: For a natural plumping gloss with cleaner ingredients, the Lumeracosmetica natural plumping lip gloss guide covers formulation options worth comparing before you DIY.
At-home devices and professional options: what are the real trade-offs?
Suction devices temporarily swell the lips by increasing blood flow. They produce an immediate but short-duration effect and carry bruising or blister risks if you use too much pressure or hold them too long. For most people, the result lasts 30–60 minutes and isn’t dramatic enough to justify the risk of bruising. Use them sparingly, follow the manufacturer’s time limits, and never use one on broken skin.
Professional options, primarily hyaluronic acid fillers administered by a licensed dermatologist or plastic surgeon, produce results that last several months. Dermatologists tend to prefer HA-based fillers over other injectables because they are reversible with hyaluronidase if the result isn’t right. That reversibility matters.
| Category | Effect duration | Onset speed | Skill required | Cost | Safety / side effects |
|---|---|---|---|---|---|
| Suction devices | 30–60 minutes | Immediate | Low | Low (one-time) | Bruising, blistering if misused |
| OTC plumping glosses | 30 minutes | Immediate | None | Low | Redness, sensitivity |
| HA dermal fillers | Several months | Days (for swelling to settle) | Requires licensed provider | High | Bruising, asymmetry, rare vascular risk |
When to consult a professional:
- You want results lasting longer than a few hours
- You’ve had allergic reactions to topical plumpers
- You’re considering any injectable treatment
Never receive lip fillers from an unlicensed provider. Vascular complications, though rare, are serious and require immediate medical attention. A board-certified dermatologist or plastic surgeon is the right starting point.
For a side-by-side look at over-the-counter plumper options before considering anything more involved, the Lumeracosmetica lip plumper comparison is a useful reference.
How to use Luméra Cosmetica products for a fuller-looking lip
A short Luméra routine combining prep, strategic liner application, and the Perfect Kiss Lipstick reliably enhances perceived fullness when applied as directed. The product is designed to work with the micro-lining and gloss-placement techniques covered above, not as a standalone fix.
Step-by-step routine:
- Prep. Exfoliate with the sugar scrub recipe above, then apply a hyaluronic acid balm. Let it absorb fully before lining.
- Liner. Choose a liner one shade close to your natural lip color. Place the four micro-marks at the cupid’s bow and center lower lip. Connect and blend inward.
- Perfect Kiss Lipstick. Apply the Luméra Perfect Kiss Lipstick starting from the center of each lip and working outward. The satin-finish formula reflects light at the center, reinforcing the volume illusion the liner created.
- Gloss layer. Add a clear or light gloss to the center of both lips only. This is the final step that creates the forward-projection effect.
- Concealer cleanup. Use a small brush with concealer just outside the lip edge to sharpen the border.
Shade selection: For the most natural-looking fullness, choose a Perfect Kiss shade within two tones of your natural lip color. Going significantly darker or lighter can flatten the effect. If you have deeper skin, the Lumeracosmetica lip liner shade guide for brown skin offers specific pairing recommendations.
Sensitivity note: If you’re adding an active plumping serum to this routine, introduce it on its own for a few days before layering it under color products. This lets you identify any reaction before it’s complicated by multiple products.
The most reliable at-home result comes from stacking prep, liner technique, and a light-reflecting finish in the right order. Each step amplifies the one before it.
What actually works in real life
The combo that delivers the most reliable, natural-looking result with the least effort: subtle micro-lining at the cupid’s bow and center lower lip, a hyaluronic acid serum underneath, and a gloss or satin finish at the center. That’s it. You can do it in under three minutes once you’ve practiced the liner placement a few times.
The trade-off most people underestimate is time versus duration. Makeup techniques take two minutes and last all day with touch-ups. DIY irritant mixes take longer to prep, carry more risk, and fade in under an hour. For daily wear, makeup wins every time.
Lip shape matters for how you adapt the technique. Thinner lips benefit most from the cupid’s bow micro-mark, which adds visible arch definition. Uneven lips (one side fuller than the other) can be balanced by placing the liner mark slightly further out on the thinner side only. Wider lips that feel flat rather than thin respond better to the gloss-center trick than to overlining.
One thing worth watching: if you’re using a cinnamon or capsaicin product regularly, give your lips two or three days between applications. Repeated irritation without recovery time leads to chronic sensitivity, not better results.
Luméra Perfect Kiss Lipstick fits right into this routine
Fuller-looking lips without a complicated overhaul: the Luméra Perfect Kiss Lipstick is built for exactly the liner-to-lipstick-to-gloss workflow this guide walks through. Its satin finish reflects light at the center of the lip, which is where the volume illusion lives. Apply it after micro-lining, concentrate it at the center, and add a gloss layer on top. That three-step sequence takes under two minutes and produces a noticeably fuller result.
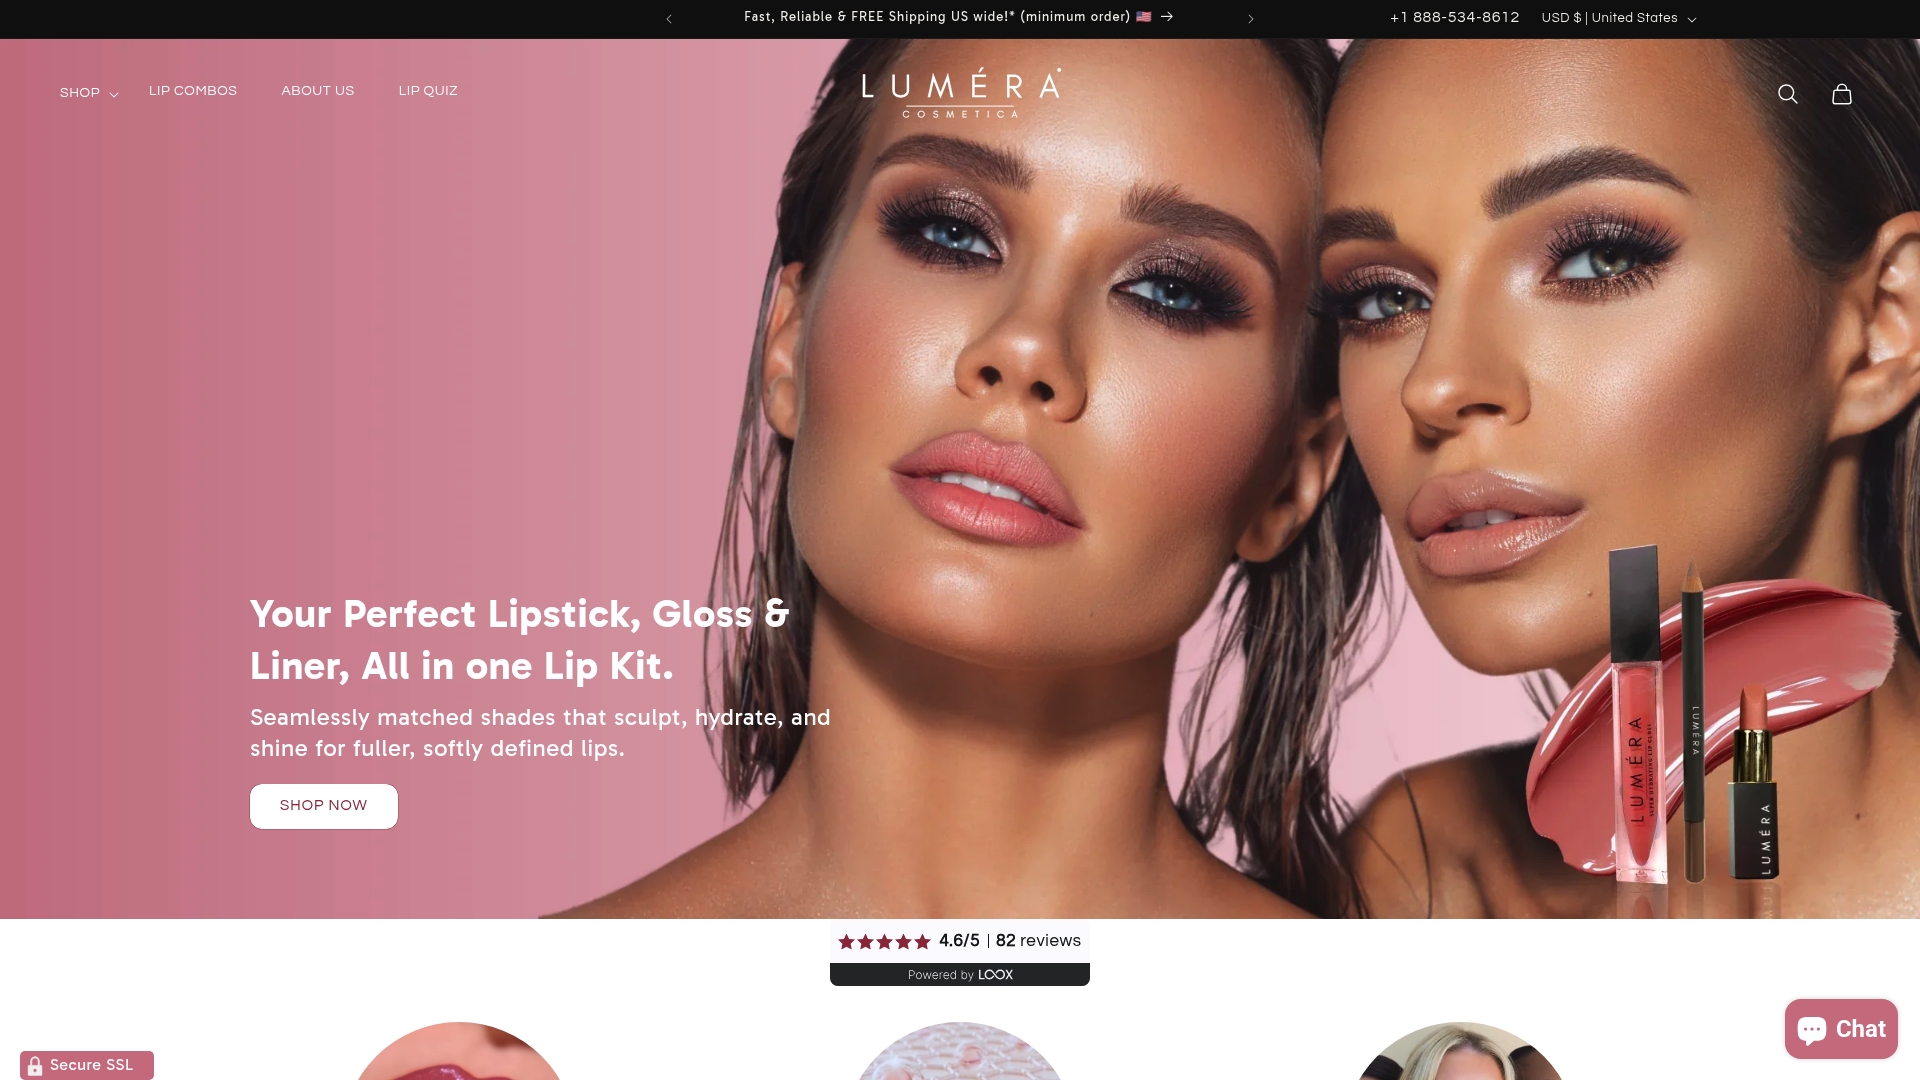
The shade range covers warm nudes to rich roses, so you can match your liner closely and keep the overline invisible. Browse the shade options and pick the one closest to your natural lip tone as a starting point. Visit the Perfect Kiss Lipstick page to view current shades and find your match.
Sources
- PLOS ONE article
- Dua Lipa’s Makeup Artist on the Micro-Lining Technique That Instantly Gives You Bigger Lips | Vogue
- 11 Ways to Plump, Smooth, and Gloss Your Lips | Healthline
- How To Make Lips Look Bigger Without Filler | PureAsBeauty
For patch-testing guidance and when to consult a dermatologist about reactive skin or professional treatments, the American Academy of Dermatology (aad.org) is a reliable primary resource.


