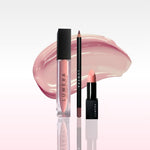
Youthful Lip Makeup Process: Step-by-Step Guide

TL;DR:
- A youthful lip makeup routine starts with exfoliating and hydrating the lips to create a smooth base. Layering thin coats of color with blotting, along with powder sealing, enhances durability and a natural look. Proper prep and product techniques ensure lips appear full, fresh, and transfer-proof throughout the day.
The youthful lip makeup process is a deliberate sequence of lip prep, product selection, and layered application that creates a fresh, full, and natural-looking pout. This is not about heavy coverage or perfectly structured lines. It is about working with your natural lip shape to enhance what you already have. Lumeracosmetica’s approach focuses on techniques that makeup artists actually use, from exfoliation and hydration to micro-layering and blurred edges, so you get results that last and look effortless.
What are the essential steps in the youthful lip makeup process?
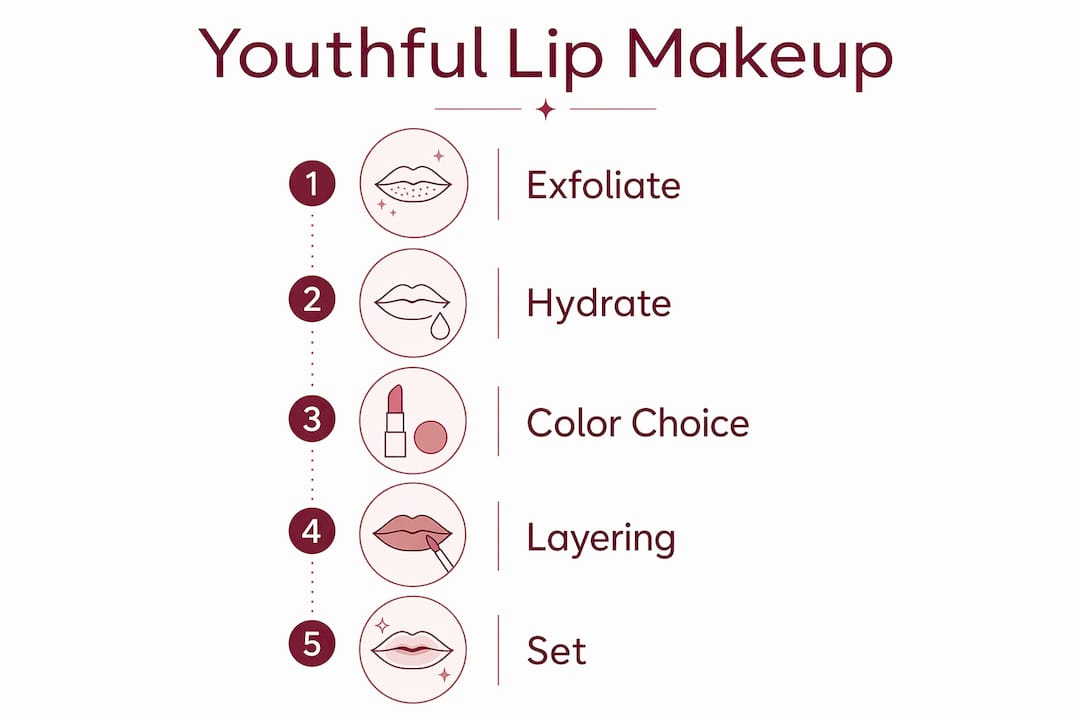
Lip prep is the most overlooked step in any lip makeup tutorial, and skipping it is the single biggest reason color looks patchy or fades fast. Exfoliation removes dead skin before any product touches your lips. Without it, even the best tint or lipstick sits unevenly on the surface.
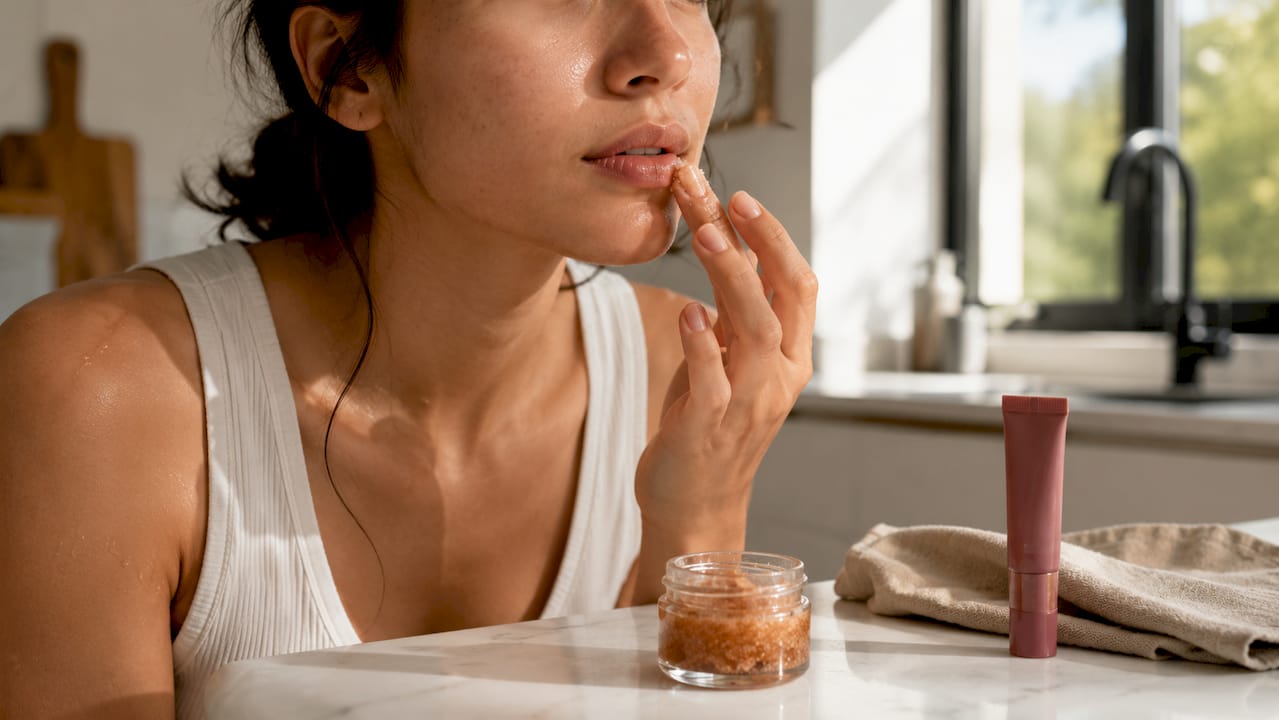
You have three solid options for exfoliation. A store-bought lip scrub works well and is the most convenient. A DIY mix of sugar and honey does the same job for less money. A soft toothbrush used in gentle circular motions is the most accessible option of all. Any of these removes the flaky skin that causes patchiness.
After exfoliating, hydration is the next non-negotiable step. Lip balms with shea butter, coconut oil, or vitamin E nourish the lip surface and allow color to adhere evenly. Apply your balm and let it soak in for 2–5 minutes. Then blot the excess with a tissue. A slippery lip surface causes liner to drag and tint to slide, so blotting is not optional.
Pro Tip: Clean your lips with a gentle, non-drying cleanser before exfoliating. This removes any residual SPF, oils, or old product that would otherwise interfere with your prep.
How do you select and apply products for a natural, youthful look?
Color choice shapes the entire result. Soft pinks, mauves, peachy nudes, and muted reds all read as youthful because they complement natural lip pigment rather than overpower it. Avoid very dark or very cool shades if your goal is freshness. They tend to create contrast that draws attention to fine lines rather than the lips themselves.
Lip tints are the best starting point for a youthful lip appearance. Unlike traditional lipsticks, tints deposit a sheer wash of color that mimics the look of naturally flushed lips. The center-dot and tap-outward method creates a diffused, blurred edge that looks lived-in rather than applied. Place a small dot of tint at the center of both lips, then tap outward with your fingertip toward the corners.
Follow these steps for a clean, natural application:
- Apply a thin first layer of tint using a wand applicator or fingertip.
- Blot lightly with a tissue to remove excess product.
- Add a second thin layer, focusing on the center for depth.
- Apply lipstick first if you are using one, then use liner to shape and fill. Bobbi Brown recommends this order because it reduces harsh, artificial-looking edges.
- Finish with a small amount of clear or tinted gloss at the center of the lower lip for a dewy, fuller effect.
Layering thin coats rather than applying one heavy pass avoids the clumpy, cakey result that ages lips. Each thin layer builds color gradually and creates a natural gradient.
Pro Tip: Use a lip brush for the most control over placement. It lets you work product into the corners and along the lip line without dragging or smearing.
What techniques extend wear time and keep lips looking fresh?
Wear time comes down to barrier building. The lip perimeter is where color breaks down first, through feathering, transfer, and fading. Primer and powder layering significantly extends wear by sealing the edge of your lip color and preventing migration into fine lines.
The full layering sequence works like this:
- Apply a lip primer or a thin layer of concealer around the lip line.
- Line lips with a pencil that matches your lipstick shade. This creates a physical barrier.
- Apply your first thin layer of lipstick or tint.
- Blot with a single-ply tissue to remove oils and emollients.
- Dust translucent powder lightly over the tissue while it rests on your lips. This sets the color without disturbing it.
- Apply a final thin layer of color on top for vibrancy and durability.
The tissue-and-powder step is the one most people skip, and it is the one that makes the biggest difference. Bobbi Brown’s powdering technique creates a barrier effect that prevents smudging and keeps color intact for hours.
For mid-day touch-ups, blot any oils with a clean tissue first. Then reapply just one thin layer of color. Avoid reapplying over built-up product without blotting, since stacking layers without removing oils causes color to look thick and unnatural.
Matte finishes last longer than glossy ones, but they can dry out lips and make fine lines more visible. A satin finish sits between the two. It gives you good wear time without the drying effect, which makes it the better choice for a youthful lip routine for freshness throughout the day.
What common mistakes undermine a youthful lip look?
Most lip makeup problems trace back to one of five fixable errors:
- Skipping prep. Applying tint on dry, flaky lips causes uneven texture and poor color payoff. No product can fix an unprepped surface.
- Applying too much product at once. One heavy pass looks cakey and settles into lines. Micro-layering always produces a better result.
- Using harsh liner edges. A sharply drawn lip line looks dated and artificial. Blend liner inward with a fingertip or brush after application.
- Ignoring feathering. Color that bleeds into the skin around your lips ages the entire look. A liner barrier and a light dusting of powder around the edges stop this.
- Choosing overly matte or drying formulas. Dry lips emphasize texture and lines. If your lipstick dries out your lips within an hour, switch to a formula with added moisture or layer a hydrating balm underneath.
Pro Tip: Keep a small concealer stick in your bag for mid-day cleanup. A tiny amount pressed along the outer lip line sharpens edges and removes any color that has bled, without requiring a full reapplication.
When color looks uneven mid-wear, do not add more product. Blot first, then rehydrate with a single swipe of balm, and follow with one thin layer of tint. This resets the surface without stripping the color already in place. For lasting lip hydration throughout the day, a consistent skincare routine that supports moisture retention makes every lip product perform better.
Key Takeaways
A complete youthful lip makeup routine requires exfoliation, hydration, micro-layered color application, and a powder barrier to keep lips fresh, full, and transfer-proof all day.
| Point | Details |
|---|---|
| Prep before every application | Exfoliate and hydrate lips, then blot excess balm before applying any color. |
| Choose soft, natural shades | Soft pinks, mauves, and peachy nudes enhance natural lip color without emphasizing lines. |
| Layer thin coats of color | Apply multiple thin layers with blotting between each to build natural depth. |
| Use liner after lipstick | Apply lipstick first, then use liner to shape and reduce harsh edges. |
| Powder to lock in color | Dust translucent powder over a tissue on your lips to prevent feathering and extend wear. |
What I have learned from years of watching lip makeup go wrong
The most common mistake I see is treating lip makeup as a shortcut. People buy a great lipstick, skip prep, apply it in one pass, and wonder why it looks off within an hour. The product is rarely the problem. The process is.
I have come to believe that a soft, lived-in lip look is genuinely more youthful than a perfectly structured one. A sharply drawn lip line reads as effort. A blurred, naturally flushed lip reads as health. That shift in thinking changes how you approach every step, from how you apply liner to how much gloss you use.
Color choice relative to skin undertone matters more than most lip tutorials admit. Warm undertones look best in peachy nudes and muted corals. Cool undertones work better with soft pinks and berry mauves. Getting this wrong is why a shade that looks beautiful in the store looks flat or harsh on your face.
My honest recommendation is to treat lip care as a daily habit, not just a pre-makeup step. Lips that are consistently hydrated and exfoliated respond better to every product you put on them. The natural lip look tutorial approach at Lumeracosmetica reflects this thinking: build the canvas first, and the color takes care of itself.
— Rebecca
Lumeracosmetica’s lip products for a youthful finish
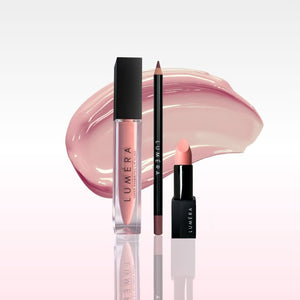
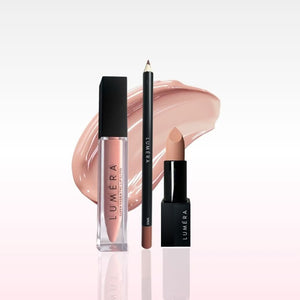
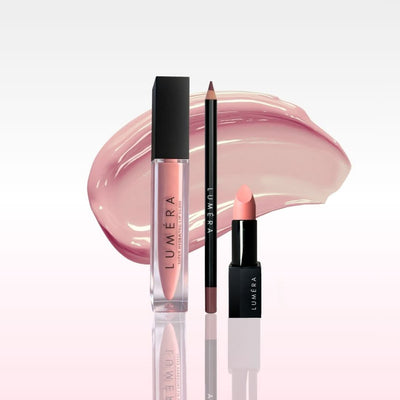
Lumeracosmetica carries a full range of lip care and color products designed to support every step of this process, from hydrating balms and gentle exfoliators to tints and liners built for a natural, lasting finish.
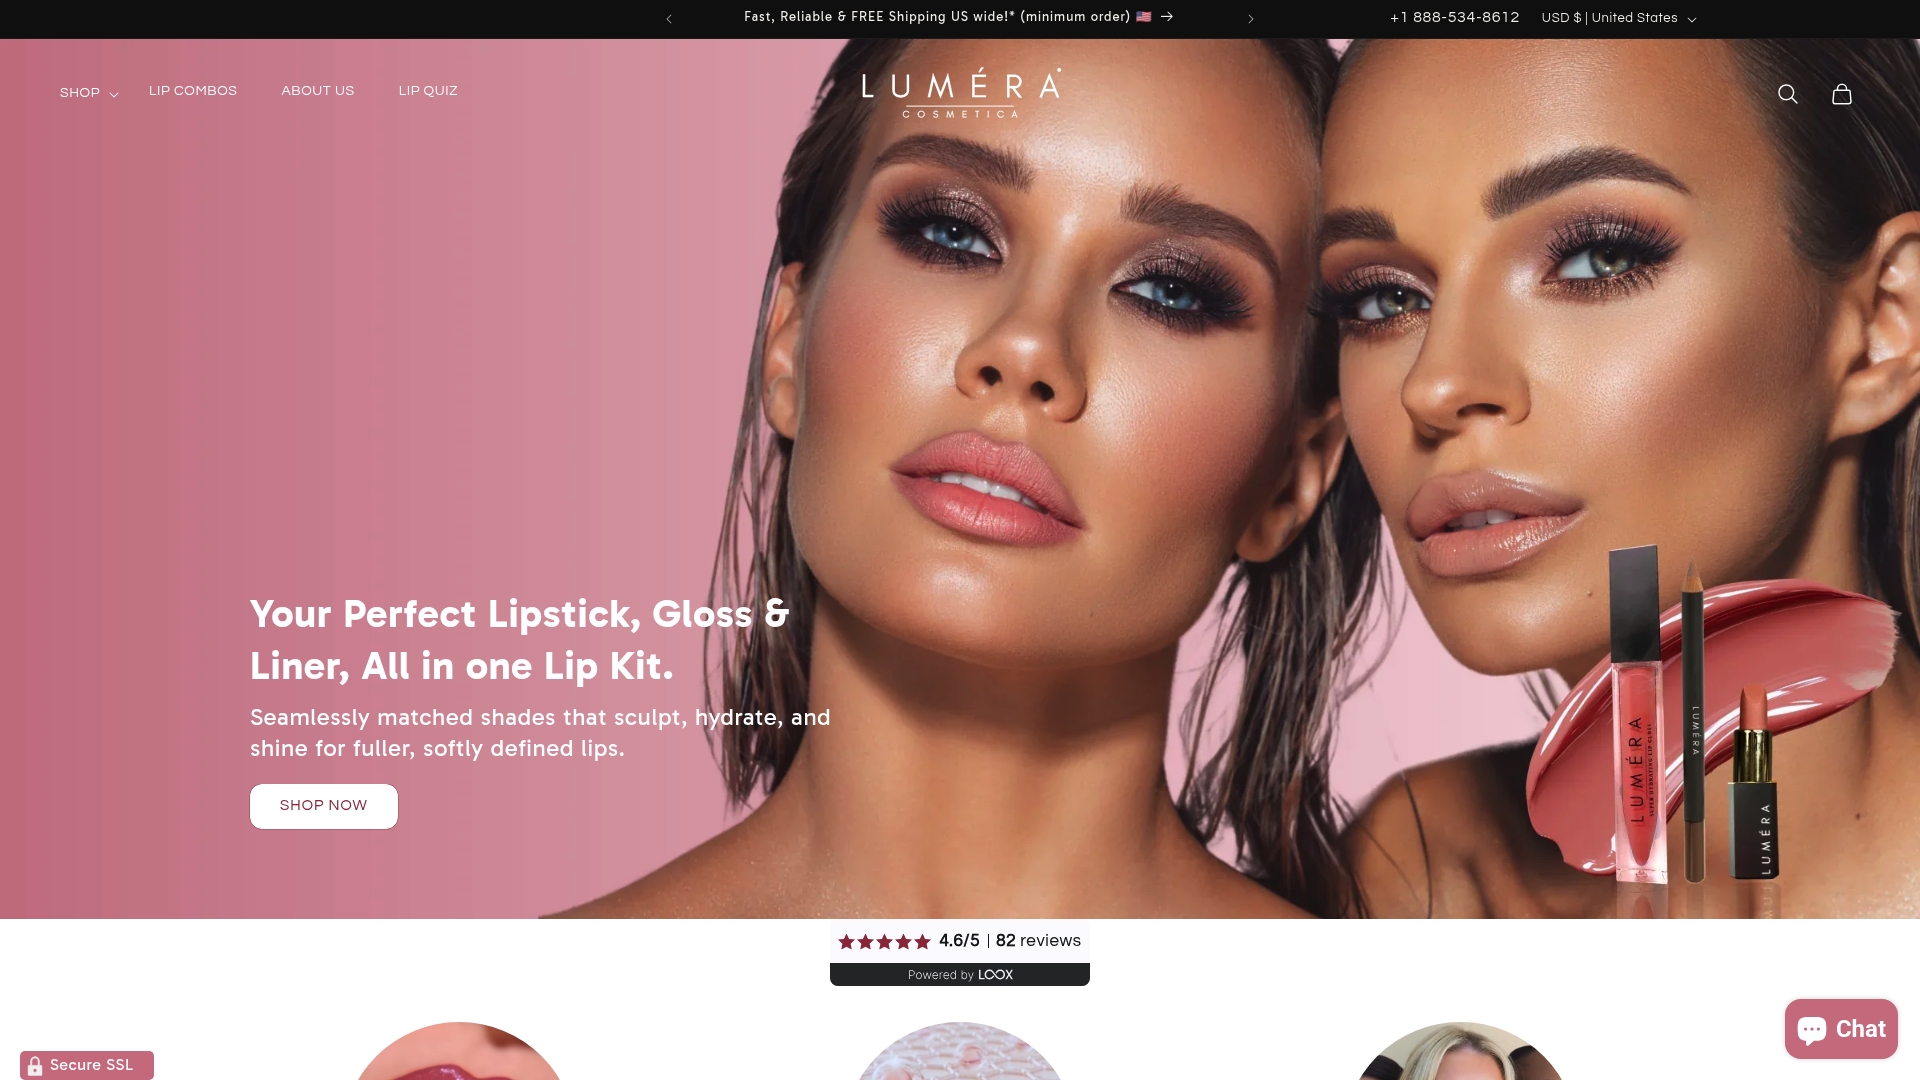
Whether you are refining your prep routine or looking for shades that work with your undertone, Lumeracosmetica’s lip color collection is a practical starting point. For readers focused on keeping color in place all day, the guide on reducing lipstick smudging walks through the exact barrier techniques covered here with product-specific recommendations. Every formula is developed with wear time and natural finish in mind, so you spend less time touching up and more time looking like yourself.
FAQ
What is the first step in a youthful lip makeup process?
Exfoliation is the first step. Removing dead skin before applying any product prevents patchiness and allows color to adhere evenly.
What lip colors work best for a youthful look?
Soft pinks, mauves, peachy nudes, and muted reds are the most effective choices. These shades complement natural lip pigment without drawing attention to fine lines.
How do you make lip color last longer without drying out lips?
Apply thin layers with blotting between each coat, and dust translucent powder over a tissue placed on your lips. This locks in color and prevents feathering without stripping moisture.
Should lip liner go on before or after lipstick?
Apply lipstick first, then use liner to shape and define. This approach, recommended by Bobbi Brown, reduces harsh edges and creates a more natural result.
How do you fix uneven lip color mid-day?
Blot the lips first to remove excess oil, then rehydrate with a single swipe of balm, and follow with one thin layer of tint or lipstick. Avoid layering over built-up product without blotting first.