Effective Ways to Reduce Lipstick Smudging All Day

TL;DR:
- Proper lip preparation, including exfoliation, hydration, and priming, significantly reduces lipstick smudging.
- Using a reverse liner technique—applying lipstick first, then lining and filling—enhances long-lasting color and prevents feathering.
- Layering thin coats of lipstick, setting with translucent powder, and avoiding heavy balms create a smudge-proof, durable finish.
Lipstick smudging is caused primarily by excess emollience on the lips and the absence of a physical containment barrier. The good news: the right preparation and application steps eliminate most of the problem before it starts. Knowing the ways to reduce lipstick smudging means working with three layers of defense: a prepped lip surface, a liner barrier, and a powder seal. Makeup artists like Bobbi Brown have long relied on tools including lip liners, translucent powders, and lip primers to keep color locked in place. This guide walks you through each step in the order it matters.
What are the best ways to reduce lipstick smudging?
Lipstick smudging is primarily caused by emollience and lip texture. A grippy, hydrated lip surface combined with a liner containment layer improves longevity significantly. That single insight shapes every technique below.
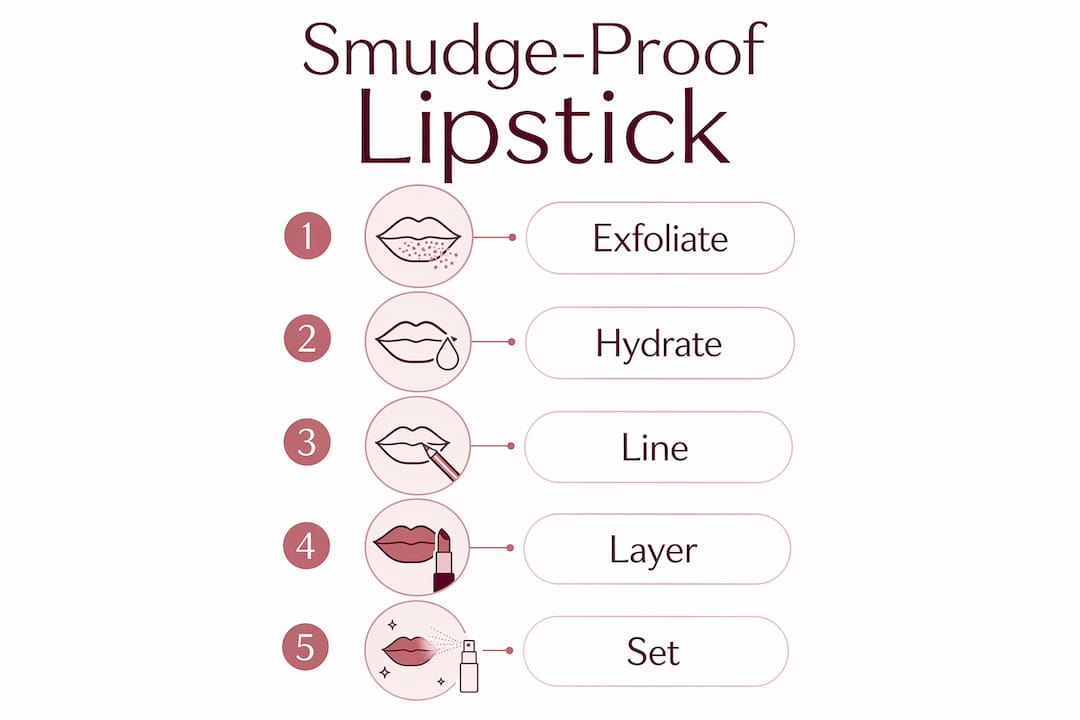
The most effective approach combines three phases: preparing the lip surface, applying liner as a barrier, and setting the finished look with powder. Skip any one of these phases and the other two underperform. Women in their 30s, 40s, and 50s often find that fine lines around the lip border make feathering worse. That makes the barrier and setting steps especially worth the extra two minutes they require.
How to prepare your lips to prevent lipstick smudging
Preparation is the step most women skip, and it is the one that makes the biggest difference. A smooth, lightly hydrated lip surface gives lipstick something to grip. A rough or overly oily surface does the opposite.
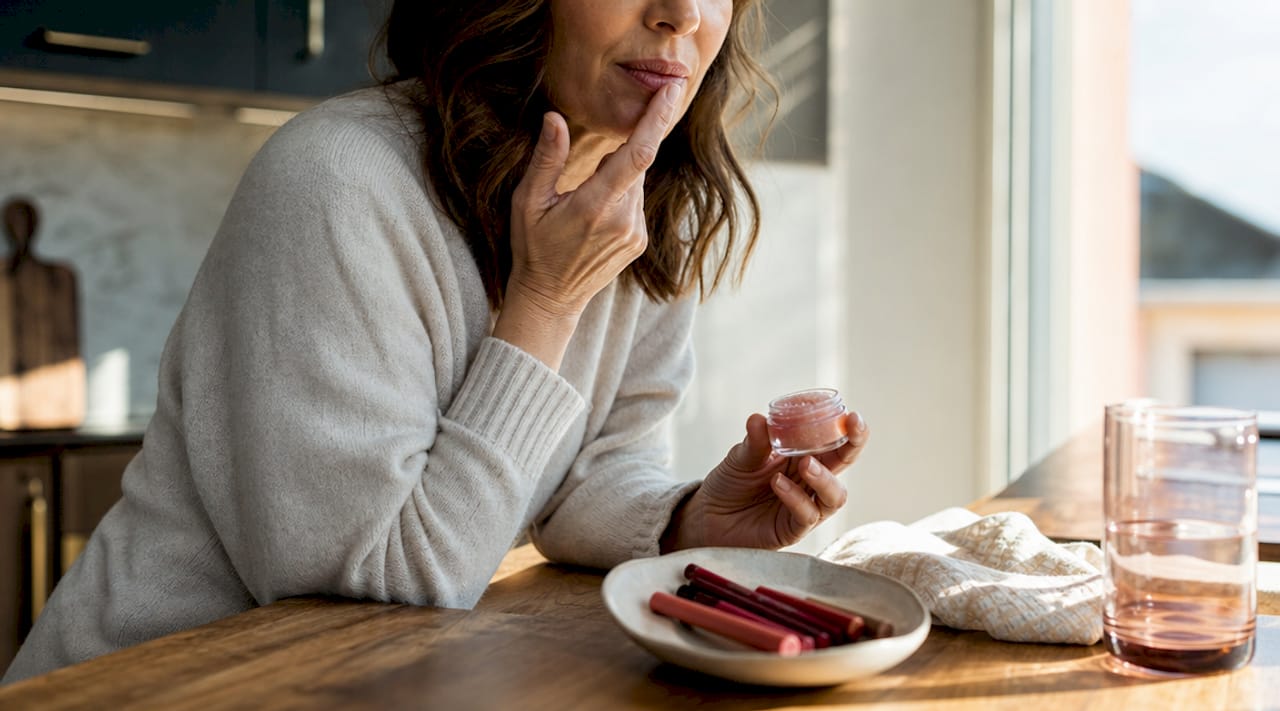
Start with exfoliation. Exfoliating lips once or twice weekly removes dead skin that causes uneven application and accelerates smudging. A gentle sugar scrub or a soft toothbrush in small circular motions takes under a minute and produces a noticeably smoother texture within a week of consistent use.
After exfoliating, hydration matters, but timing matters more. Apply a light balm at least 5 to 10 minutes before lipstick and blot the excess with a tissue before you begin your lip color. A thin residue of moisture keeps lips comfortable. A thick layer of balm creates a slippery base that causes lipstick to slide and feather within the hour.
The third preparation step is priming. A lip primer fills fine lines and creates a slightly tacky surface that lipstick adheres to evenly. If you do not have a dedicated lip primer, a thin layer of concealer applied to the lips and blotted dry works almost as well. Both options neutralize natural lip color, which also makes your lipstick shade appear truer.
Here is what to do and what to avoid during preparation:
- Exfoliate gently once or twice a week, not daily
- Apply a lightweight, non-greasy balm and give it time to absorb fully
- Blot excess balm before applying any product
- Use a lip primer or thin layer of concealer to create a grippy base
- Avoid petroleum-based or heavy balms applied right before lipstick
Pro Tip: Set a timer for 10 minutes after applying balm. Use that time to do the rest of your face. By the time you reach your lips, the balm has absorbed and you can blot cleanly without stripping moisture.
Does lip liner actually stop lipstick from feathering?
Lip liner is the single most effective tool for preventing feathering and bleeding. It creates a physical wax barrier at the lip border that pigment cannot easily cross. The technique, however, matters as much as the product itself.
Bobbi Brown’s liner-on-top technique reverses the order most people use. Instead of lining first and filling in with lipstick, you apply lipstick first, then trace the lip border with liner, and then fill the entire lip with the pencil. This method locks the lipstick underneath a matte, waxy layer that resists transfer and gives the color a longer-wearing texture. It sounds counterintuitive, but the result is noticeably more durable than the traditional order.
For best results with liner, follow these steps:
- Apply your lipstick first using a brush or directly from the bullet
- Choose a liner that matches your lipstick shade as closely as possible
- Trace the natural lip border precisely. Do not over-line beyond the natural edge
- Fill in the entire lip surface with the pencil, not just the outline
- Press lips together lightly to blend the layers without smearing the edges
Matching liner shade to lipstick color is not just an aesthetic choice. A liner that is too dark creates an obvious ring if the lipstick wears off faster than the pencil. A close match means the look stays consistent as the day progresses.
Pro Tip: If you want to explore advanced liner application beyond the basics, a dedicated technique guide covers precision methods for different lip shapes and formulas.
How to layer lipstick for better all-day wear
Layering is the difference between lipstick that lasts two hours and lipstick that lasts six. The key is building thin coats rather than applying one heavy layer.
Follow this sequence for maximum staying power:
- Apply the first thin coat of lipstick using a lip brush for precision
- Blot gently with a single-ply tissue to remove excess oils and set the first layer
- Apply a second thin coat directly over the blotted layer
- Blot again lightly before the final coat
- Apply the final coat and do not blot, leaving the surface fresh
Blotting between layers removes the oils that cause slipping without stripping the pigment. The result is a denser, more even color deposit that holds through meals, drinks, and conversation.
Formula choice reinforces this technique. Matte and satin finishes carry significantly lower bleeding risk than high-shine glosses. Glossy formulas stay wet on the lip surface, which means they migrate easily. If you prefer some shine, save it for the final step described in the next section. For women who want a long-lasting lipstick method that holds through a full workday, matte liquid formulas combined with this layering sequence deliver the most consistent results.
How to set lipstick with powder for a smudge-proof finish
Setting is the final lock that holds everything in place. Two tools do this job well: translucent powder and concealer.
The tissue-and-powder method works like this:
- Lay a single-ply tissue loosely over your finished lips
- Dip a fluffy brush into translucent powder and tap off the excess
- Dust the powder lightly over the tissue so it filters through onto the lip surface
- Remove the tissue to reveal a mattified, set lip color
Translucent powder set over a tissue locks color in place without drying the lips or altering the shade. It is a backstage makeup artist standard for a reason. The tissue acts as a diffuser, preventing too much powder from landing directly on the lips and causing a chalky finish.
The second tool is concealer applied around the lip edges. The reverse concealer technique uses a small brush to apply concealer just outside the lip border, sharpening the line and sealing any gaps where pigment might migrate. This step is especially useful for women with fine lines around the mouth.
If you want some gloss after setting, apply it only to the center of the lips. Gloss at the center adds dimension without creating wet edges that bleed into surrounding skin.
| Setting method | Best for | Key benefit |
|---|---|---|
| Tissue and translucent powder | All lip formulas | Locks color, reduces transfer |
| Concealer around edges | Fine lines, precise borders | Seals migration points |
| Center-only gloss | Adding shine after setting | Shine without edge bleeding |
Common mistakes that cause lipstick smudging
Even with the right products, a few habits undo all the preparation work. Recognizing these patterns is the fastest way to improve your results.
- Applying too much balm right before lipstick creates a slippery base. Heavy or petroleum-based balms break down liner and lipstick layers within an hour
- Skipping liner entirely removes the wax barrier that contains pigment at the lip border
- Choosing glossy or very creamy formulas increases transfer risk, especially in warm weather
- Over-powdering causes dryness and cracking, which actually accelerates smudging as the lip surface breaks up
- Wiping lips after eating instead of blotting removes the top layer of color and disturbs the liner barrier
Pro Tip: After eating, blot lips with a clean tissue using a press-and-lift motion. Never wipe sideways. Then touch up with a single coat of lipstick and re-blot. This restores color in under 30 seconds without rebuilding from scratch.
Key takeaways
Smudge-proof lipstick requires a prepped surface, a liner barrier, thin layered application, and a powder seal working together as a system.
| Point | Details |
|---|---|
| Prep the lip surface first | Exfoliate weekly and apply balm 10 minutes before lipstick, then blot excess. |
| Use liner as a barrier | Fill the entire lip with pencil after applying lipstick to lock color in place. |
| Layer in thin coats | Apply and blot two to three thin layers for denser color and longer wear. |
| Set with translucent powder | Use the tissue-and-powder method to mattify and seal without drying the lips. |
| Avoid heavy balms before application | Petroleum-based or thick balms create a slippery base that causes feathering. |
What I have learned about making lipstick actually last
After years of watching women rebuild their lip color every two hours, I have come to believe the biggest barrier is not product quality. It is sequence. Most women apply balm, swipe on lipstick, and call it done. The liner, the blotting, the powder seal: these feel like extra steps until you experience a lip color that holds through a full day without touching it.
For women in their 30s and 40s, fine lines around the mouth make feathering a real concern, not just a cosmetic inconvenience. The reverse concealer step and the liner-fill technique address this directly. I would start there before investing in new products.
My honest recommendation: pick one technique from this article and practice it for a week before adding another. The layering method is the easiest entry point because it requires nothing new. Just apply thinner coats and blot between them. Most women notice a difference within the first try. Once that becomes habit, add the tissue-and-powder seal. Build the system gradually and it sticks. Trying to implement all five steps at once usually means abandoning all of them by day three.
Quality tools matter, but they amplify a good technique rather than replace it. A precise lip liner and a fluffy powder brush make the process faster and cleaner. Start with the method, then refine with better tools over time.
— Rebecca
Discover Lumeracosmetica’s lip products built for lasting wear

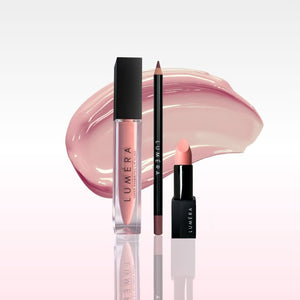
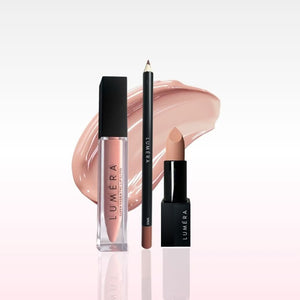
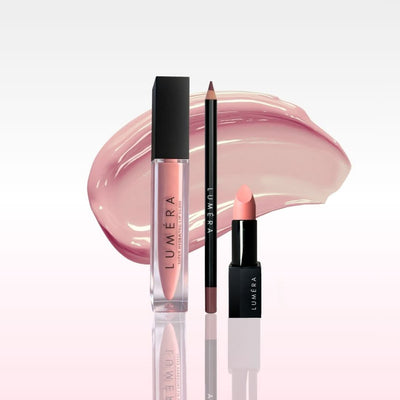
Lumeracosmetica designs lip products specifically for women who need color that holds through real days. The range includes lip liners formulated for precise barrier application, primers that fill fine lines and create a grippy base, and setting powders that work with the tissue method without chalking or drying. Every product in the collection is built around the techniques covered in this article, so the tools and the method work together from the start. Visit Lumeracosmetica to explore the full lip care range and find products matched to your routine.
For women over 40 looking for targeted guidance, the smudge-proof lipstick guide covers additional techniques specific to mature lip texture and fine lines.
FAQ
What is the fastest way to stop lipstick from smudging?
Apply a matching lip liner over your lipstick and fill in the entire lip with the pencil. This creates a wax barrier that contains pigment and adds a matte texture that resists transfer.
Does translucent powder really set lipstick?
Yes. Dusting translucent powder through a single-ply tissue onto finished lips locks color in place and reduces transfer without altering the shade or drying the lips.
How long before lipstick should I apply lip balm?
Apply balm at least 5 to 10 minutes before lipstick and blot the excess before you begin. Balm applied immediately before lipstick creates a slippery base that causes feathering.
Which lipstick formula smudges the least?
Matte and satin formulas carry the lowest smudging risk. Glossy and very creamy formulas stay wet on the lip surface and migrate easily, especially in warm conditions.
Can I wear gloss without causing bleeding?
Yes. Apply gloss only to the center of the lips after setting with powder. This adds shine without creating wet edges that cause pigment to migrate into the surrounding skin.