Step by Step Red Lips for Women 40+: 2026 Guide

TL;DR:
- Achieving flawless, long-lasting red lips requires full liner fill, layered blotted lipstick, and translucent powder setting. Proper preparation, including gentle exfoliation, balm absorption, and concealer application, is essential for even color on mature lips. Using the right finish, shades, and tools, along with correct technique, ensures a polished look that lasts all day.
Red lip application is the process of layering pigment precisely, from prep through final setting, to create a vibrant, well-defined lip that lasts all day without feathering or fading. For women over 40, the technique matters more than the product. Fine lines, dryness, and shifting skin tones mean that skipping even one step produces a patchy, short-lived result. This guide walks you through every stage of the step by step red lips process, from the tools you need to the finishing moves that separate a polished look from one that fades by noon. You will need a lip liner, a lip brush, and translucent powder at minimum.
What tools and products are essential for perfect red lips?
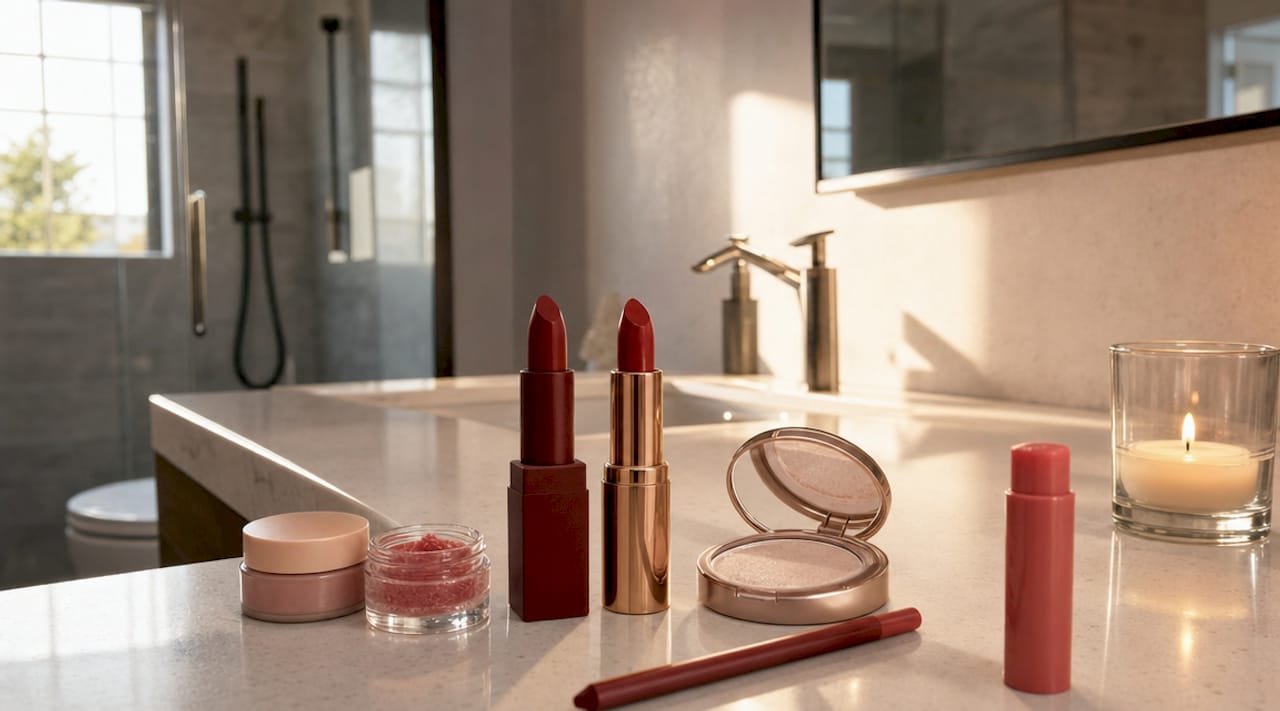
The right tool list is the difference between a professional result and a frustrating one. Skipping any item below forces you to compensate later, usually with more product, which adds weight and reduces wear.
The core kit:
- Lip liner in a shade matching or one tone darker than your lipstick. Matching prevents visible outlines; slightly darker adds depth.
- Red lipstick in your preferred finish (matte, satin, cream, or liquid matte). Each finish behaves differently on mature lips.
- Lip balm to hydrate before application. Dry lips drink pigment unevenly.
- Lip primer or concealer to smooth texture and create a neutral base that stops color bleeding.
- Lip brush for precision layering from the center outward.
- Tissue for blotting between layers.
- Translucent powder for setting and transfer resistance.
Choosing the right finish is not just a style decision. It directly affects how long your color lasts and how it interacts with fine lines.
| Finish | Texture feel | Best for | Wear time |
|---|---|---|---|
| Matte | Dry, flat | Bold, long-wear looks | 6+ hours with setting |
| Satin | Slight sheen | Everyday wear, mature lips | 4–5 hours |
| Cream | Soft, comfortable | Hydrated, plump appearance | 3–4 hours |
| Liquid matte | Lightweight, dries flat | Transfer-proof, all-day wear | 6–8 hours |
Satin and cream finishes are generally more forgiving on mature lips because they do not settle into fine lines the way a heavy matte can. Layering lipstick with setting powders can transform a cream finish into a long-wear matte look, giving you both color vibrancy and durability without the drying effect of a traditional matte formula.
How to prep your lips for flawless red lipstick application
Preparation is the step most women skip, and it is the reason red lipstick looks uneven or fades within two hours. Mature lips lose moisture faster than younger skin, so a proper base is non-negotiable.
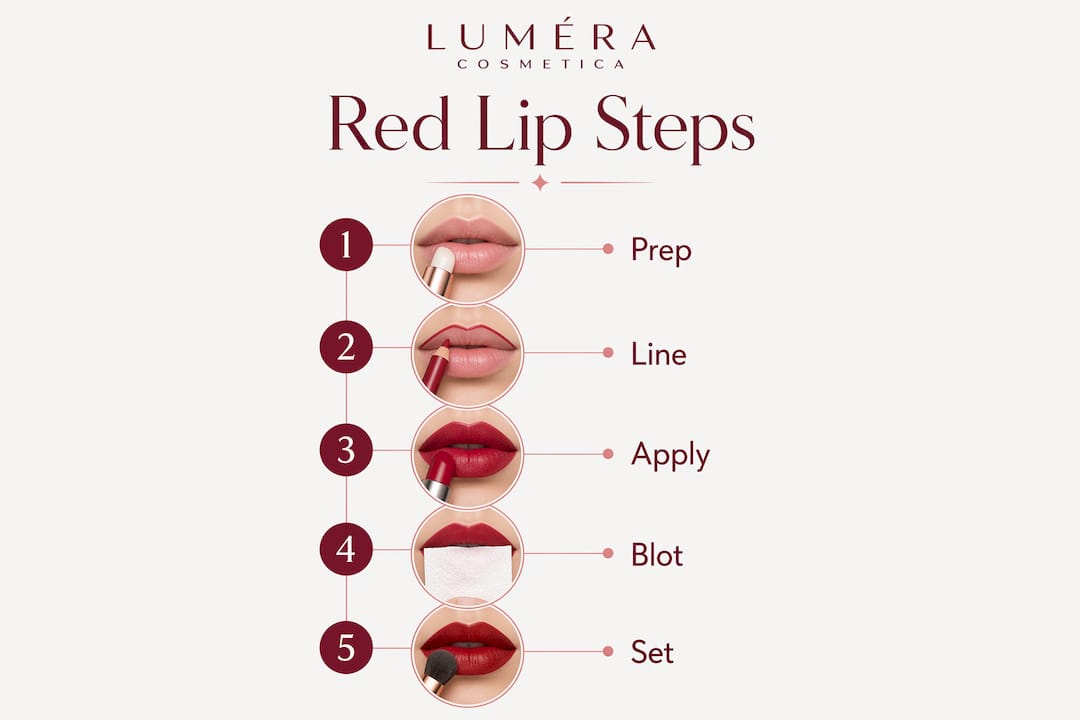
Prep steps in order:
- Exfoliate gently. Use a soft washcloth or a sugar-based lip scrub with a light circular motion for about 30 seconds. Over-scrubbing causes sensitivity and redness, which shows through red pigment.
- Apply a moisturizing balm. Choose one without heavy wax or petroleum if you plan to apply lipstick within minutes. Wax-heavy balms create a slippery surface that causes liner to skip.
- Wait 2 to 3 minutes. This is the step most people rush. The balm needs time to absorb into the lip surface before you blot.
- Blot excess balm with a tissue. Blotting before application removes the slip without stripping the moisture. A slippery lip surface causes liner to drag and lipstick to move.
- Apply lip primer or a thin layer of concealer. This neutralizes natural lip color, creates a smooth canvas, and gives the liner and lipstick something to grip.
Pro Tip: If your lips tend to feather along the edges, apply concealer just outside the lip line before you even pick up your liner. Setting that concealer with a tiny amount of translucent powder locks the border in place before color touches your lips.
What is the step-by-step process to line, apply, and build a perfect red lip?
This is the core of the red lip tutorial, and the sequence is not arbitrary. Each step creates the conditions for the next one to work.
-
Start at the cupid’s bow. Place your liner at the center peak of your upper lip and draw short, light strokes outward toward each corner. Short strokes give you more control than one continuous drag, especially if your hand is not perfectly steady.
-
Line the lower lip. Begin at the center of the lower lip and work outward to each corner. Keep the liner on the natural lip line. Over-lining by more than 1 millimeter looks obvious on mature skin because the surrounding skin texture makes the gap visible.
-
Fill in the entire lip with liner. Filling lips fully with liner before applying lipstick anchors the color and dramatically reduces fading. This step is especially effective for mature lips with fine lines because the liner pigment grips the surface and slows migration.
-
Apply the first lipstick layer with a lip brush. Load the brush lightly and layer pigment from center outward, buffing toward the edges. A brush picks up the right amount of product and deposits it evenly. Applying directly from the bullet often overloads the center and thins out at the corners.
-
Blot with a single-ply tissue. Press your lips gently onto the tissue. Do not rub. Blotting after the first layer removes excess oils and emollients, which allows the second coat to bond more effectively and last longer.
-
Clean up the edges with concealer. Use a small concealer brush to correct any slips just outside the lip line. Many professional makeup artists do this after the first color pass rather than before, because it is far easier to correct a visible slip than to anticipate every imperfection in advance.
-
Apply the second lipstick layer. This coat builds intensity and fills any gaps left by blotting. Use the brush again for control. Two thin layers always outperform one thick one in both color payoff and wear time.
Pro Tip: For liquid matte lipstick, the process is different. Apply one thin layer from the center outward, let it dry for approximately 60 seconds, then press your lips together once. Liquid matte formulas should never be blotted. Blotting disrupts the film before it sets and creates patchy, uneven color.
How to set and maintain red lipstick for long-lasting wear
Setting is what separates a four-hour lip from a full-day one. The tissue-and-powder method is the most reliable technique for extending wear without adding visible product.
-
Tear a single-ply tissue from a two-ply sheet. Hold it loosely over your lips so it lies flat against the color without pressing.
-
Dust translucent powder lightly through the tissue. The tissue acts as a diffuser, depositing a micro-fine layer of powder directly onto the lipstick surface. Setting with translucent powder through a tissue extends wear to 6 or more hours and significantly increases transfer resistance.
-
Remove the tissue and apply one final thin layer of lipstick. This restores the color vibrancy that the powder slightly mutes, and it seals the powder layer underneath.
-
Apply concealer and powder around the outer lip edge. This creates a physical barrier that stops feathering, which is the most common complaint among women over 40 wearing red lipstick.
Pro Tip: Timing the powder application correctly can turn a traditional cream lipstick into a transfer-resistant finish that lasts 6 or more hours without heaviness. The key is applying the powder while the second lipstick layer is still slightly warm from your lips, not after it has fully cooled and set.
The finish you choose also affects how well this method works on mature lips.
| Finish | Feathering risk | Powder setting effectiveness | Recommended for 40+ |
|---|---|---|---|
| Matte | Low | High | Yes, with balm prep |
| Satin | Low to medium | High | Yes, most versatile |
| Cream | Medium | Medium to high | Yes, most comfortable |
| Liquid matte | Very low | Not needed | Yes, for all-day events |
Matching your lipstick to your skin undertones matters more as skin tones shift with age. A red that harmonizes with your undertone reads as polished rather than harsh, and it requires less correction around the edges.
What common mistakes should women over 40 avoid with red lipstick?
Knowing what not to do saves you time and product. These are the errors that consistently undermine an otherwise careful application.
- Over-exfoliating. Scrubbing for more than 30 to 45 seconds causes micro-irritation that shows through red pigment as uneven texture. Gentle is always enough.
- Skipping liner or not filling the full lip. Liner applied only to the outer edge provides minimal benefit. The full-fill technique is what actually prevents fading and feathering on mature lips.
- Applying lipstick in one thick layer. Thick application looks heavy, settles into fine lines immediately, and fades unevenly. Two thin layers always perform better.
- Skipping the blot between layers. Without blotting, the second layer slides over the first instead of bonding to it. The result is a lip that looks overdone and transfers within the hour.
- Over-lining beyond the natural lip border. A line more than 1 millimeter outside the natural lip edge is visible on mature skin. If you want more definition, use a slightly darker liner shade rather than drawing outside the line.
- Ignoring dryness on the day of application. Dry lips absorb pigment unevenly and cause cream and satin formulas to look patchy within two hours. If your lips feel tight before you start, add an extra minute of balm absorption time.
Pro Tip: A red lip that brightens the complexion and adds a polished look is achievable at any age. The difference between a look that reads as confident and one that reads as overdone is almost always in the prep and the liner fill, not the lipstick itself.
Key takeaways
Flawless, long-lasting red lips require full liner fill, two blotted lipstick layers, and translucent powder setting applied in the correct sequence.
| Point | Details |
|---|---|
| Prep is non-negotiable | Exfoliate, apply balm, wait 2 to 3 minutes, then blot before any liner or lipstick. |
| Fill lips fully with liner | Full liner coverage anchors pigment and prevents feathering on mature lips. |
| Layer and blot between coats | Two thin blotted layers outperform one thick application in color payoff and wear time. |
| Set with tissue and powder | Dusting translucent powder through a single-ply tissue extends wear to 6 or more hours. |
| Match finish to your needs | Satin and cream finishes suit mature lips best; liquid matte works for all-day events. |
Why red lipstick is worth the extra steps
I have been working with red lipstick for years, and the one thing I tell every woman over 40 is this: the steps feel like a lot the first time, and then they become muscle memory. The payoff is real. A well-applied red lip brightens the entire face in a way that no other single product can match.
What I have learned from experience is that the liner fill step is the one most women resist, and it is the one that makes the biggest difference. Filling the entire lip with liner before applying lipstick feels redundant until you see how much longer the color stays put. On mature lips with fine lines, it is the single most effective technique for preventing that dreaded feathering by mid-morning.
I also want to say something about shade selection that most guides gloss over. Not every red works on every skin tone, and this becomes more pronounced after 40 as undertones shift. If a red has ever looked harsh or aging on you, the formula was probably wrong, not the color category. A blue-based red flatters cool undertones; an orange-based red suits warm skin. Testing on your actual lip, not the back of your hand, is the only reliable method.
My honest advice: invest in a quality lip brush before you invest in another lipstick. The brush is what gives you the precision that makes the whole look land. And wear your red lips on a Tuesday. The confidence it builds is not reserved for special occasions.
Everyday red lip routines for women over 40 are worth building into your regular practice, not saving for events.
— Rebecca
Get the right products for your red lip routine
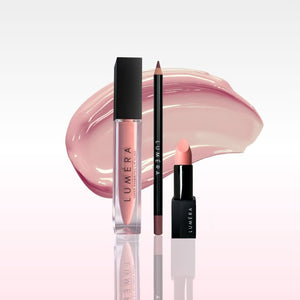
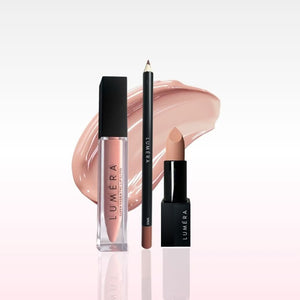
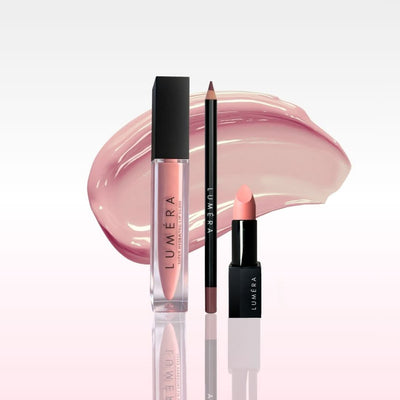
Achieving the perfect red lip starts with having the right tools in your kit. Lumeracosmetica carries a curated range of lip liners, lipsticks in every finish from satin to liquid matte, and precision lip brushes designed for the layering technique described in this guide.

The collection includes shades developed specifically for mature skin tones, along with lip balms and exfoliators to support your prep routine. Translucent setting powders and lip primers are also available to complete every step from base to finish. Browse the full Lumeracosmetica lip collection to find the exact products that match your skin tone, preferred finish, and wear-time needs.
FAQ
What is the most important step in a red lip tutorial?
Filling the entire lip with liner before applying lipstick is the single most impactful step. It anchors the color, prevents feathering, and extends wear time, especially on mature lips with fine lines.
How do I stop red lipstick from feathering after 40?
Apply concealer just outside the lip line, set it with translucent powder, and fill your lips fully with liner before adding any lipstick. This creates a physical barrier that stops color migration into fine lines.
How long does red lipstick last with proper setting?
Setting with translucent powder through a single-ply tissue extends wear to 6 or more hours and increases transfer resistance significantly compared to unset lipstick.
Can I wear liquid matte red lipstick if my lips are dry?
Yes, but prep is critical. Exfoliate, apply balm, and wait the full 2 to 3 minutes before blotting. Apply the liquid matte in one thin layer and let it dry completely before pressing lips together. Do not blot liquid matte formulas.
What red lipstick finish works best for women over 40?
Satin and cream finishes are the most forgiving because they do not settle into fine lines the way heavy matte formulas can. For all-day events, liquid matte provides the best transfer resistance without the drying effect of traditional matte lipstick.