Step by Step Lip Mask Guide for Women 40+

TL;DR:
- A homemade lip mask using natural ingredients like honey, shea butter, and oils can hydrate, exfoliate, and restore dry or aging lips. Proper application, sanitization, and limiting exfoliation optimize results and prevent irritation. Consistent use and combining with SPF protection lead to softer, healthier lips over time.
A step-by-step lip mask is a DIY nourishing lip treatment you make and apply at home to hydrate, exfoliate, and restore dry or thinning lips. After 40, lips lose moisture faster and show fine lines more readily, making a regular lip mask routine more than a luxury. The right homemade lip mask uses ingredients like honey, shea butter, castor oil, and sugar to deliver real results. Hydrating lip masks containing shea butter and glycerin visibly plump and soften lips, though the plumping effect is temporary. This guide walks you through every stage, from mixing your first batch to applying it correctly for maximum benefit.
What ingredients do you need for a DIY lip mask?
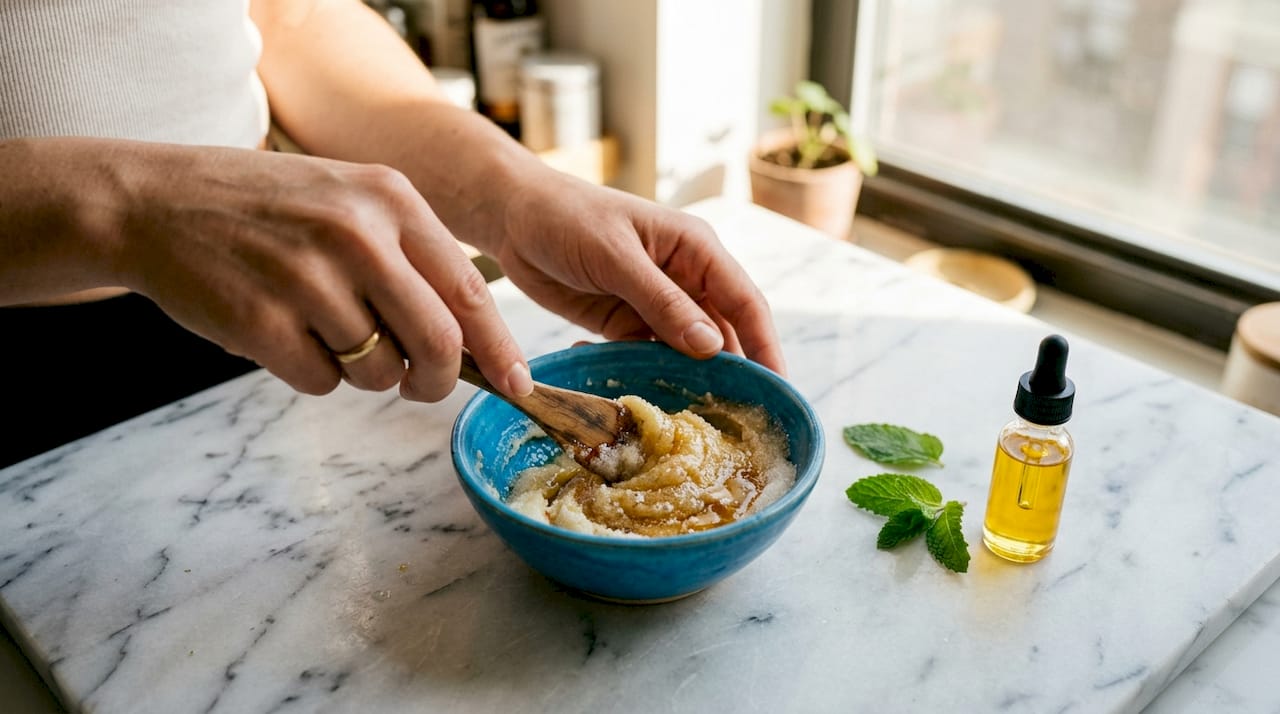
The best DIY lip mask ingredients are ones you likely already have in your kitchen. Honey is a natural humectant, meaning it draws moisture into the skin and holds it there. Coconut oil and shea butter provide deep conditioning and help seal that moisture in. Natural oils like coconut and olive oil also offer antimicrobial benefits, protecting delicate lip skin from bacteria.
For exfoliation, fine white sugar or brown sugar works well. Brown sugar is slightly coarser and better for lips that feel rough or flaky. Beetroot powder is an optional add-in that gives a natural tint while providing mild antioxidant benefits. Castor oil is worth including because it thickens the texture of your mask and adds a conditioning layer that lasts.
Essential oils like lavender or chamomile can be added in very small amounts, typically one or two drops per batch, for a calming scent and gentle skin benefit. Always use skin-safe, diluted essential oils. Never apply undiluted essential oils directly to lips.
Here is a quick overview of common ingredients and their roles:
| Ingredient | Function | Typical Ratio |
|---|---|---|
| Honey | Humectant, antibacterial | 1 teaspoon |
| Shea butter | Deep moisturizer, barrier repair | 1 teaspoon |
| Castor oil | Thickener, conditioner | 1/2 teaspoon |
| Coconut oil | Emollient, antimicrobial | 1/2 teaspoon |
| Fine sugar | Gentle exfoliant | 1/2 teaspoon |
| Beeswax | Texture setter, sealant | Small pellet |
| Lavender essential oil | Soothing, scent | 1–2 drops |
Pro Tip: Choose organic, cold-pressed oils when possible. Refined oils often strip out the beneficial plant compounds that make them effective on skin.
Before you mix anything, sanitize your tools. Dipping mixing utensils in a 5% bleach solution and letting them air dry prevents bacteria from contaminating your batch. This step matters more than most people realize, especially for products applied near the mouth.
- Small glass or stainless steel bowl for mixing
- Double boiler or a heatproof bowl set over a pot of simmering water
- Silicone spatula for stirring
- Small glass jar or tin for storage
- Lip brush or clean fingertip for application
How do you prepare a homemade lip mask recipe?
A classic overnight lip mask recipe uses castor oil, shea butter, beeswax, and a carrier oil as its base. DIY overnight lip masks act as deep conditioners during sleep, and the layering of these ingredients creates a long-lasting moisturizing barrier that works especially well for dry lips.
Here is a simple recipe to start with:
- Gather your ingredients. Measure out one teaspoon of shea butter, one teaspoon of honey, half a teaspoon of castor oil, half a teaspoon of coconut oil, and a small beeswax pellet (about the size of a pea).
- Set up a double boiler. Place a heatproof bowl over a pot of gently simmering water. Do not let the bowl touch the water directly. This gentle heat melts your ingredients without burning them.
- Melt the beeswax first. Add the beeswax pellet to the bowl and stir slowly until fully melted. Beeswax has the highest melting point in this recipe, so it goes in first.
- Add shea butter and oils. Once the beeswax is liquid, add the shea butter, castor oil, and coconut oil. Stir until everything is fully combined and smooth.
- Remove from heat and add honey. Take the bowl off the heat. Let it cool for two minutes, then stir in the honey. Adding honey while the mixture is too hot can break down its beneficial enzymes.
- Add essential oil if using. Drop in one or two drops of lavender or chamomile essential oil and stir gently.
- Pour into your container. Transfer the mixture into a small clean glass jar or tin. Let it cool at room temperature until it sets. Do not refrigerate immediately, as rapid cooling can cause the texture to crack.
- Label and date your jar. A batch made with no water-based ingredients typically lasts four to six weeks at room temperature.
Pro Tip: For a whipped texture, let the mixture cool until it starts to solidify around the edges, then whip it with a fork or small hand mixer. This creates a lighter, fluffier consistency that spreads more easily.
You can adjust this recipe based on what you have available. If you do not have beeswax, increase the shea butter slightly for a softer balm-style mask. If your lips are very dry, add an extra half teaspoon of castor oil for more occlusive coverage. For a quick exfoliating version, skip the beeswax and stir in half a teaspoon of fine sugar before the mixture fully sets.
How to apply a lip mask step by step for best results
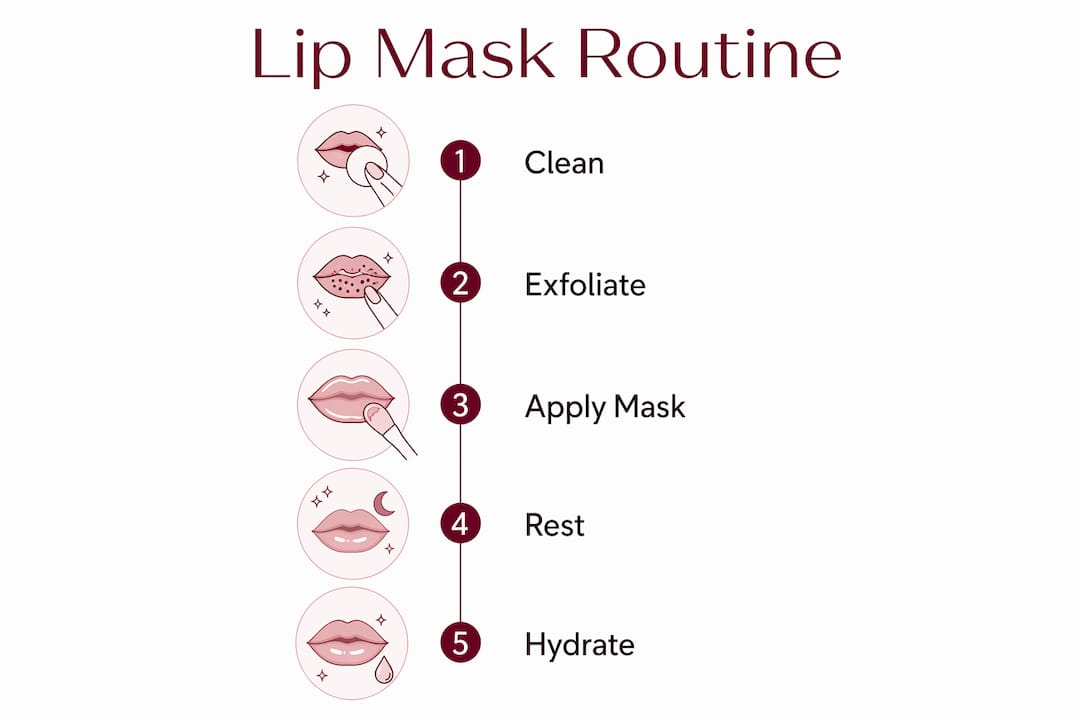
Proper application makes the difference between a mask that works and one that just sits on the surface. Lips should be clean and free of makeup before you apply any mask, so active ingredients can actually reach the skin.
Follow these steps for the best results:
- Cleanse your lips. Use a damp warm cloth to gently wipe away any lipstick, balm, or food residue. Pat dry.
- Exfoliate gently. If your mask does not contain sugar, use a separate sugar scrub first. Limit exfoliation to 30–45 seconds of gentle circular massage. More than that disrupts the lip’s natural barrier.
- Scoop a small amount of mask. Use a clean lip brush or the tip of a clean finger. Never double-dip into your jar with a used applicator.
- Press, do not rub. Press the mask into your lips with your fingertip rather than rubbing it in. Pressing increases absorption and keeps the product where it belongs.
- Apply a generous layer. For an overnight mask, apply a thicker coat than you think you need. The lips absorb a good portion of it while you sleep.
- Wait before lying down. Let the mask set for a few minutes before putting your head on the pillow. This reduces transfer onto your pillowcase.
- Leave on for the right amount of time. Leave the mask on for 15–20 minutes for a regular treatment, or overnight for a sleeping mask.
- Remove or pat in residue. For daytime masks, gently wipe off the excess with a damp cloth. For overnight masks, pat any remaining product into the skin in the morning rather than wiping it all away.
Pro Tip: Place a thin layer of plastic wrap over your lips after applying an overnight mask. It creates a gentle occlusive seal that boosts absorption without making a mess.
Common mistakes to avoid:
- Licking your lips after applying the mask. Saliva dries out lip skin and removes the product.
- Skipping the cleansing step. Product applied over residue does not absorb properly.
- Over-exfoliating before masking. Red or raw lips cannot absorb a mask effectively.
- Using your fingers to scoop from the jar without washing your hands first.
- Applying mask over chapped, cracked lips without first addressing the cracks with a plain occlusive balm.
Pair your lip mask with a daily lip balm routine that includes SPF. Lip masks restore and condition, but daily SPF protection prevents the UV damage that causes dryness and thinning in the first place.
What mistakes should you avoid with DIY lip masks?
The most common DIY lip mask mistake is over-exfoliating. Excessive exfoliation causes dryness and disrupts the lip’s natural barrier, which is already thinner after 40. Stick to exfoliating no more than two or three times a week, and always follow with a conditioning mask or balm.
Patch test every new recipe before applying it to your full lips. Apply a small amount to the inside of your wrist and wait 24 hours. If you see redness, swelling, or itching, do not use that ingredient on your lips.
Contamination is the other major risk in DIY skincare. Always use clean tools, and store your mask in a sealed container away from direct sunlight and heat. A batch that smells off or changes color has likely gone bad and should be discarded.
Pro Tip: In winter, your lips need more occlusive ingredients like beeswax and castor oil. In summer, lighten the recipe by reducing beeswax and adding more aloe vera for a cooling, hydrating effect.
Additional maintenance tips:
- Use your lip mask one to three times a week, not daily. Daily masking can over-saturate the skin.
- Follow every mask session with a plain lip balm to lock in the treatment.
- Stay hydrated. Drinking enough water supports lip moisture from the inside out.
- Avoid products with alcohol or artificial fragrance in your daily lip care. Both dry out lip skin over time.
- Check your recipe for common allergens. Honey can irritate sensitive skin. Nut-based oils like shea butter may not suit everyone.
For a broader look at lip revitalization techniques and expert-backed recipes, the lip revitalization guide at Tebori Brows covers professional methods worth exploring alongside your DIY practice.
Key Takeaways
A consistent step-by-step lip mask routine using quality ingredients, proper sanitation, and the press-not-rub application technique delivers the most lasting hydration and softness for mature lips.
| Point | Details |
|---|---|
| Start with clean lips | Remove all makeup and residue before applying any mask for full ingredient absorption. |
| Press, do not rub | Pressing the mask into lips increases absorption and reduces product waste. |
| Limit exfoliation | Keep scrubbing to 30–45 seconds, two to three times a week, to protect the lip barrier. |
| Sanitize your tools | Clean all mixing utensils before each batch to prevent bacteria from entering your mask. |
| Pair with daily SPF | Use a lip balm with SPF every day to protect the results your mask delivers. |
What I have learned from years of lip masking
Lip masks are one of those things where consistency beats intensity every single time. I have seen women apply the most elaborate recipes once a month and wonder why their lips still feel dry. The ones who see real change are the ones who keep it simple and do it regularly.
My honest observation is that the ingredient quality matters far more than the recipe complexity. A two-ingredient mask made with good cold-pressed castor oil and raw honey will outperform a five-ingredient mask made with refined, low-quality oils. The skin on your lips is thin and absorbs quickly. What you put on it matters.
For mature lips specifically, I always recommend leaning into occlusive ingredients like beeswax and shea butter rather than relying solely on humectants like glycerin. Humectants draw moisture in, but occlusives keep it there. That combination is what gives you soft lips that stay soft past noon.
One thing most guides skip: your lip mask works better when your nighttime skincare routine is also in good shape. A well-moisturized face creates a better environment for your lip treatment to do its job. Think of it as context, not just a standalone step. Integrating your lip care with your broader routine, as covered in nighttime lip and makeup tips from Lumeracosmetica, makes the whole routine more effective.
DIY skincare is not about perfection. It is about paying attention to what your skin tells you and adjusting accordingly. Start simple, stay consistent, and your lips will show the difference.
— Rebecca
Lumeracosmetica products to complement your lip care routine
Lumeracosmetica specializes in eye and lip beauty products formulated with quality ingredients that work alongside your at-home care.
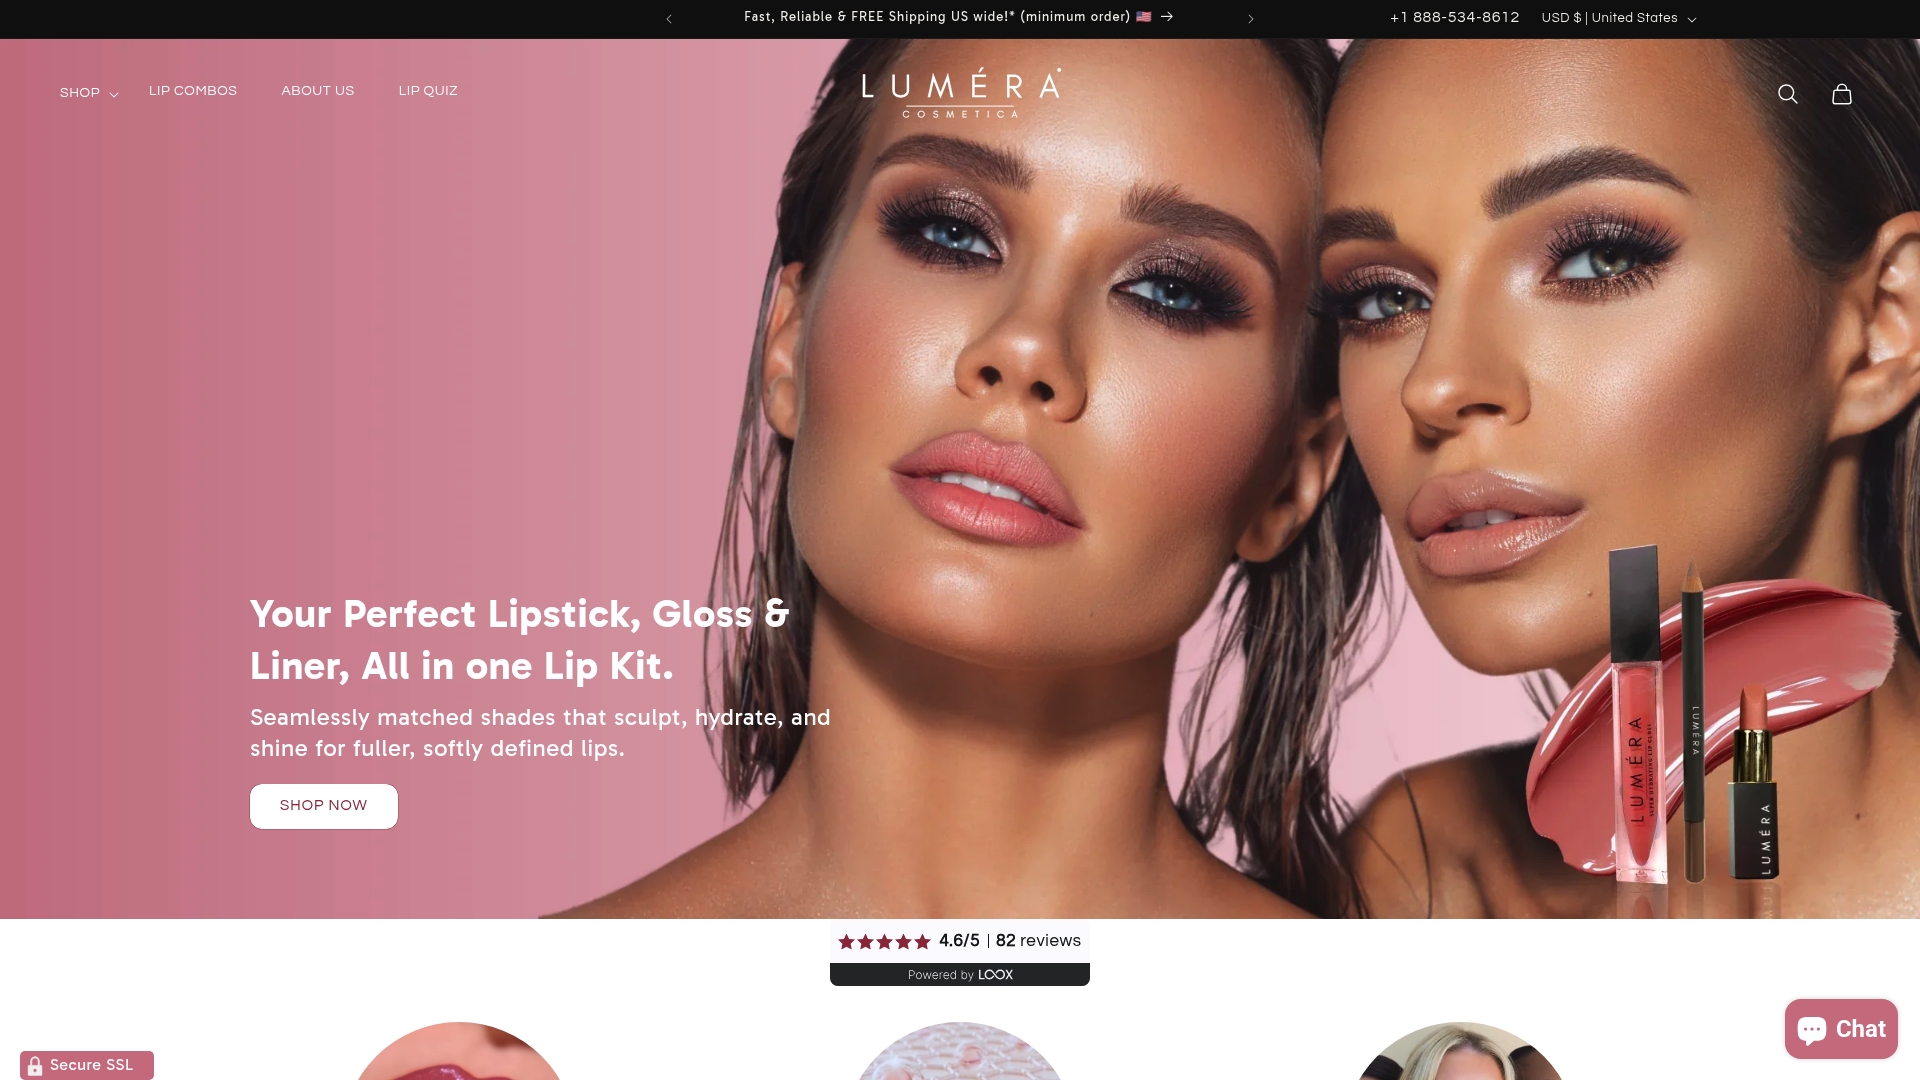
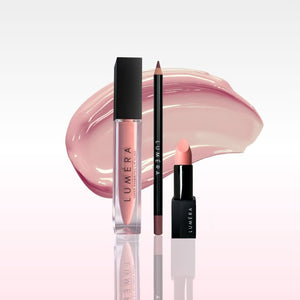
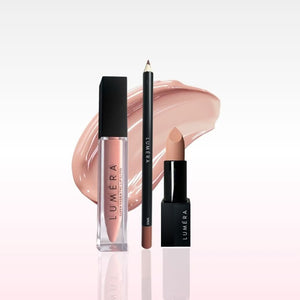
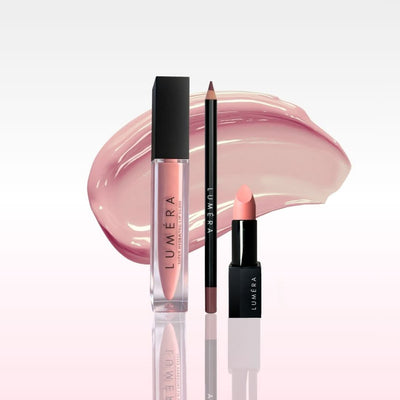
After your DIY lip mask session, your lips are primed and ready to absorb and show off everything you apply next. Lumeracosmetica’s eye and lip collection pairs naturally with a consistent lip care routine, offering products that complement the softness and conditioning your mask delivers. Whether you are looking for a finishing touch after your morning mask or a full evening look, the collection is worth exploring as a next step in your lip care practice.
FAQ
How long should I leave a lip mask on?
Leave a regular lip mask on for 15–20 minutes, or apply an overnight sleeping mask and leave it until morning for maximum absorption.
How often should I use a DIY lip mask?
Use a lip mask one to three times a week. Daily use can over-saturate the skin and reduce the treatment’s effectiveness.
What are the best ingredients for a homemade lip mask?
Honey, shea butter, castor oil, and coconut oil are the most effective base ingredients for a nourishing homemade lip mask. Fine sugar adds gentle exfoliation.
Can I use a lip mask if my lips are already irritated?
Avoid exfoliating masks on irritated or cracked lips. Apply a plain occlusive balm first to heal the skin, then introduce a conditioning mask once the irritation settles.
How do I apply a lip mask without making a mess?
Press the mask into your lips with a clean fingertip rather than rubbing it on. Let it set for a few minutes before lying down to prevent transfer onto your pillowcase.