Lip Color Blending Technique for Custom Ombré Looks

TL;DR:
- Creating seamless ombré and layered lip looks involves layering thin amounts of product and blending outward with fingertips or a small brush.
- Using the right tools, colors, and application order is key to achieving natural and long-lasting results.
The fastest way to create seamless ombré and custom lip shades is to layer thin applications and blend outward with a fingertip or small tapered brush. That’s the whole method. Everything else is just knowing which shades to pair, which tools to reach for, and in what order to apply them.
TL;DR: Prep your lips, apply a base shade, add a second color at the edges or center, then tap and blend with your ring finger until the transition disappears.
- Grab these tools: a small tapered lip brush, your ring finger, and a tissue for blotting between layers.
- Fastest two-shade combo: a nude-pink base with a deeper rose or mauve at the outer corners.
- Safety tip first: always exfoliate and let your balm fully absorb before applying any color — a slick lip surface causes pigment to slide instead of blend.
Table of Contents
- What’s the best lip color blending technique for ombré and layered looks?
- Which tools and products actually make blending easier?
- How do you use color theory to mix and correct lip shades?
- What’s the right application order, and how do you fix common problems?
- What is the French lipstick trick and how do you do it?
- Pro tips from makeup artists and mistakes to avoid
- Key Takeaways
- Why the blending step matters more than the shades you pick
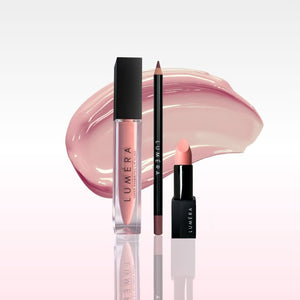
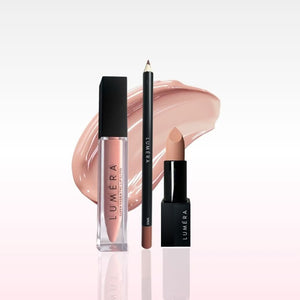
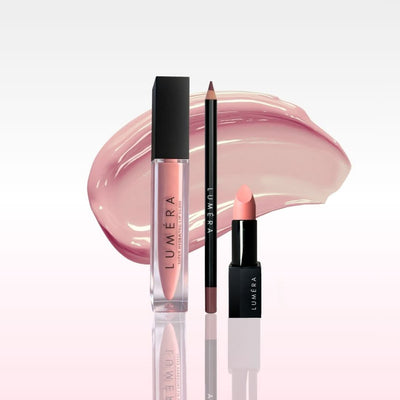
- The Miss Bombshell Lip Kit makes these techniques easier to try
- Useful sources and further reading
What’s the best lip color blending technique for ombré and layered looks?
There are three core looks worth knowing: the two-shade ombré, the blurred center-pop, and the mixed-shade custom color. Each follows the same logic — thin layers, patient blending, and a clear plan for where each shade lives.
Two-shade ombré: step by step
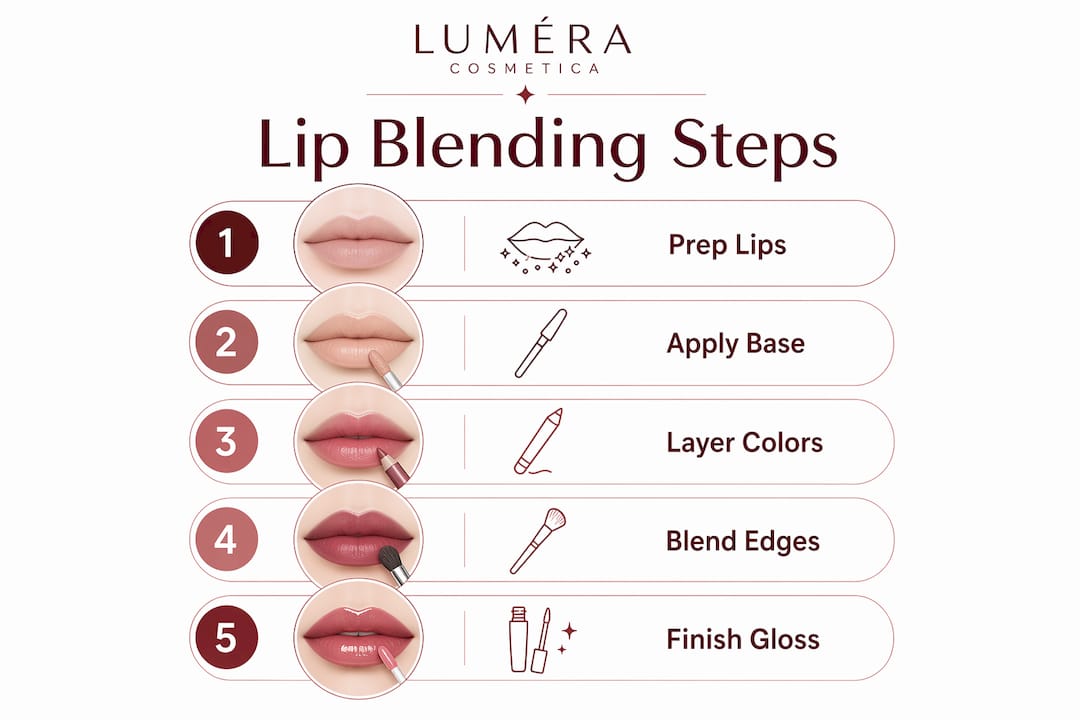
- Exfoliate and moisturize. Use a gentle lip scrub, then apply a thin layer of balm. Wait two to three minutes before touching any color.
- Apply a neutral base. Fill the entire lip with a nude or light-pink shade using a lip brush. Keep it thin.
- Place the darker shade at the outer edges. Ombré lips concentrate the deeper tone at the outer corners to create dimension and the illusion of fullness. Apply only to the outer third of each lip.
- Add the lighter or brighter shade at the center. A soft pink or peach at the center catches light and makes lips appear fuller.
- Blend the boundary. Use your ring finger to tap where the two shades meet. Work in small, quick pats rather than strokes.
- Blot and assess. Press a tissue lightly over the lips. If the transition still looks harsh, add a tiny dot of the lighter shade at the center and tap again.
- Finish with a clear gloss or setting powder through a tissue for longevity.
Blurred center-pop: step by step
The blurred or soft-focus lip places pigment at the center and diffuses it outward, mimicking a natural flush. A lightweight longwear stain or tint works best here.
- Prep lips as above.
- Dab a small amount of tint or stain directly at the center of both lips using a fingertip.
- Tap outward toward the edges with a clean ring finger, using less pressure as you move out.
- Let the first layer dry for thirty seconds, then repeat with a second thin coat at the center only.
- Blot once. The result should look like you’ve been eating strawberries — color concentrated at the center, fading naturally at the edges.
Quick mini-recipes
- Nude + rose: fills the lip with a warm nude, adds a dusty rose at the outer corners. Soft and wearable for daytime.
- Plum + mauve + gloss: plum at the outer edges, mauve through the center, a dab of clear gloss at the very center. Rich and dimensional for evenings.
- Peach + coral + champagne gloss: peach base, coral at the outer corners, a touch of champagne gloss at the center. Warm and summery.
- Berry + nude center: bold berry at the perimeter, blended inward to a bare nude at the center. Creates a striking contrast without looking heavy.
- Brown liner + caramel nude + pink gloss: fill with liner, layer caramel nude over it, finish with pink gloss at the center. A soft 90s-inspired look that’s everywhere right now.
Pro Tip: Test your color combos on the back of your hand before applying to your lips. You’ll see exactly how the two shades blend and whether the resulting hue flatters your skin tone.
Which tools and products actually make blending easier?
The right tool changes the result more than most people expect. Here’s what each option does well.
Tools
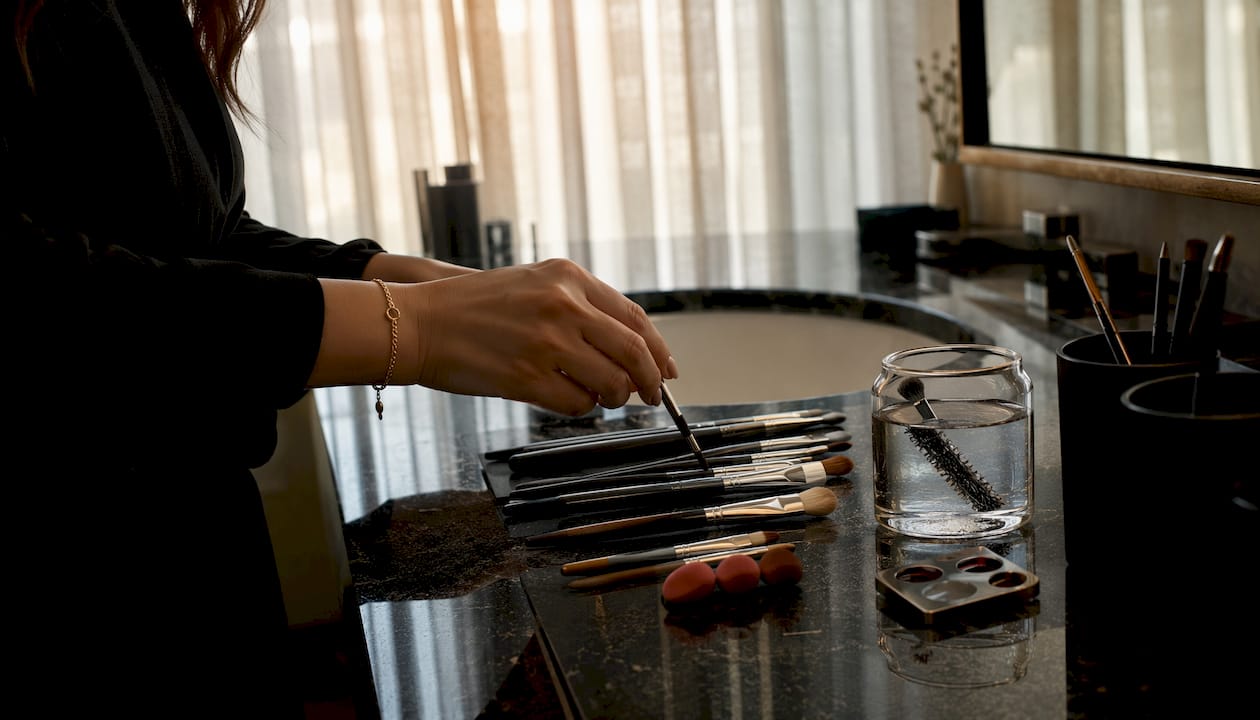
- Small tapered lip brush: gives you the most control over where color sits. The tapered tip reaches the corners and the cupid’s bow without flooding the surrounding skin. Synthetic bristles clean easily and hold their shape longer.
- Ring finger: the go-to for pros. The warmth of the skin helps melt pigments into a smoother gradient, and the natural pressure is gentler than any other finger. Use tapping motions, not rubbing.
- Cotton swab: useful for cleaning up edges and softening a gradient that went too far in one direction. Not ideal for building color.
- Micro-sponge: works well for pressing a stain into the lip surface evenly, especially for the center-pop technique.
Brush maintenance: rinse your lip brush with a gentle brush cleanser or mild soap after every use. A brush carrying yesterday’s plum will muddy today’s nude. Replace it when the bristles start to splay or lose their taper — usually every three to six months with regular use.
Product formula guide
| Formula | Blendability | Longevity | Finish | Best for |
|---|---|---|---|---|
| Longwear stain / tint | High | Very high | Sheer to medium | Blurred center-pop, everyday gradient |
| Creamy / satin lipstick | High | Medium | Natural, luminous | Two-shade ombré, layered looks |
| Matte lipstick | Low to medium | High | Flat, opaque | Base layer only; blend before it sets |
| Gloss | Medium | Low | High-shine | Center pop finish, adding dimension |
Dense mattes and very high-shine formulas resist diffusion — they either drag or slip. If you love a matte finish, use a creamy lipstick as your blending layer and set it with a light dusting of translucent powder afterward.
How do you use color theory to mix and correct lip shades?
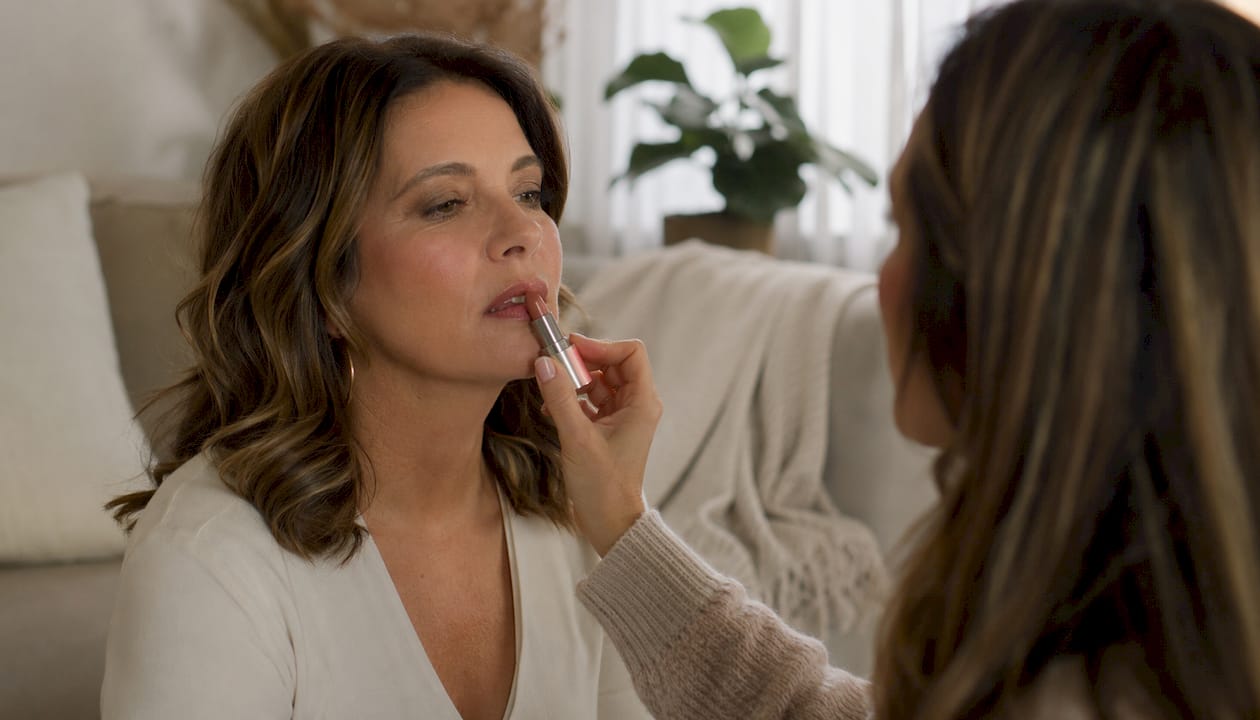
You don’t need a full art-school education here. A few rules cover most situations.
Darkening a shade: add a deeper version of the same color family in small increments. A warm nude gets richer with a touch of terracotta or brown, not with a cool plum, which will shift the undertone in an unflattering direction.
Lightening a shade: layer a sheer nude or a pale pink over the base. One thin coat is usually enough to lift the tone without washing it out completely.
Warm vs. cool adjustments: if a shade pulls too orange or too yellow on your skin, introduce a small amount of cool berry or muted mauve at the center to neutralize it. If a shade reads too cool or ashy, a tiny dot of peach or warm coral at the center brings it back.
Neutralizing overly bright shades: a vivid red or hot pink can be toned down by layering a muted mauve or a dusty rose over it. Apply the neutralizer in a single thin coat and blot before assessing — it’s easy to overcorrect.
These rules map directly to the mini-recipes above. The nude + rose combo works because both shades share a warm undertone. The berry + nude center works because the nude cools the intensity of the berry without clashing. When you mix lip colors with undertone in mind, the result always looks intentional rather than accidental.
What’s the right application order, and how do you fix common problems?
Recommended application order
- Exfoliate and apply balm. Wait.
- Apply a concealer or lip primer to neutralize natural lip pigment if you want accurate color payoff.
- Line the lips with a liner one to two shades deeper than your natural lip tone. Blend the liner inward with a brush rather than leaving a hard edge.
- Apply the first (base) shade across the full lip.
- Apply the second shade at the edges or center, depending on the look.
- Blend the boundary with a ring finger or brush.
- Blot through a tissue. Reassess.
- Set with translucent powder through a tissue for longevity, or finish with a thin layer of gloss.
Common problems and quick fixes
- Feathering: a lip liner that matches the darker shade, applied around the perimeter and diffused inward, stops color from bleeding into fine lines. A tiny dusting of translucent powder just outside the lip line adds an extra barrier.
- Uneven gradient: you’ve applied too much product in one pass. Blot the heavy area, then re-blend with a clean fingertip using micro-tapping motions.
- Product feels heavy or cakey: you skipped blotting between layers. Blot now, then press a clean finger over the lips to warm and smooth the product.
- Colors bleeding into each other too much: the formulas are too similar in texture. Try a stain as the base and a creamy lipstick as the second shade — the difference in texture creates a natural stopping point.
- Gloss sliding off center: apply gloss only after the base layers have set for at least sixty seconds. A gloss applied too early migrates.
When formulas won’t cooperate: very thick matte formulas and high-shine lip oils are the hardest to blend together. If you want both in one look, apply the matte first, let it set fully, then press a small amount of oil only at the very center with a fingertip.
What is the French lipstick trick and how do you do it?
The French lipstick trick places a slightly darker shade at the outer edges of the lips and a lighter or nude shade at the center, creating subtle sculpting that looks like natural shadow rather than obvious contouring.
How to do it
- Prep lips and apply balm. Wait.
- Apply a deeper shade — a warm brown, a muted berry, or a dusty rose — to the outer third of both lips.
- Place a lighter nude or soft pink at the center, overlapping slightly with the darker shade.
- Tap the boundary with your ring finger until the transition is invisible.
- Add a lip liner along the natural lip border if you want more definition, but keep it soft — follow your natural lip shape rather than drawing a new one.
The visual result is a lip that looks naturally fuller and more three-dimensional without the telltale ring of a heavy liner. It works on any lip shape because it uses the lip’s own contours rather than fighting them. The key difference from a standard ombré is subtlety — the contrast between the two shades should be small enough that most people can’t identify what you’ve done, only that your lips look good.
Pro tips from makeup artists and mistakes to avoid
“The best way to line lips is to follow your natural lip shape rather than create an entirely new one. Start at the cupid’s bow, then move to the outer corners, and finally connect the lines. If you want a fuller look, slightly overline only at the centre of the upper and lower lips rather than around the entire mouth. Softly blend the liner inward with a pencil blending brush.” — Bianca Louzado, celebrity makeup artist, via Grazia India
Pro Tip: Use your ring finger for blending rather than your index finger. The gentler pressure and skin warmth help pigments melt into each other instead of dragging across the surface.
A few mistakes show up constantly, and all of them are fixable:
- Heavy first application: starting with too much product leaves no room to blend. Place tiny dots or strokes of color and tap to build — this micro-dosing approach keeps transitions smooth and prevents oversaturation.
- Overblending into the skin: blending should stop at the lip line. Once color migrates onto the surrounding skin, it reads as smudged rather than blurred. Use a clean concealer brush to sharpen the edge if this happens.
- Mismatched undertones: pairing a cool-toned liner with a warm-toned lipstick creates a visible clash at the border. Match undertones first, then adjust depth.
- Applying color over a wet balm: blot away excess balm before you start. A slick surface prevents adhesion and causes every layer to slide.
The sequencing advice from celebrity makeup artist Luthra is worth repeating: fill the entire lip with liner first as a long-wearing base, then layer a liquid lipstick, then finish with a satin or cream formula for a natural look. That order maximizes longevity without sacrificing blendability.
Key Takeaways
Mastering a lip color blending technique comes down to thin layers, the right tools, and matching undertones before you start.
| Point | Details |
|---|---|
| Prep before everything | Exfoliate, apply balm, and wait for it to absorb fully before touching any color. |
| Layer thin and blot | Apply color in small increments and blot between layers to control intensity and avoid a heavy finish. |
| Use your ring finger | Gentle pressure and skin warmth blend pigments more smoothly than any brush at the boundary. |
| Match undertones first | Pair shades within the same warm or cool family to avoid a visible clash at the gradient line. |
| Lumeracosmetica Miss Bombshell Kit | The Miss Bombshell Lip Kit is designed to support ombré, center-pop, and layered looks in one ready-made set. |
Why the blending step matters more than the shades you pick
Most people spend the most time choosing colors and the least time on the actual blend. That’s backwards. Two shades that look mismatched in the tube can produce a beautiful gradient if the transition is worked carefully — and two perfectly coordinated shades will look muddy if they’re applied in thick coats and smeared together.
The ring-finger technique is the single most underused tip in everyday lip makeup. Brushes are precise, but they can also drag product rather than melt it. A warm fingertip tapping at the boundary does something a brush can’t replicate. Try it once on a two-shade ombré and the difference is immediate.
There’s also a tendency to overdo the contrast between shades, especially when following tutorials where the camera exaggerates color. In real life, a one-to-two-shade difference in depth is almost always more flattering than a dramatic light-to-dark jump. The lip contouring that reads as natural on camera is usually far subtler than it appears.
The Miss Bombshell Lip Kit makes these techniques easier to try
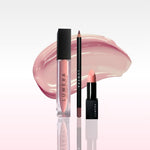
Putting together a blending kit from scratch means buying a liner, a base shade, a second shade, and a gloss separately — and hoping the formulas are compatible. The Miss Bombshell Lip Kit from Lumeracosmetica skips that guesswork entirely.
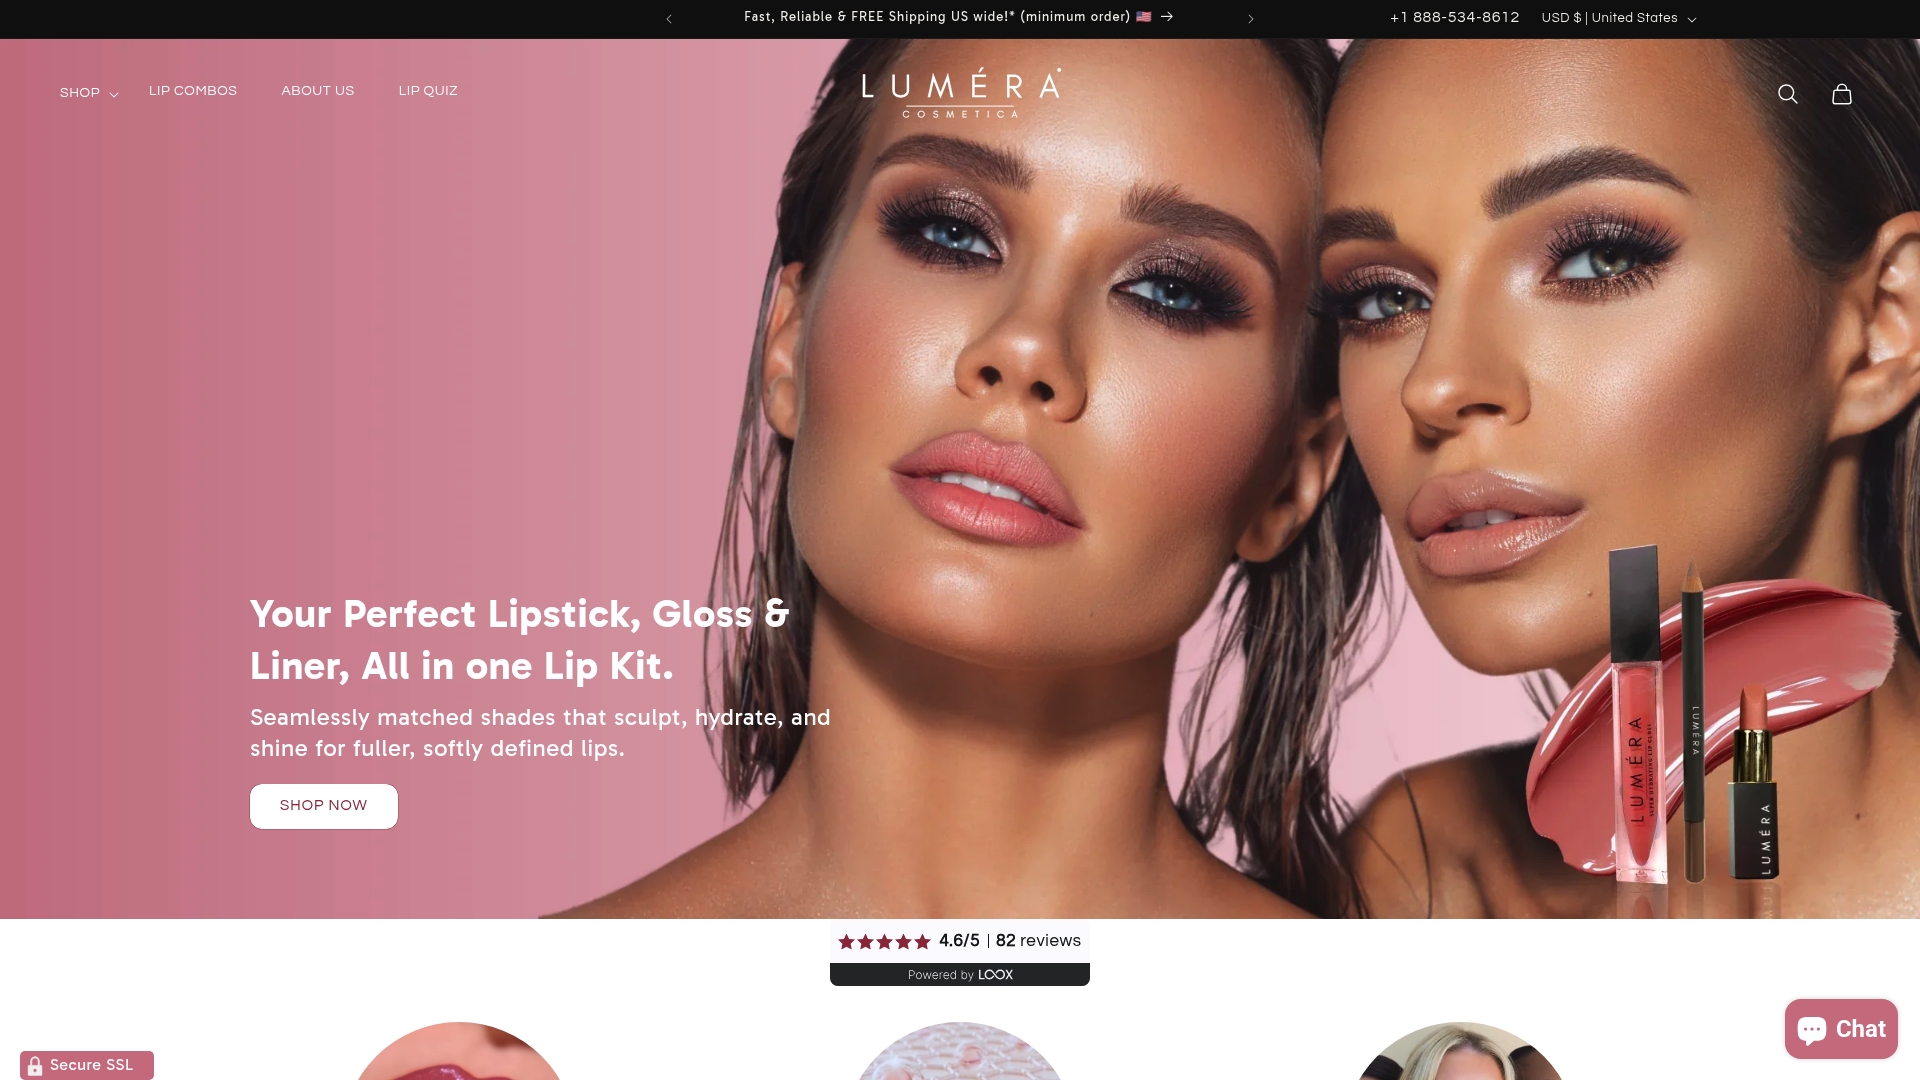
The kit is built around the exact techniques covered here: the shades are pre-coordinated for ombré layering, center-pop application, and the French lipstick trick, so the undertones already match and the formulas blend cleanly together. You get everything needed for a two- or three-shade look without the trial-and-error of sourcing compatible products. It’s a practical shortcut for anyone who wants to practice these methods without committing to a full product haul first. Visit the Miss Bombshell Lip Kit page to see the shades and pick up the kit.
Useful sources and further reading
These are the most useful references for going deeper on the techniques covered above:
- Grazia India: Welcome to the Era of Lip Combos — celebrity makeup artist quotes on liner placement, layering order, and long-wear tactics. Best for pro tips and application sequencing.
- Allure: Perfecting TikTok’s Ombré Lip Look — covers sequencing options (lighter center first vs. darker outer first) and why thin layers make either approach work. Best for ombré technique variations.
- Adhorika: Ombré Lip Makeup Technique Tutorial — step-by-step visual walkthrough of the ombré gradient with liner guidance. Best for beginners following along with a tutorial.
- Beauty World News: Master the Blurred Lipstick Technique — detailed breakdown of the blurred/soft-focus lip trend with formula recommendations. Best for the center-pop and longwear stain techniques.
- SO KONNECT: 5 Pro Tips for Blending Lipstick Colors Perfectly — practical tips on thin layering, blotting, and testing combos on the hand. Best for quick reference during application.
- Images by Beth: Consistent Lip Blending Brush Results — covers brush types, bristle selection, and maintenance. Best for readers who want to invest in the right tools.
-
— video demonstration of color mixing principles applied to lip products. Best for visual learners working through shade combinations.
- Lumeracosmetica: How to mix lip colors for custom looks — practical mixing guide with shade pairing ideas. Best for readers who want to layer lipstick and build a personal color library.