How to Make My Lips Look Bigger: Fuller Lips Fast

Exfoliate, micro-line just past your natural lip border, fill with a mid-tone lipstick, then add a center highlight and gloss. That four-step sequence is the fastest, most convincing way to make your lips look bigger without fillers or suction gimmicks. Here’s what to do right now:
- Buff lips with a damp washcloth or sugar scrub to remove flakes
- Place a few tiny liner marks just outside your natural vermilion border, then feather them inward
- Fill with a satin or cream lipstick one shade lighter than your liner
- Dab a sheer gloss or highlighter in the center of your upper and lower lip
Pro Tip: Pick a liner slightly darker than your skin tone, not one that matches your lipstick exactly. That subtle contrast is what creates the illusion of depth and dimension, per the micro-lining technique Dua Lipa’s makeup artist uses.
Key Takeaways
The most effective way to make lips look bigger is a four-step makeup routine: exfoliate, micro-line with a feathered edge, fill with a satin or cream lipstick, and add a sheer center gloss.
| Point | Details |
|---|---|
| Micro-lining beats full overlining | Place 3–4 tiny marks outside the border and feather them; never draw a full outline first. |
| Liner shade matters | Choose a liner one shade darker than your skin tone, not one that matches your lipstick. |
| Gloss placement is specific | Apply sheer gloss to the center third of each lip only; edge-to-edge gloss widens rather than plumps. |
| Topical plumpers are temporary | Capsicum and cinnamon-based glosses provide a temporary plumping effect lasting a few hours; patch-test first and avoid suction devices entirely. |
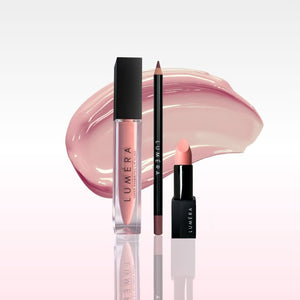
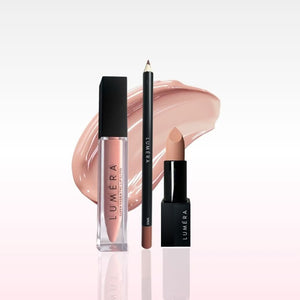
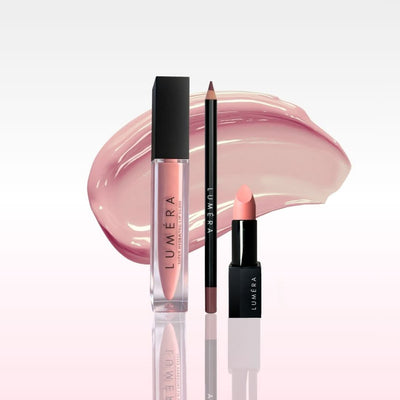
| Lumeracosmetica | Offers liners, balms, and glosses matched to the micro-lining routine, with step-by-step tutorials on the brand’s blog. |
Table of Contents
- How to make your lips look bigger: the full step-by-step routine
- Which product types and shades actually make lips look fuller?
- How to adapt the technique for different lip shapes and aging lips
- Do topical plumping glosses and balms actually work?
- What professional options exist for fuller lips?
- Common mistakes that make lips look smaller, not bigger
- How long does each method last, and what does it cost?
- The case for subtlety: an editorial perspective
- Fuller lips, starting today: what Lumeracosmetica offers
- Sources
How to make your lips look bigger: the full step-by-step routine
Follow this sequence in order. Skipping steps, especially prep, is the single biggest reason the technique fails.
1. Exfoliate. Rub lips gently with a damp washcloth or a sugar-and-honey scrub for 30 seconds. Smooth lips hold liner cleanly; flaky lips cause liner to skip and bleed. Rinse and pat dry. Byrdie’s makeup routine guide lists exfoliation as the non-negotiable first step.
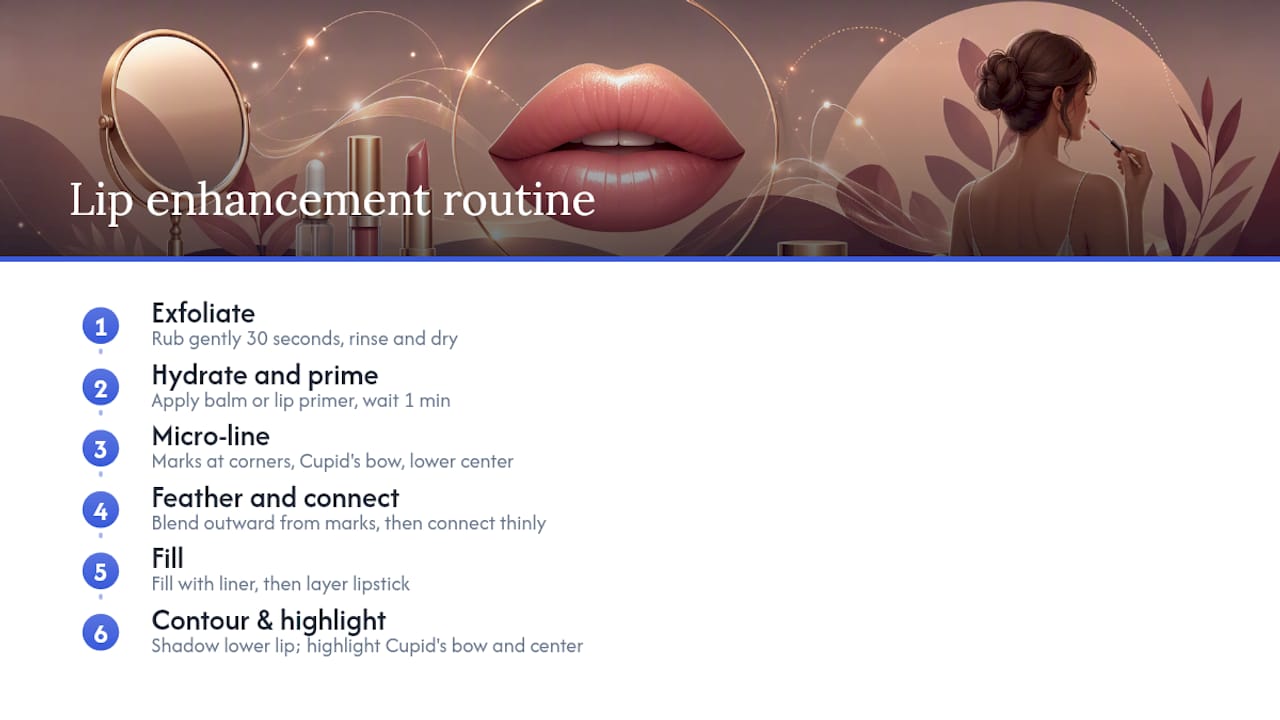
2. Hydrate and prime. Apply a thin layer of hydrating balm and let it absorb for a minute. If you have a lip primer, use it instead. This step prevents feathering and keeps color from sinking into fine lines.
3. Micro-line. This is the technique that actually moves the needle. Using a thin, sharp lip liner, place a few tiny marks just outside your natural border: one at each corner, one at the center of your Cupid’s bow, and one at the center of your lower lip. Do not draw a full outline yet.
4. Feather and connect. Using a fluffy blending brush or your fingertip, lightly stroke outward from each mark to soften the edge. Then connect the marks with your liner, keeping the line thin. The feathering is what separates a natural result from an obvious overline.
5. Fill. Use a lip brush to fill the entire lip with your liner first, then layer your lipstick on top. A lip brush gives you precision at the edges and builds color evenly.
6. Contour the lower lip. With a matte bronzer or a contour powder one shade deeper than your skin tone, dust a soft shadow just below your lower lip. This creates the illusion that your lower lip is projecting forward.
7. Highlight the Cupid’s bow and center lower lip. Tap a tiny amount of champagne or pearl highlighter onto the center of your upper lip (the Cupid’s bow peaks) and the center of your lower lip. This catches light and makes both lips read as fuller.
8. Add gloss. Apply a sheer or lightly tinted gloss to the center of both lips only, not edge to edge. Gloss on the outer corners widens lips horizontally rather than adding volume.
9. Final blend. Press your lips together gently, then use a clean fingertip to soften any remaining hard edges at the border.
Pro Tip: Use feather-light outward strokes with a very soft brush when blending. Heavy pressure pushes pigment into the skin and creates a stained ring rather than a soft-focus edge, per Vogue’s blending guidance.
For a visual walkthrough of the tiny-mark method, this
shows exactly where to place each mark and how to blend outward. Practice it twice before a big event.
Which product types and shades actually make lips look fuller?
Texture and shade do more work than most people realize. The wrong combination can flatten lips even when your technique is perfect.
Liners are the foundation of the illusion. A pencil liner gives you the most control for micro-marking. Cream liners blend more easily but can migrate. Either works; the key is sharpness at the tip for precise placement. For shade, choose a liner one shade darker than your skin tone rather than matching your lipstick. That slight contrast reads as depth.
Lipstick textures break down like this:
- Satin and cream finishes reflect light and add dimension. Best choice for fullness.
- Cream-to-matte formulas are acceptable if you add gloss on top.
- Ultra-matte, fully opaque formulas absorb light and compress the lip visually. Avoid them when fullness is the goal.
- Lip stains can work as a base layer but need a gloss over them to add any dimension.
Gloss is the easiest single upgrade. A sheer, high-shine gloss placed at the center of the lip creates a light-catching focal point that reads as volume. You do not need a plumping formula for this effect.
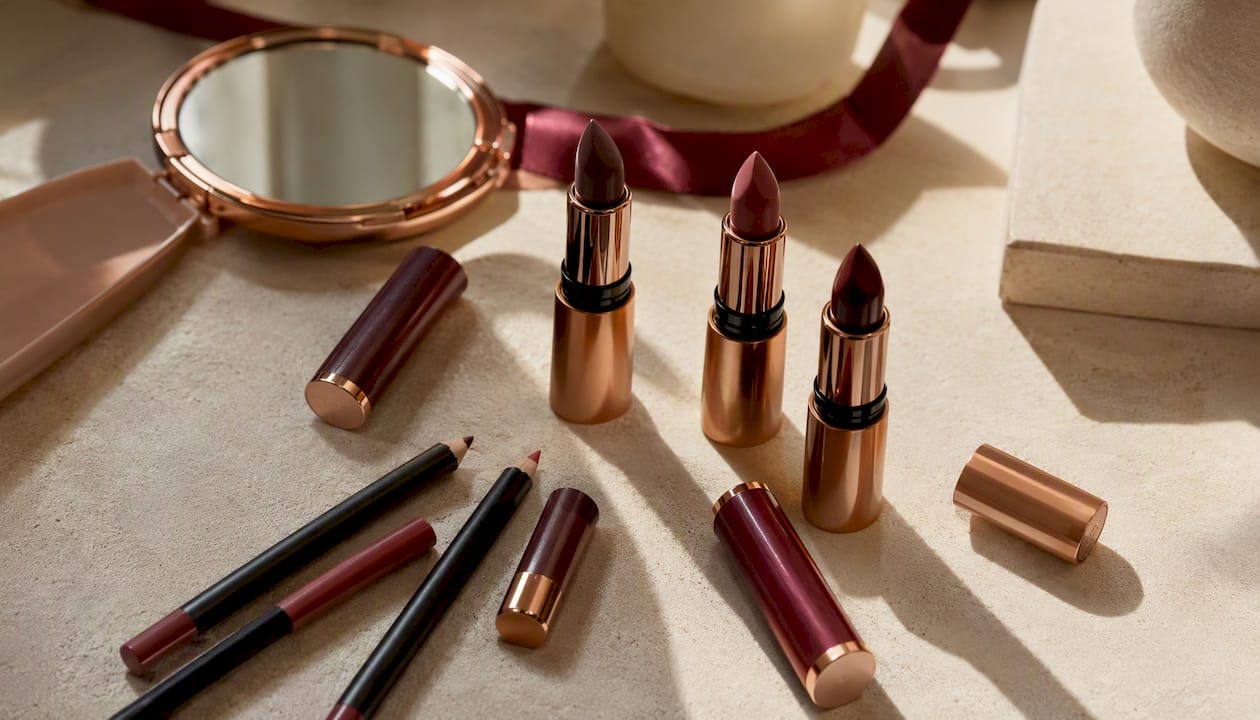
Shade selection matters beyond liner. Mid-tone nudes and roses tend to photograph and read as fuller than very dark or very pale shades. Deep burgundy and dark plum shades can look dramatic but tend to make lips appear smaller in natural light. Very pale or white-based nudes can wash out the lip border entirely.
Pro Tip: For liner shade guidance tied to your specific skin tone, the Lumeracosmetica liner guide breaks down which brown and nude shades work for light, medium, and deeper complexions.
A quick note on tingling plumpers: some glosses use capsicum or cinnamon derivatives to create a temporary swelling sensation. They work, but patch-test on your inner wrist first if your skin runs sensitive.
How to adapt the technique for different lip shapes and aging lips
One-size-fits-all overlining rarely works. A small adjustment based on your lip shape gets you a much more convincing result.
- Thin upper lip only: Place micro-marks above the Cupid’s bow and at the center of the upper lip. Leave the lower lip at its natural border. Concentrate highlight on the upper center.
- Thin lower lip only: Add micro-marks at the center bottom and blend downward slightly. A soft shadow just below the lower lip amplifies the effect.
- Narrow lips (short horizontal width): Extend micro-marks slightly at the outer corners, but keep the extension minimal. Over-extending corners looks theatrical.
- Uneven lips: Line the smaller side fractionally outside its border and keep the fuller side at its natural edge. Blending is especially important here.
- Wide lips: Skip corner extensions entirely. Focus fullness at the center with highlight and gloss.
For aging or thinning lips, the approach shifts. Lip lines and dryness make heavy liner and matte textures look harsh. Prioritize a hydrating primer, cream or satin lipstick, and a luminous center highlight. Avoid sharp, fully drawn outlines. A soft, slightly blurred border reads younger than a precise one.
Pro Tip: For mature skin, a hydrating lip primer under a cream lipstick does more for perceived fullness than any overlining technique. The Lumeracosmetica guide to thin lips covers daily habits that help maintain volume over time.
Do topical plumping glosses and balms actually work?
Short answer: temporarily, yes. Most topical plumpers use capsicum (derived from chili peppers) or cinnamon-derived compounds to mildly irritate the lip tissue, increasing blood flow and causing a brief swelling effect. Hyaluronic-acid-containing glosses add surface hydration and a plump appearance through moisture rather than irritation.
The effect lasts a few hours at most. It is not cumulative. Using more product does not extend the result and can cause redness or peeling with repeated application.
Safe usage:
- Patch-test on your inner wrist 24 hours before first use
- Apply a thin layer to the center of the lip and blend outward
- Layer a sheer gloss on top for added shine and dimension
- Avoid daily use of high-capsicum formulas if your skin is reactive
Avoid these entirely: Suction devices (lip-plumping tools that create a vacuum) and unregulated hyaluronic acid pens. Dermatologists warn that suction devices can accelerate collagen breakdown and cause bruising or long-term tissue damage. Unregulated HA pens are not sterile and carry infection risk.
For sensitive skin:
- Choose hyaluronic-acid-based glosses over capsicum formulas
- Avoid menthol and peppermint, which can also irritate
- Stop use immediately if you experience swelling beyond the lip border or prolonged burning
What professional options exist for fuller lips?
Makeup is the right starting point for most people. When you want something that lasts longer, three clinical options are worth understanding.
Lip flip. A small amount of Botox or Dysport is injected into the muscle just above the upper lip, relaxing it so the lip rolls slightly outward. The result is subtle: the upper lip appears marginally fuller and more defined. Effects typically last several months, and the procedure carries minimal downtime. It does not add volume; it changes the lip’s resting position.
Hyaluronic acid fillers. HA fillers add actual volume and can be shaped precisely. Results typically last 6–18 months depending on the product used and individual metabolism. The most important variable is injector skill. Dermatologists consistently note that overfilling produces an unnatural result, and that choosing an experienced, board-certified injector matters more than the brand of filler. A dermatology clinic overview also covers surgical lip lifts for cases where the distance between the nose and upper lip has lengthened significantly with age.
Lip blushing. A semi-permanent cosmetic tattoo that deposits pigment into the lip to define the border and add color. It does not add volume but creates the appearance of a more defined, fuller-looking lip without daily liner application. Results last roughly 2–3 years with a touch-up.
Pro Tip: Before any injectable treatment, ask the injector to show you before-and-after photos of patients with a similar lip shape to yours, not just their best results. Ask specifically what happens if you want the filler dissolved.
Common mistakes that make lips look smaller, not bigger
Most errors come down to two things: too much product in the wrong place, or skipping prep.
Mistakes and quick fixes:
- Heavy overlining at the corners: The corners are where obvious overlines get spotted first. Blend corners inward, not outward. If the line is visible, remove it with a cotton swab and restart from the center.
- All-matte texture: Matte absorbs light and compresses the lip. Add a sheer gloss to the center immediately.
- Skipping exfoliation: Liner skips over dry patches and looks patchy. Buff first, always.
- Liner shade too dark or too light: Too dark reads as contouring, not fullness. Too light disappears. Aim for one shade darker than your skin tone.
- Harsh visible edges: Feather with a fluffy brush. If the edge is still visible, press a fingertip lightly along the border to soften it.
- Gloss applied edge to edge: This widens lips horizontally. Keep gloss to the center third of each lip.
For a detailed lining walkthrough that covers these corrections in sequence, the Lumeracosmetica lining tutorial is worth bookmarking.
How long does each method last, and what does it cost?
Costs above are approximate U.S. ranges and vary by provider, location, and product used. Always consult a board-certified dermatologist or plastic surgeon for injectable and semi-permanent treatments. Patch-test any new topical product before full application. Never use suction devices or unregulated injectable pens purchased online.
The case for subtlety: an editorial perspective
The most common mistake people make with lip-fullness techniques is not under-doing it. It is over-doing it and then wondering why the result looks off in photos or in different lighting.
The micro-lining approach works precisely because it is hard to detect. When the liner is feathered and the gloss is centered, the eye reads volume rather than makeup. The moment you extend the line too far at the corners or go two shades darker than your skin tone, the illusion collapses. Subtlety is not a compromise. It is the mechanism.
The same logic applies to fillers. Dermatologists who specialize in aesthetics are consistent on this: the best filler result is the one nobody notices. If someone compliments your lips specifically, the work may be visible. If they just think you look well-rested, the injector did their job.
Practice the makeup routine at home twice before wearing it out. The video tutorial is genuinely useful for this. Skin health and hydration matter more than any product, and a well-moisturized lip holds color and gloss better than any primer can compensate for.
Fuller lips, starting today: what Lumeracosmetica offers
Getting the technique right is half the equation. Having the right products makes the other half much easier.
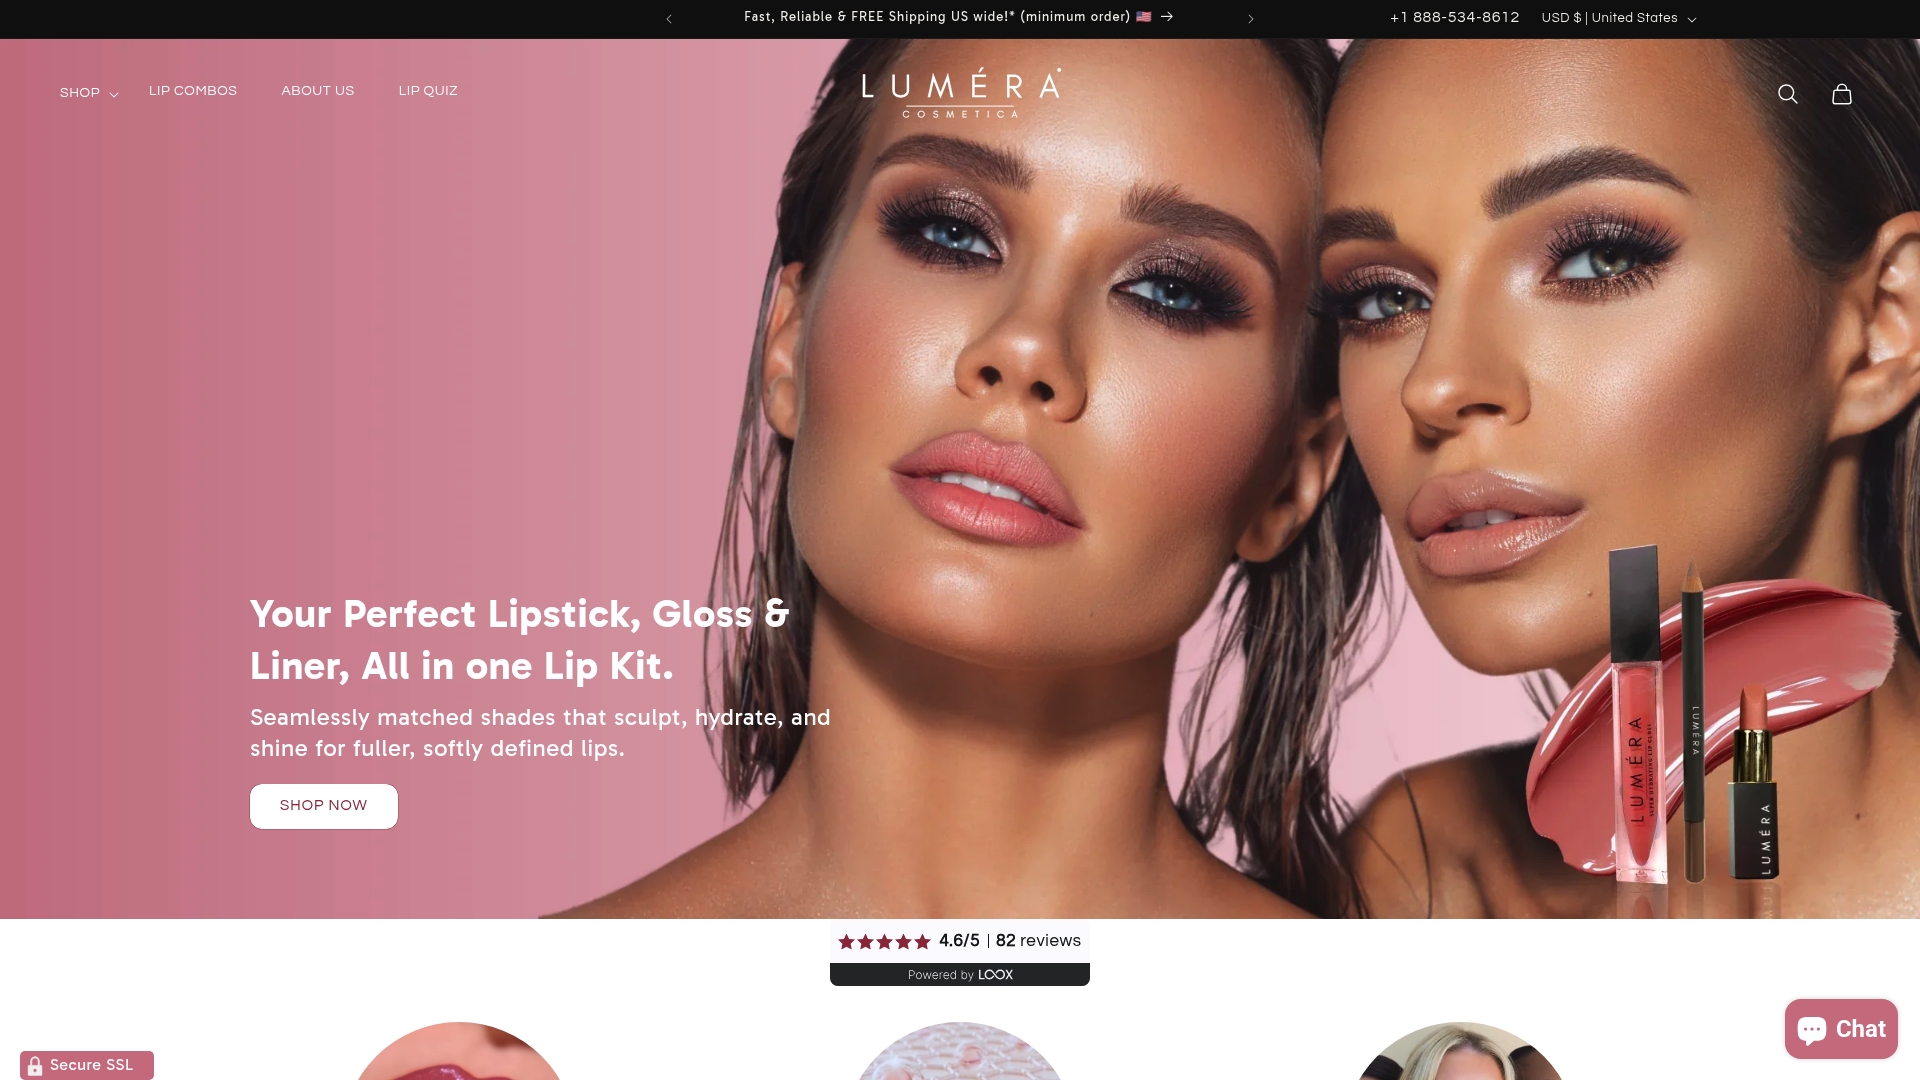
Lumeracosmetica carries the liner, gloss, and balm combinations that work with the micro-lining routine covered in this article. The brand’s lip-lining and fullness tutorials walk through shade selection and blending step by step, so you are not guessing at which products to pair. A solid starter combination is a hydrating balm for prep, a precise micro-liner in a skin-tone-adjacent shade, and a sheer center gloss. Patch-test any new formula before wearing it for a full day. Browse the full collection and find your shade match at Lumeracosmetica.
Sources
- Dua Lipa’s Makeup Artist on the Micro-Lining Technique That Instantly Gives You Bigger Lips | Vogue
- How to Make Your Lips Look Bigger With Makeup
- How To Make Your Lips Look Fuller | 3 Options for Plump …
Recommended
- How to Make Lips Look Bigger With Lip Liner Naturally – Luméra Cosmetica
- How to Make Thin Lips Look Fuller Naturally at Home – Luméra Cosmetica
- How to Make Lips Look Fuller Naturally: A Step-by-Step Guide – Luméra Cosmetica
- Make Lips Look Fuller Step by Step: Achieve a Plumper Pout – Luméra Cosmetica