Makeup Organization Ideas for Women Who Want More

TL;DR:
- Proper makeup organization involves categorizing products by routine order, not brand, to improve efficiency. Using clear acrylic storage and vertical or rotating containers makes products visible and accessible, reducing search time. Regular audits every three to four months help maintain hygiene, prevent clutter, and keep your collection current.
Makeup organization is the process of arranging cosmetics and tools into a system that maximizes ease of use, product longevity, and workspace aesthetics. A well-built system goes beyond tidiness. It combines storage design, categorization, and usage frequency planning so your routine runs faster and your products last longer. Beauty experts recommend a full makeup audit every 3–4 months to discard expired products and prevent overcrowding. The right makeup organization ideas do not just clean up your counter. They give you back time every single morning.
1. Start with the best makeup organization ideas: clear acrylic drawers
Clear acrylic drawer organizers are the single most effective storage tool for a makeup collection. They keep every product visible at a glance, which prevents forgotten expired products and eliminates the “black hole” effect of opaque bins. When you can see everything, you use everything.
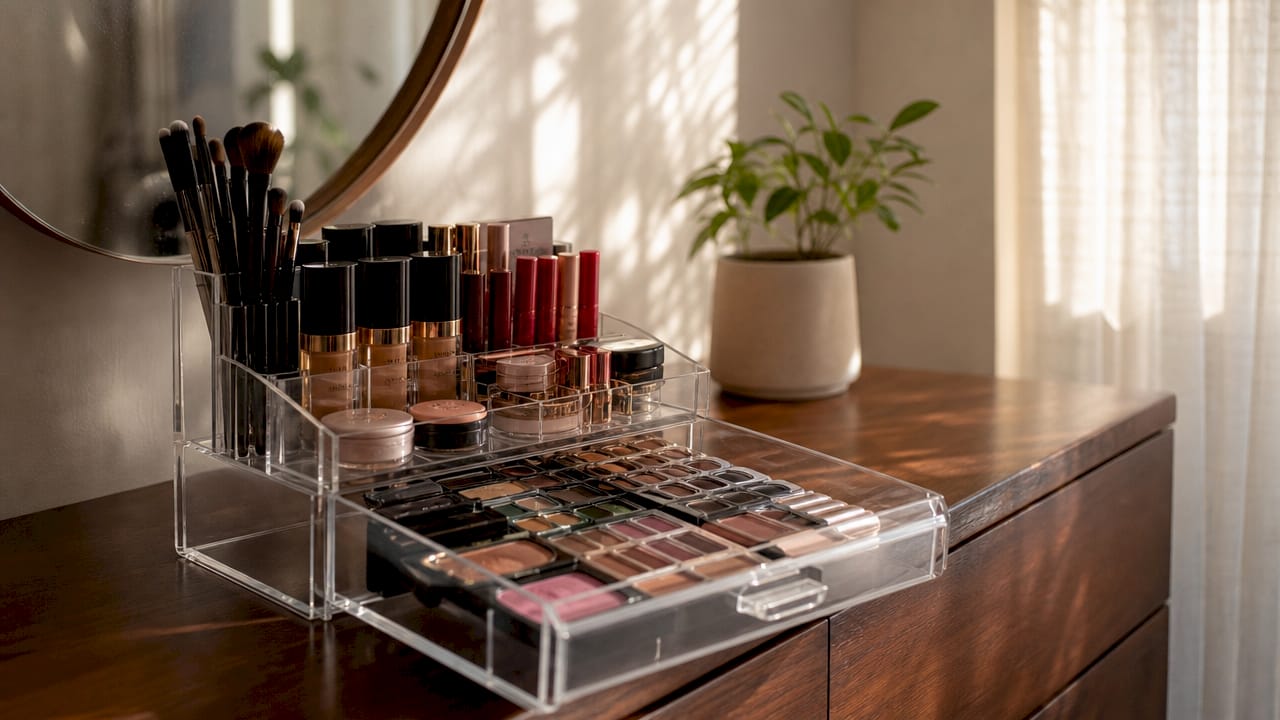
Acrylic dividers come in modular sizes that fit inside bathroom drawers or sit on a vanity surface. Stack a shallow tray for lip products on top of a deeper tray for foundations and you have a two-level system in the same footprint. Experts specifically advise against large opaque plastic bins because they hide products and encourage clutter to build up silently.
Pro Tip: Buy one extra divider tray when you set up your system. As your collection grows, you will already have the space to expand without starting over.
2. Use a rotating organizer to hold brushes and skincare
A rotating carousel organizer is the most space-efficient tool for brush storage. A quality rotating unit holds more than 60 makeup brushes and 30 skincare products in a compact footprint. That capacity makes it ideal for women with full collections who have limited counter space.
The rotation feature matters more than most people realize. You can spin to the exact brush or product you need without moving anything else. Place your rotating organizer at the center of your vanity so every section is within arm’s reach. This setup cuts down the time you spend searching during your morning routine.
3. Go vertical with wall-mounted shelves and stackable bins
Counter space is finite. Vertical storage like wall-mounted shelves and stackable bins frees up your surface area without reducing your storage capacity. This is the single most underused strategy in home makeup storage.
Wall-mounted floating shelves work well for products you use less frequently, like special occasion palettes or backup stock. Stackable clear bins on a shelf or inside a cabinet let you build upward instead of outward. For small bathrooms or shared spaces, this approach creates a dedicated makeup zone without consuming the entire counter.
4. Sort lip products into tiered trays and tube canisters
Lip products are the most disorganized category in most collections. They are small, slender, and easy to lose at the bottom of a drawer. Tiered lipstick trays hold each tube upright and angled so you can read the label without picking anything up. Tube canisters work well for lip glosses and lip liners grouped by finish or color family.
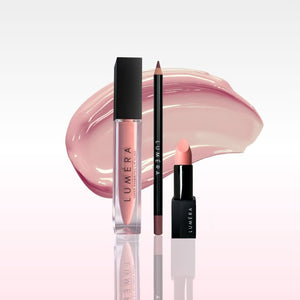
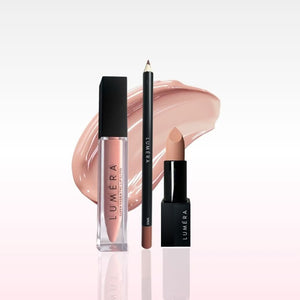
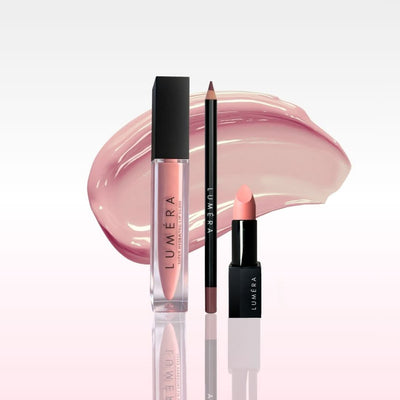
Lumeracosmetica recommends keeping your most-used lip shades in a front-facing tray at eye level. Rotate seasonal shades to a secondary tray stored in a drawer. This two-tier lip system takes less than five minutes to set up and saves real time every day.
5. Organize by routine zones, not by brand
The most common makeup organization mistake is grouping products by brand or by color. Organizing by routine zones based on your application order speeds up your routine and reduces search time. The standard zone sequence is base, color, eyes, lips, and tools.
Each zone gets its own tray, drawer section, or shelf row. Your base zone holds foundation, concealer, and primer. Your eye zone holds eyeshadow palettes, liners, and mascara. When you follow this system, your hand moves naturally from one zone to the next without backtracking. That flow mirrors the makeup application order professionals use.
Pro Tip: Label the front edge of each tray with a small piece of washi tape and a marker. The label takes 30 seconds to add and saves minutes of confusion when you are rushing.
6. Always store liquids upright
Storing liquid foundations upright prevents leaks, spills, and wasted product. This is one of the most common storage mistakes, and it costs money. A foundation stored on its side will eventually seep into the cap, dry out around the pump, and contaminate other products nearby.
Dedicate one section of your acrylic organizer specifically to upright liquid storage. Use a narrow canister or a divided tray with tall compartments. Keep serums, liquid highlighters, and setting sprays in the same upright section so the rule applies consistently across your collection.
7. Apply the reach test to your daily essentials
The reach test is a simple placement rule: every product you use daily should be accessible within two seconds. Testing product placement with a reach test ensures your essentials are within arm’s length, especially when you are in a hurry or not fully awake. If you have to move three things to get to your mascara, your system needs adjustment.
Place your top five to seven daily products in the front row of your organizer or in the top drawer of your vanity. Everything else goes behind or below. Revisit this placement every few months because your daily routine shifts with seasons and habits.
8. Build a DIY magnetic board for small items
A magnetic board mounted on a wall or inside a cabinet door is one of the most creative makeup storage solutions for small spaces. Glue small magnets to the back of travel-size products, bobby pins, tweezers, and eyeliner pencils. The board keeps these items visible and off the counter entirely.
This approach works especially well in bathrooms with no drawer space. A standard 12-by-18-inch magnetic board holds a surprising number of small items. Pair it with a few adhesive hooks below for brushes or hair tools and you have a full station on a single wall panel. For budget-friendly decor ideas that complement this kind of setup, simple DIY styling keeps the look intentional rather than improvised.
9. Create a minimalist display with breathing room
Leaving about an inch of space between displayed items creates a curated, boutique look rather than clutter. That spacing is the difference between a vanity that looks organized and one that looks crowded even when it is technically tidy. Breathing room signals intention.
Apply this rule to any open shelving or countertop display. Choose your ten to fifteen most-used or most beautiful products to display. Store the rest out of sight. A minimalist display also makes cleaning faster because you are not moving a wall of products to wipe down the surface.
10. Plan your budget before you buy storage
Functional vanity setups are achievable on budgets from $50 to $200 using acrylic drawer dividers and tiered organizers. Knowing your budget before you shop prevents impulse purchases that do not fit your space or your system.
A $50 setup covers a basic acrylic divider set and one rotating canister. A $100 setup adds tiered trays and a wall-mounted shelf. At $200, you can build a full zone-based system with matching acrylic pieces, a rotating carousel, and labeled drawer inserts. Start at the tier that fits your current collection size and expand only when you genuinely need more space.
11. Audit and declutter every 3–4 months
A makeup organization checklist is only useful if you act on it regularly. Performing a full declutter and expiration audit every 3–4 months keeps your system from reverting to chaos. This cadence also aligns with seasonal shifts in your routine, which naturally change which products you reach for most.
During each audit, check expiration dates, remove duplicates, and wipe down every tray and surface. Makeup hygiene practices extend product life and protect your skin. Clear containers make this audit faster because you can see what you have without unpacking everything. The audit is also the right moment to reassign zone placement if your routine has changed.
Key takeaways
The most effective makeup storage system combines zone-based categorization, clear visibility, vertical storage, and a regular audit cycle to keep your routine fast and your products in good condition.
| Point | Details |
|---|---|
| Zone-based categorization | Group products by routine order: base, color, eyes, lips, and tools for faster application. |
| Clear acrylic storage | Use transparent containers to keep every product visible and prevent expired items from hiding. |
| Vertical and rotating storage | Wall shelves and rotating carousels free up counter space without reducing capacity. |
| Regular audits | Declutter and check expiration dates every 3–4 months to maintain hygiene and order. |
| Budget planning | Functional setups are achievable from $50 to $200 with acrylic dividers and tiered organizers. |
What I actually learned after reorganizing my vanity three times
The first time I reorganized my makeup, I sorted everything by brand. It looked beautiful for about two weeks. Then I started running late one morning and could not find my concealer because it was grouped with other products from the same line, not with my base products where I actually needed it. That was the moment I understood that aesthetics without function is just decoration.
The zone-based system changed everything. Once I arranged my products in application order, my morning routine dropped by several minutes. Not because I was moving faster, but because I stopped searching. My hand knew where to go next.
The audit habit was harder to build than the organization itself. I kept skipping it because the system looked fine from the outside. But clear containers showed me the truth. I found foundations I had not touched in a year and lip products well past their use-by date. Now I treat the quarterly audit the same way I treat changing my smoke detector batteries. It is not optional.
My advice for women who feel like their collection is too large to organize: start with just your daily products. Get those five to seven items into a clean, accessible front row. Everything else can wait. A perfect system built over three months beats a rushed overhaul that falls apart in two weeks.
— Rebecca
Your beauty routine deserves a collection to match
A well-organized vanity is only as good as the products filling it. Lumeracosmetica creates lip and cosmetic products designed to earn a permanent spot in your front row, not get lost at the back of a drawer.
Whether you are building a minimalist display or a full zone-based system, the products you choose should perform well enough to justify the space they take up. Visit Lumeracosmetica to browse a curated selection of lip and cosmetic essentials built for women who take their routines seriously. For practical tips on getting the most from every product you own, the makeup hacks for women over 40 guide is a strong next read.
FAQ
What is the best way to organize makeup at home?
The best way to organize makeup is by routine zones: base, color, eyes, lips, and tools. Place daily-use products in the front row and store occasional items out of sight.
How often should I declutter my makeup collection?
Perform a full declutter and expiration audit every 3–4 months. This cadence maintains hygiene, prevents overcrowding, and keeps your system aligned with your current routine.
What storage works best for small spaces?
Vertical storage like wall-mounted shelves and rotating carousels frees up counter space while holding large collections. A rotating organizer can hold more than 60 brushes and 30 skincare products in a compact footprint.
Should I use clear or opaque containers for makeup storage?
Clear acrylic containers are the better choice. They keep every product visible, prevent expired items from being forgotten, and make quarterly audits significantly faster.
How much does a functional makeup organizer setup cost?
A functional setup costs between $50 and $200 depending on the size of your collection. A basic acrylic divider set and one rotating canister covers most collections at the lower end of that range.