

How to Make Lips Look Better: Quick, Natural Makeup Tips

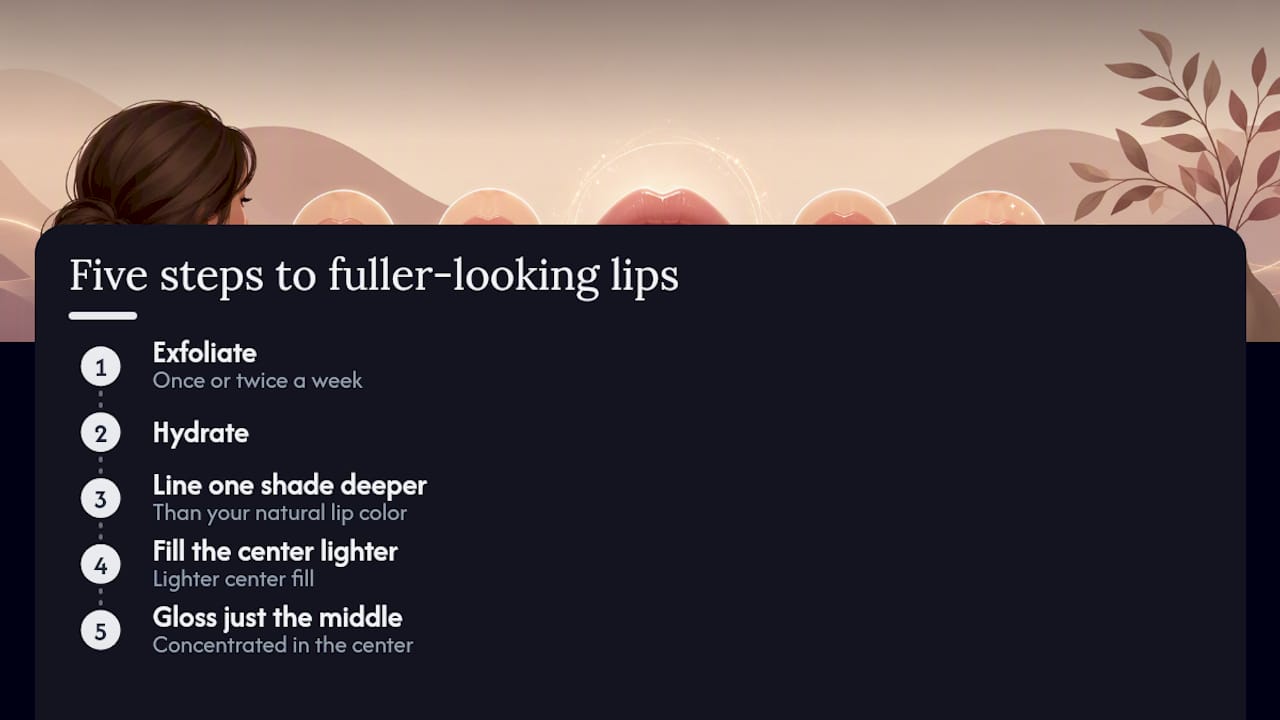
The fastest way to make lips look better is a five-step move: exfoliate first, line the edge slightly deeper than your natural color, fill the center with something lighter, gloss the middle for shine, and touch a highlighter on the Cupid’s bow. That single sequence does more for perceived fullness than any single product on its own.
Before the how-to, here’s the checklist to keep nearby:
- Exfoliate lightly (weekly habit, not daily)
- Hydrate with balm before any makeup goes on (daily habit)
- Line the edge one shade deeper than your lip (one-time step per application)
- Fill center lighter, then gloss it (one-time step per application)
- Highlight the Cupid’s bow for a lifted point of light (one-time step per application)
- Apply SPF lip balm every morning, makeup or not (daily habit)
Key Takeaways
A lighter, glossy center paired with a slightly deeper perimeter shade is the single most reliable technique for making lips look fuller in makeup.
| Point | Details |
|---|---|
| Prep matters most | Exfoliate weekly and hydrate before every application to prevent patchy color. |
| Contrast creates volume | Line one to two shades deeper, fill the center one to two shades lighter. |
| Gloss goes in the center | Concentrated center shine reads as dimension; edge-to-edge gloss doesn’t. |
| Micro-lining beats overlining | Four small blended dots look natural; a full traced outer line often doesn’t. |
| Luméra Cosmetica simplifies the kit | Curated lip sets pair pre-matched liner, tint, and gloss shades for this routine. |
Table of Contents
- How to make your lips look fuller with a step-by-step routine
- Lip contouring or lip liner: which one actually works?
- What daily lip care actually improves appearance over time?
- Which lip colors and finishes make lips look bigger?
- What are the most common lip makeup mistakes?
- Which tools and products do you actually need?
- What actually moves the needle on a fuller-looking lip?
- A simpler way to build this routine
- Frequently asked questions
- Sources
How to make your lips look fuller with a step-by-step routine
This takes about five minutes once you’ve done it twice, and the order matters more than the products.
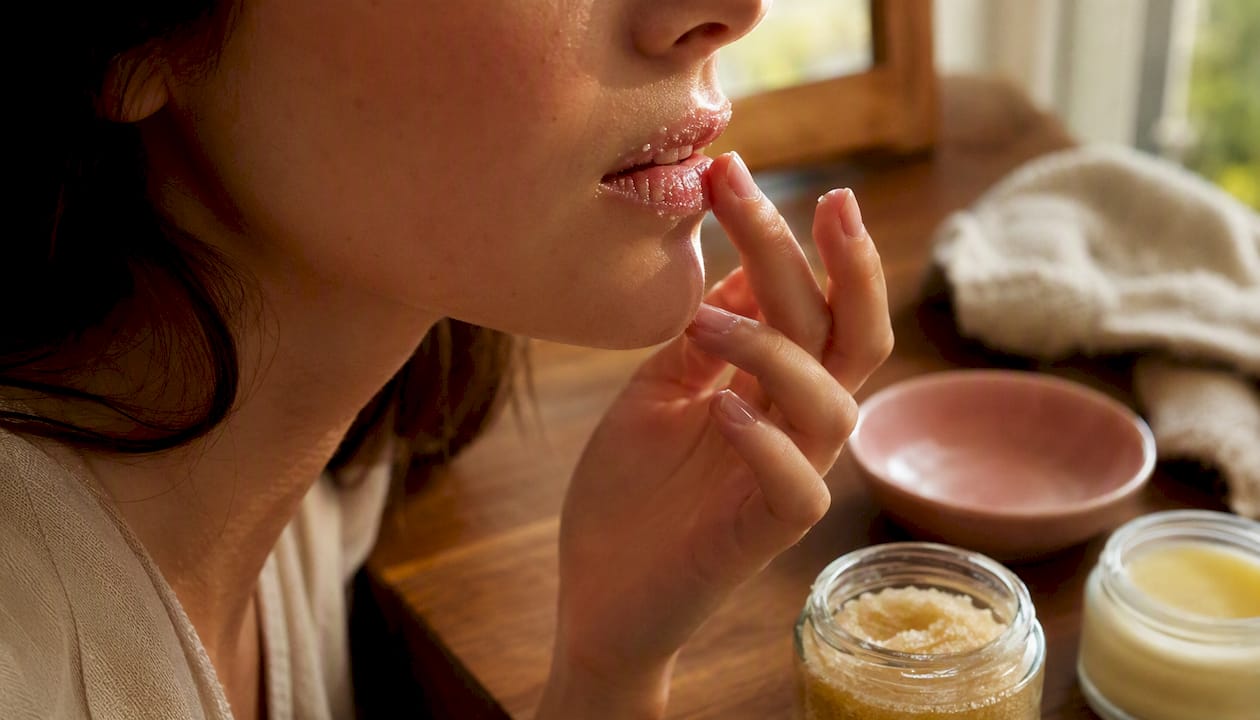
- Prep with gentle exfoliation. Use a soft-bristle toothbrush, a sugar-based scrub, or a damp washcloth in small circles for 15 seconds. Do this the night before or the morning of, not right before lipstick goes on, since freshly buffed skin needs a minute to calm down.
- Hydrate immediately after. A thick, occlusive balm sits for a minute or two while you do the rest of your face. This step matters because dry, flaking skin grabs pigment unevenly and makes any lip color look patchy.
- Outline with a creamy liner slightly deeper than your natural shade. Start at the Cupid’s bow and work outward in short strokes, staying just at or barely outside your natural lip line. This is the frame that everything else builds on.
- Fill the center with a lighter shade. A sheer tint or a lipstick one or two tones lighter than your liner goes in the middle third of both lips, blended toward the liner with a small flat brush or your fingertip.
- Add gloss to the center only. A step-by-step makeup routine that layers gloss just in the middle, not edge to edge, creates a dome of light that reads as volume from across a room.
- Highlight the Cupid’s bow. One tiny dot of a luminous concealer or highlighter right above the center point catches light and lifts the whole shape.
Product textures matter here. A creamy or gel-based liner blends into skin instead of sitting on top of it like a hard pencil. A sheer, buildable tint lets the lighter center actually look lighter instead of opaque. High-shine, non-sticky gloss does the heavy lifting for dimension, while a hydrating balm with emollients keeps the whole look from cracking by lunch.
Pro Tip: Concentrate most of your gloss in the very center of the lower lip. That’s where light naturally hits first, and it’s the single detail that separates a subtle plumping effect from an obviously “glossed” mouth.
Lip contouring or lip liner: which one actually works?
These solve different problems, and mixing them up is the most common reason a “fuller lip” look falls flat.
Contouring uses soft shading, not a hard line, to fake volume through shadow and highlight. It suits thin lips and everyday wear because there’s no visible border to smudge or fade awkwardly. Traditional lip liner draws a defined edge that stops color from feathering and can subtly reshape the lip. It suits longevity and more dramatic finishes since the border holds up through eating and talking.
- For contouring, use a matte powder or cream one shade deeper than your natural lip, pressed into the outer corners and blended inward with a fluffy brush.
- For lining, match your liner to your natural lip tone or go one shade deeper, then fill the center with something lighter for contrast.
- For a natural overline without the harsh drawn-on look, makeup artist Katie Jane Hughes uses micro-lining: four small dots placed just outside the natural line at the Cupid’s bow, center, and corners, then blended with a small brush.
Pro Tip: Micro-lining beats a full overline for anyone worried about looking “done.” Four blended dots read as natural lip shape; a solid traced line outside your lip almost always reads as makeup.
What daily lip care actually improves appearance over time?
Makeup fixes today’s look. Care changes what your lips look like without any product at all, and it happens on a slower timeline: think weeks, not minutes.
- Moisturize daily with a balm containing emollients like shea butter or ceramides, applied morning and night.
- Wear SPF lip balm every day. Dermatology guidance recommends SPF 15 or higher since lip skin has little natural pigment protection and burns easily.
- Exfoliate once or twice a week, not daily. Regular gentle exfoliation paired with ongoing hydration supports smoother texture and better color over time, according to dermatology-focused reporting.
- Try an overnight lip mask once or twice a week if your lips are chronically dry. Leave it on while you sleep and let barrier-repair ingredients work overnight, since barrier support is a documented strategy for improving delicate lip skin.
- Skip DIY plumpers with cinnamon or peppermint oil if your lips are sensitive. These homemade mixes can irritate or even damage the skin barrier with overuse, and irritated lips take makeup worse, not better.
Pro Tip: If a scrub or mask leaves your lips stinging or tight rather than soft, stop. That’s your skin telling you the formula is too harsh, not a sign you need to use it more.
Professional treatments like fillers exist for readers who want permanent volume, but that’s a conversation for a licensed injector, not a home routine.
Which lip colors and finishes make lips look bigger?
Contrast is the whole trick. A slightly deeper shade around the perimeter paired with a lighter, shinier center tricks the eye into reading shadow and highlight, the same way contouring works on cheekbones.
- Sheer glosses and luminous satin finishes enlarge because they reflect light unevenly across the lip’s curve, which the brain reads as roundness.
- Flat, heavy matte finishes, especially in very dark shades, absorb light evenly and flatten that same curve, which can shrink the visual size of the lip.
- Shade math: go one to two tones deeper than your natural lip color for the liner, and one to two tones lighter for the center fill. On deeper skin tones, a warm caramel or berry liner with a golden-sheer center reads better than stark contrast; on fair skin, a soft rose liner with a pearly nude center avoids looking harsh.
Pro Tip: Test your center shade in daylight before committing. Gloss and sheer formulas shift dramatically under indoor lighting, so what looks perfectly lighter at your bathroom mirror can look too pale or too pink outside.
What are the most common lip makeup mistakes?
- Overdrawn, harsh liner lines that stop abruptly instead of blending into the natural lip.
- Liner too dark or too pink for your undertone, creating an obvious ring around the lipstick.
- Skipping exfoliation and balm, which makes any lipstick sit on flaky patches.
- All-over matte with no gloss or highlight anywhere, flattening the whole shape.
- Forgetting SPF, which leads to dark patches that no lipstick fully covers.
- Fix it fast: blend a harsh line with a clean fingertip or flat brush, dab concealer over any stray liner marks, and add a dot of gloss to soften edges instead of wiping everything off and starting over.
Which tools and products do you actually need?
Keep the kit simple: a creamy lip liner, a contour pencil one shade deeper than your skin, a sheer tint or lipstick, a high-shine, non-sticky gloss, and a hydrating balm with SPF for daily wear. A small flat or angled brush blends liner edges better than fingers alone.
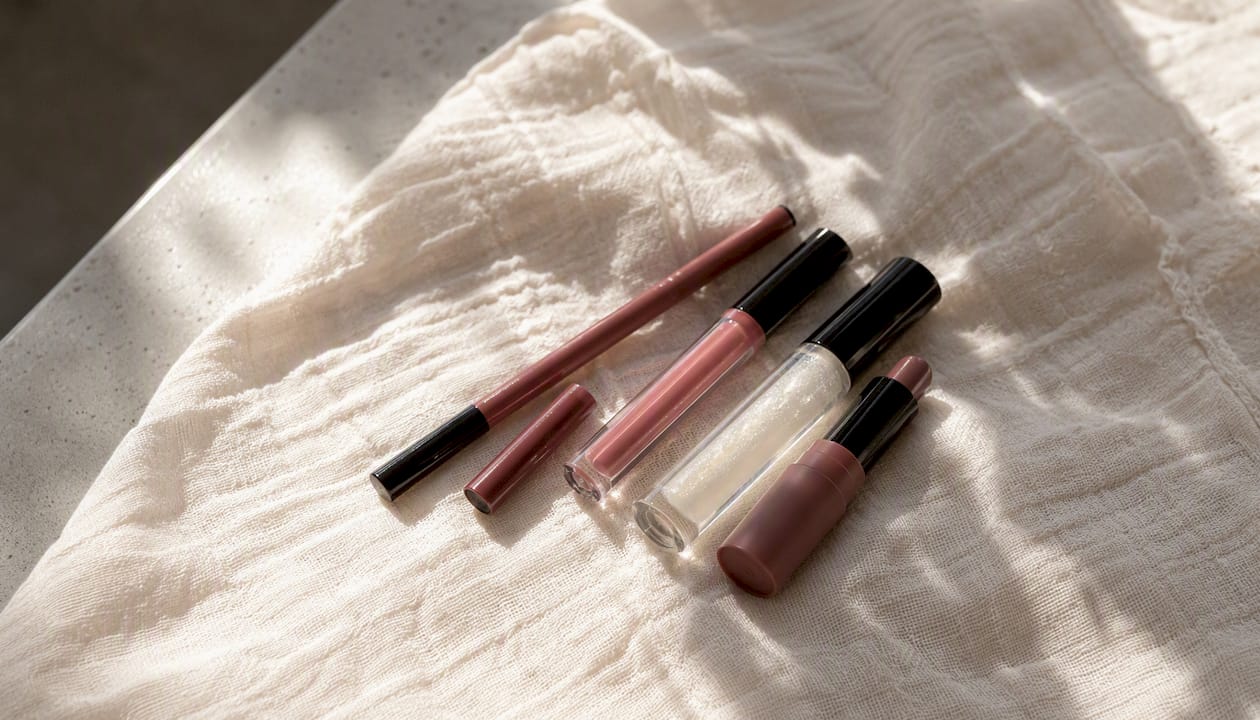
Texture cues: waxy liners drag and pull, so look for a creamy, gel-like formula that glides. Thick glosses last longer but feel heavier; thinner formulas feel lighter but need reapplying.
Pro Tip: Patch-test any fragranced or “plumping” formula on your inner arm for 24 hours before putting it on your lips, especially anything with cinnamon or menthol. Lip skin reacts faster and more visibly than most people expect.
What actually moves the needle on a fuller-looking lip?
The exfoliation-and-hydration step before makeup does more than most people give it credit for. Skip it, and even perfect liner work looks patchy by midday. Add the lighter center and a single dot of gloss, and that’s usually the moment a lip goes from “fine” to “full” in the mirror.
Technique should flex with your lip shape and age, too. Thinner, more mature lips often respond better to contouring’s soft shadow than to a hard-edged liner, which can look severe as lip borders naturally soften over time.
A simpler way to build this routine
Getting the shade math right, matching a liner to a tint, finding a gloss that isn’t sticky, takes trial and error most people don’t have time for. Luméra Cosmetica builds that pairing into curated lip kits, so the deeper liner, lighter center shade, and gloss finish are already color-matched to each other instead of left to guesswork at the drugstore counter.
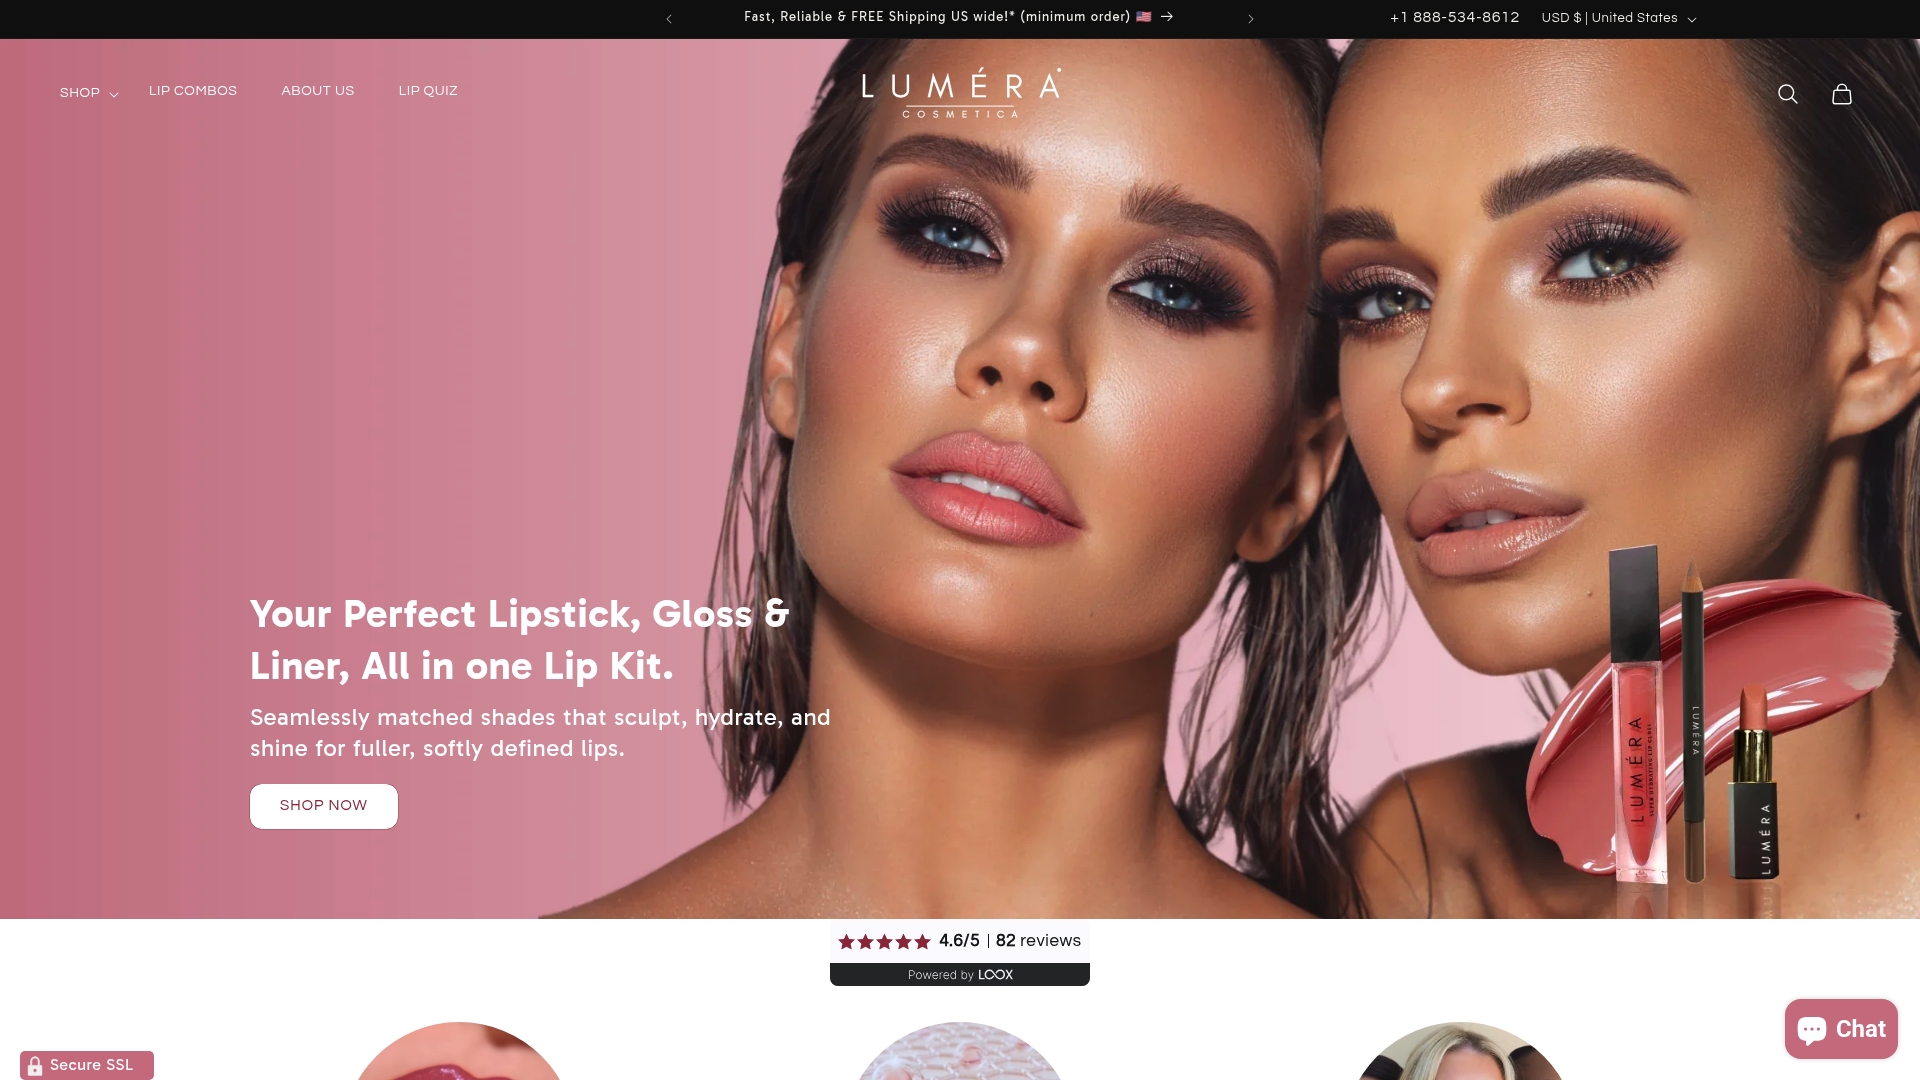
If you want the routine above without hunting for three separate products that actually work together, browse the current lip kits on the Luméra Cosmetica landing page and pick a set suited to your natural lip tone.
Frequently asked questions
How can I make my lips look fuller without filler? Exfoliate, hydrate, line one shade deeper than natural, fill the center lighter, then gloss just the middle. That contrast alone creates a visible plumping effect.
How do I make small lips look bigger with makeup? Use micro-lining instead of a full overline: four small dots at the Cupid’s bow, center, and corners, blended with a brush, then finish with a lighter gloss center.
What lip liner shade makes lips look bigger? One to two tones deeper than your natural lip color, paired with a lighter center fill, creates the strongest illusion of volume.
Does gloss really make lips look fuller? Yes. Concentrated in the center rather than spread edge to edge, gloss reflects light in a way that mimics natural lip curvature and reads as fullness.
How often should I exfoliate my lips? Once or twice a week is enough for most people. Daily exfoliation can irritate the thin skin on lips and undo the smoothing effect you’re after.
Sources
- How to Make Your Lips Look Bigger With Makeup
- Dua Lipa’s makeup artist on the micro-lining technique that instantly gives you bigger lips | Vogue
- How to make lips pink and healthy | Healthline


