

Micro Lining With Four Marks That Contour Lips, Women 30–50

The fastest way to make lips look fuller is to place a cool-toned liner just above the Cupid’s bow peaks and at the center of the bottom lip, blend it inward and downward with a small brush, then add a lighter shade or gloss to the center. The contrast between the cooler shadow at the edges and the light at the middle tricks the eye into seeing more volume than is actually there. Below is the full breakdown, step by step.
TL;DR:
- Using a cool-toned liner just above the Cupid’s bow peaks and at the center of the lower lip creates a convincing illusion of volume.
- Map four small points at key lip peaks and corners, then connect and blend them inward and downward for a natural, fuller appearance.
- Applying gloss or highlighter in the center of the lips enhances the three-dimensional effect by simulating light reflection.
- Proper prep, aware blending, and setting techniques prevent smudging and ensure the contour lasts all day, especially for mature lips.
- Subtle, blended contours look more natural and are more photogenic than bold, overlined lips that often appear exaggerated or unnatural.
Table of Contents
- Essential Products for Fuller-Looking Lips
- Step-by-Step Lip Contouring for a Fuller Look
- Pro Tips and Mistakes That Ruin a Natural Look
- How to Set and Finish the Contour for All-Day Wear
- Rebecca’s Notes on Contouring for Women 30 to 50
- Why Subtle Beats Bold Every Time
- Luméra Cosmetica’s Curated Kits for This Exact Technique
- Sources
Essential Products for Fuller-Looking Lips
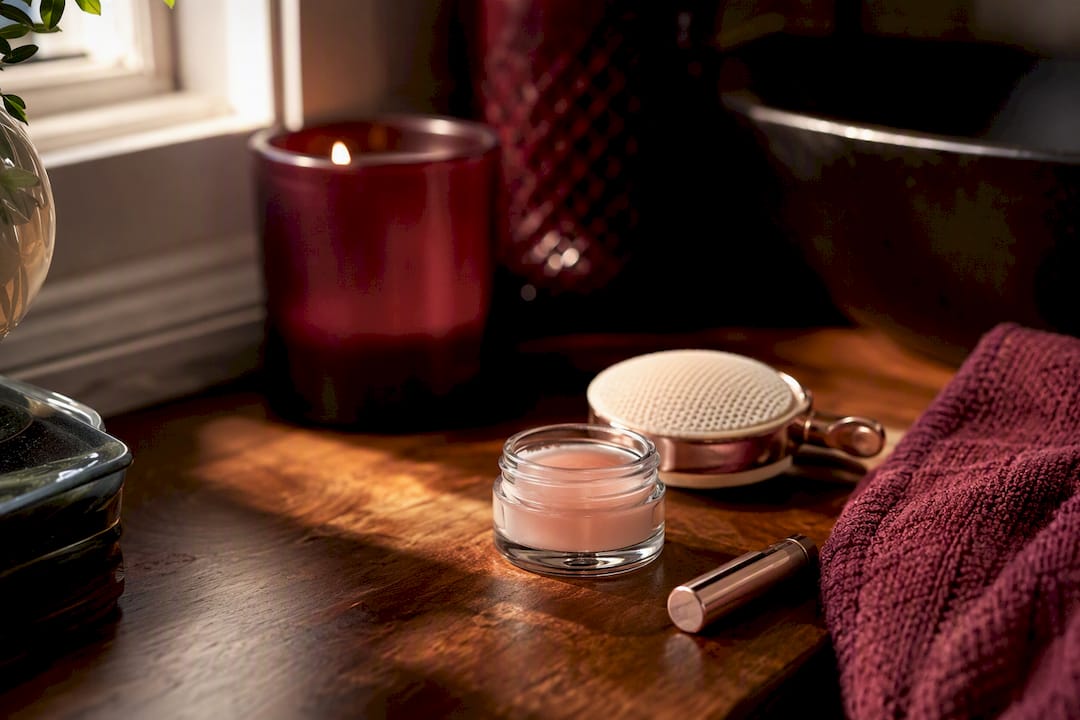
Before you pick up a liner, get the right pieces in place. Lip contouring depends less on skill than on choosing tools that actually create shadow instead of just color.
- Cool or neutral-toned lip liner, one to two shades deeper than your natural lip color. This is the single most important product in the routine, since cool and neutral liners mimic natural shadow far more convincingly than warm or pink-based ones, which tend to flatten rather than define.
- A small, fluffy blending brush. Not the same brush you use for eyeshadow crease work, but something similarly sized and soft enough to diffuse liner without dragging it.
- Your regular lip color, in the same family as your liner or slightly lighter. This goes over the contour once it’s blended.
- A gloss or liquid highlighter for the center of the lips, where the light needs to catch.
- Balm and a touch of concealer or setting powder for the lips and surrounding skin, so color has something even to grip onto.
Texture matters more than most people realize. Cream liners glide and blend beautifully but can migrate if you skip the setting step later. Waxy, drier liners hold their line longer but resist blending, which makes them harder to soften into a natural shadow. If your liner drags when you try to blend it, warm the tip between your fingers for a few seconds before you draw.
Skip the prep and everything after it fights an uphill battle. Lightly exfoliate dry or flaky patches, hydrate with balm for a minute or two, then blot before you start (a hydrating mask a few times a week keeps lips smoother between makeup applications). A thin layer of concealer over the natural lip line and just beyond it gives your liner a clean, even canvas and helps blur where your real lip ends and the contour begins.
Step-by-Step Lip Contouring for a Fuller Look
This is the core technique, adapted from the micro-lining method popularized by celebrity makeup artists. It works in five stages: prep, mark, connect, blend, and finish. None of them take more than a minute or two once you’ve done it a handful of times.
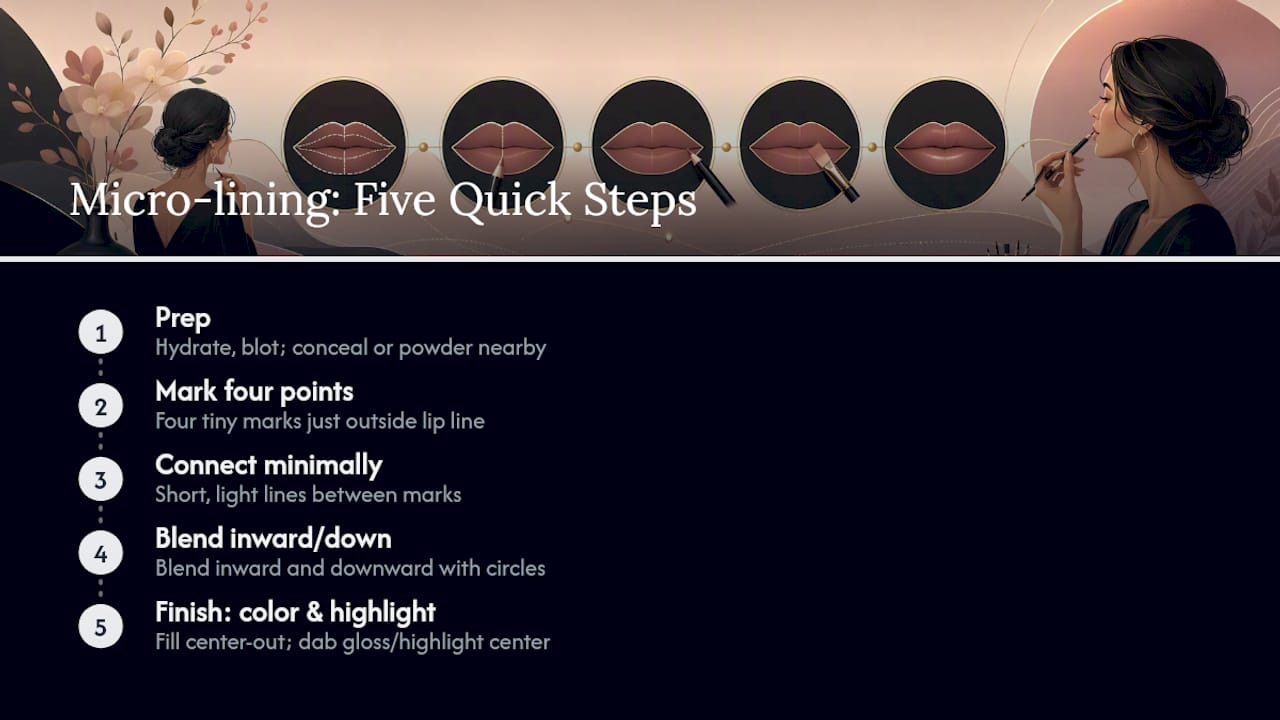
1. Prep the lips. Start with clean, hydrated lips. Apply balm, let it sink in for a minute, then blot off the excess with a tissue. Pat a small amount of concealer or a light dusting of powder around the lip line and just past it. This step alone prevents a huge share of the smudging and bleeding people blame on liner quality.
2. Map four tiny points. Instead of tracing your whole lip line, mark just four spots: one at each peak of the Cupid’s bow, one at the center of the bottom lip, and two very subtle marks at the outer corners. These four points sit slightly outside your natural line, by a millimeter or two, not more. Think of them as anchor points rather than a full outline.
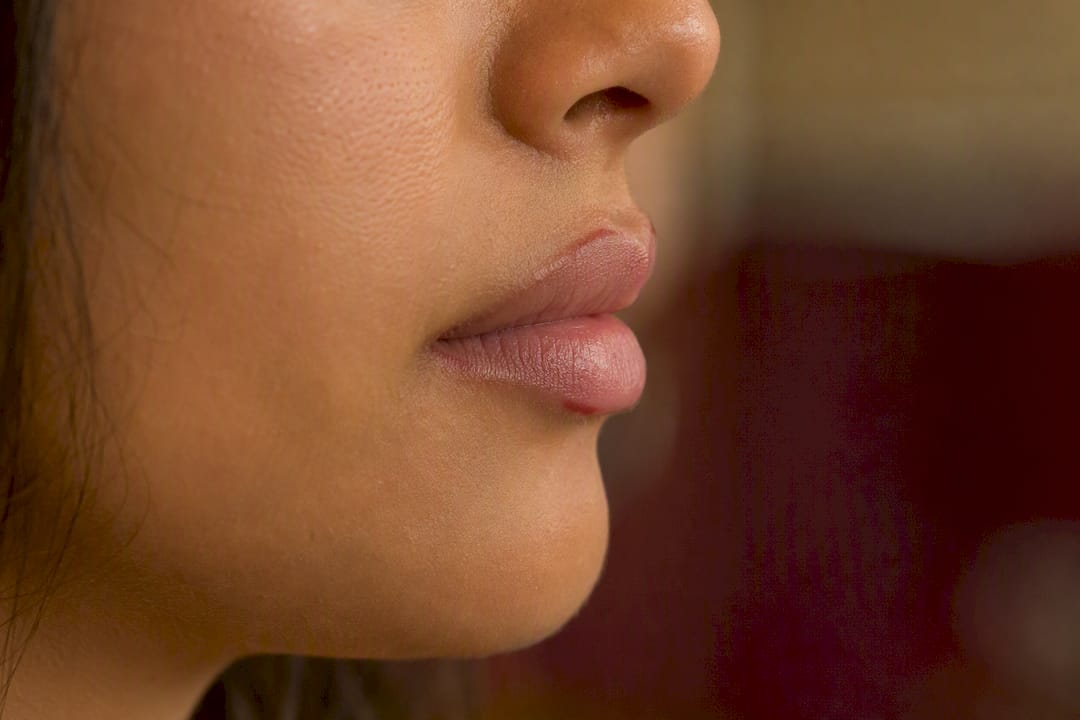
3. Connect the marks minimally. Draw short, light lines between the points rather than one continuous heavy border. The goal is a broken, soft shape, not a hard cartoon outline. This is where most people overcorrect. Resist the urge to fill in a complete new lip shape around your existing one. Overlining the full perimeter almost always reads as unnatural, while targeted marks at the peaks and center create fullness without the telltale drawn-on look.
4. Blend inward and downward. Take your fluffy brush and work the liner toward the center of the lips and slightly downward, never outward toward your skin. Blending outward drags pigment onto the surrounding skin and erases the shadow effect you just built. Blending inward and down does the opposite: it softens the line into a gradient that reads as depth, the same way contour shading blends downward toward the chin to mimic how shadow naturally falls beneath a fuller lower lip.
Use small circular motions rather than long strokes. If the line still looks harsh after ten seconds of blending, your liner is likely too dry. Warm the brush against the back of your hand and try again.
5. Apply your lip color and blend it into the contour. Fill in your natural lip shape with your chosen lipstick or tinted balm, working from the center outward this time, so the color meets and merges with the blended liner rather than sitting on top of it as a separate layer.
6. Highlight the center. Dab a small amount of gloss or liquid highlighter directly in the middle of both the top and bottom lip, right where light would naturally hit a fuller pout. This single step does more visual work than people expect. The eye reads light-to-dark contrast as three-dimensional shape, so a bright center against a slightly deeper perimeter is what actually sells the illusion of volume.
7. Add a whisper of shadow under the lower lip. Using whatever liner or powder is left on your brush, sweep a thin line just beneath the center of the lower lip and blend it downward toward the chin. This recreates the small shadow a naturally protruding lower lip casts, which is often the detail that separates a convincing contour from a flat one.
Pro Tip: If your contour looks too obvious under normal light, step back three feet from the mirror. Lip makeup is judged at conversation distance, not at the two inches away you’re standing while applying it. What looks subtle up close often reads as bold from where other people actually see you.
Follow this same step-by-step lining sequence a few times and it becomes closer to muscle memory than a checklist.
Pro Tips and Mistakes That Ruin a Natural Look
A few adjustments separate a contour that looks like fuller, healthier lips from one that looks like a bad drawing.
- Stop overlining the outer corners. This is the single biggest giveaway. Experts consistently point to central, subtle overline rather than a full traced perimeter as the difference between natural and obviously fake. If you extend liner noticeably past your natural corners, the shape looks painted on rather than plump.
- Use a brush, not your finger, to blend. Fingers pick up too much product and move it unpredictably across the skin. A small fluffy brush gives you consistent, controlled diffusion that a fingertip simply can’t replicate.
- Adjust pigment intensity for your skin tone. Deeper skin tones often need a slightly more saturated liner to register as a visible shadow at all, while paler or more mature lips usually look better with less pigment and more balm mixed in, so the color doesn’t sit harshly on thinner skin.
- Check your work at a distance and in a photo. Harsh lines that look fine in a mirror often show up starkly in flash photography. Take one quick phone photo before you leave the house.
- Set it, don’t seal it shut. A light dust of translucent powder over the liner (not the center) keeps edges from smudging without drying out the lips.
Pro Tip: Blot your lipstick once with a tissue, then reapply a thin second layer. This “blot and press” trick roughly doubles wear time without adding the heaviness that a single thick coat brings.
How to Set and Finish the Contour for All-Day Wear
Getting the shape right is half the job. Keeping it there through a lunch and a coffee is the other half.
- Set cream liner lightly. Press a small, fluffy brush loaded with translucent powder just along the contoured edges, not across the whole lip. This locks the liner in place without the flat, dry look that a full powder coat causes.
- Place gloss carefully. Apply it only to the center third of the lips, using a small doe-foot applicator or a fingertip. Gloss applied near the outer edges tends to catch on the contour and blur the shadow you worked to create.
- Touch up with intention, not a full reapplication. Blot first, then reapply lipstick only to the center, letting the set liner underneath do its job for hours longer.
- Layer thin, not thick. Apply lip color in two or three thin coats rather than one heavy one, blotting lightly between each. Thin layers with a brief pause to set hold their shape and color far longer than a single generous swipe, which tends to bleed and fade unevenly.
Rebecca’s Notes on Contouring for Women 30 to 50
Fine lines around the mouth change how contour behaves, and most generic tutorials skip that entirely. A few adjustments make a real difference for this stage of life.
- Lean harder on hydration. Balm before, balm during setting, and a hydrating gloss at the end. Skin around mature lips shows drying products immediately, settling into fine lines rather than sitting smoothly.
- Go subtler on the overline than you think you need. A millimeter of extension at the Cupid’s bow reads clearly on mature lips. Two millimeters starts to look like it’s fighting the natural shape rather than enhancing it.
- Choose less pigment, more balm-like texture. A liner formulated to sit softly rather than sit stark tends to sink into thinner lip skin more forgivingly.
Luméra Cosmetica builds its liner, gloss, and balm categories with exactly this kind of pairing in mind: a cool-toned liner alongside a hydrating gloss designed to sit gently rather than drag. Pairing the right liner shade with a balm-forward gloss removes most of the guesswork this section describes.
Why Subtle Beats Bold Every Time
Heavy overlining photographs badly in a way most people don’t notice until they see the picture. A hard, obvious line reads as makeup first and lips second, and in conversation, a sharp perimeter draws the eye to the edge of your mouth rather than to what you’re saying. Subtle, blended contour does the opposite. It reads as your lips, just fuller, which is the entire point.
Makeup contouring is also a legitimate, temporary alternative worth trying before considering anything more permanent. It costs nothing beyond the products already in your bag, it’s completely reversible, and it lets you test what a fuller lip shape actually looks like on your face before committing to anything more drastic.
Experiment in small increments. Add half a millimeter more overline one day, dial back the highlight another day, and pay attention to what actually looks like you rather than what looks like a filter. The version of this technique that works isn’t the boldest one. It’s the one nobody notices as makeup at all.
— Rebecca
Luméra Cosmetica’s Curated Kits for This Exact Technique
Every step above depends on having a liner that actually blends, a gloss that hits the center without sliding, and a shade combination that doesn’t require five separate product hunts. Luméra Cosmetica builds curated lip kits specifically so you’re not guessing which liner shade counts as “cool-toned enough” or which gloss is hydrating rather than sticky.
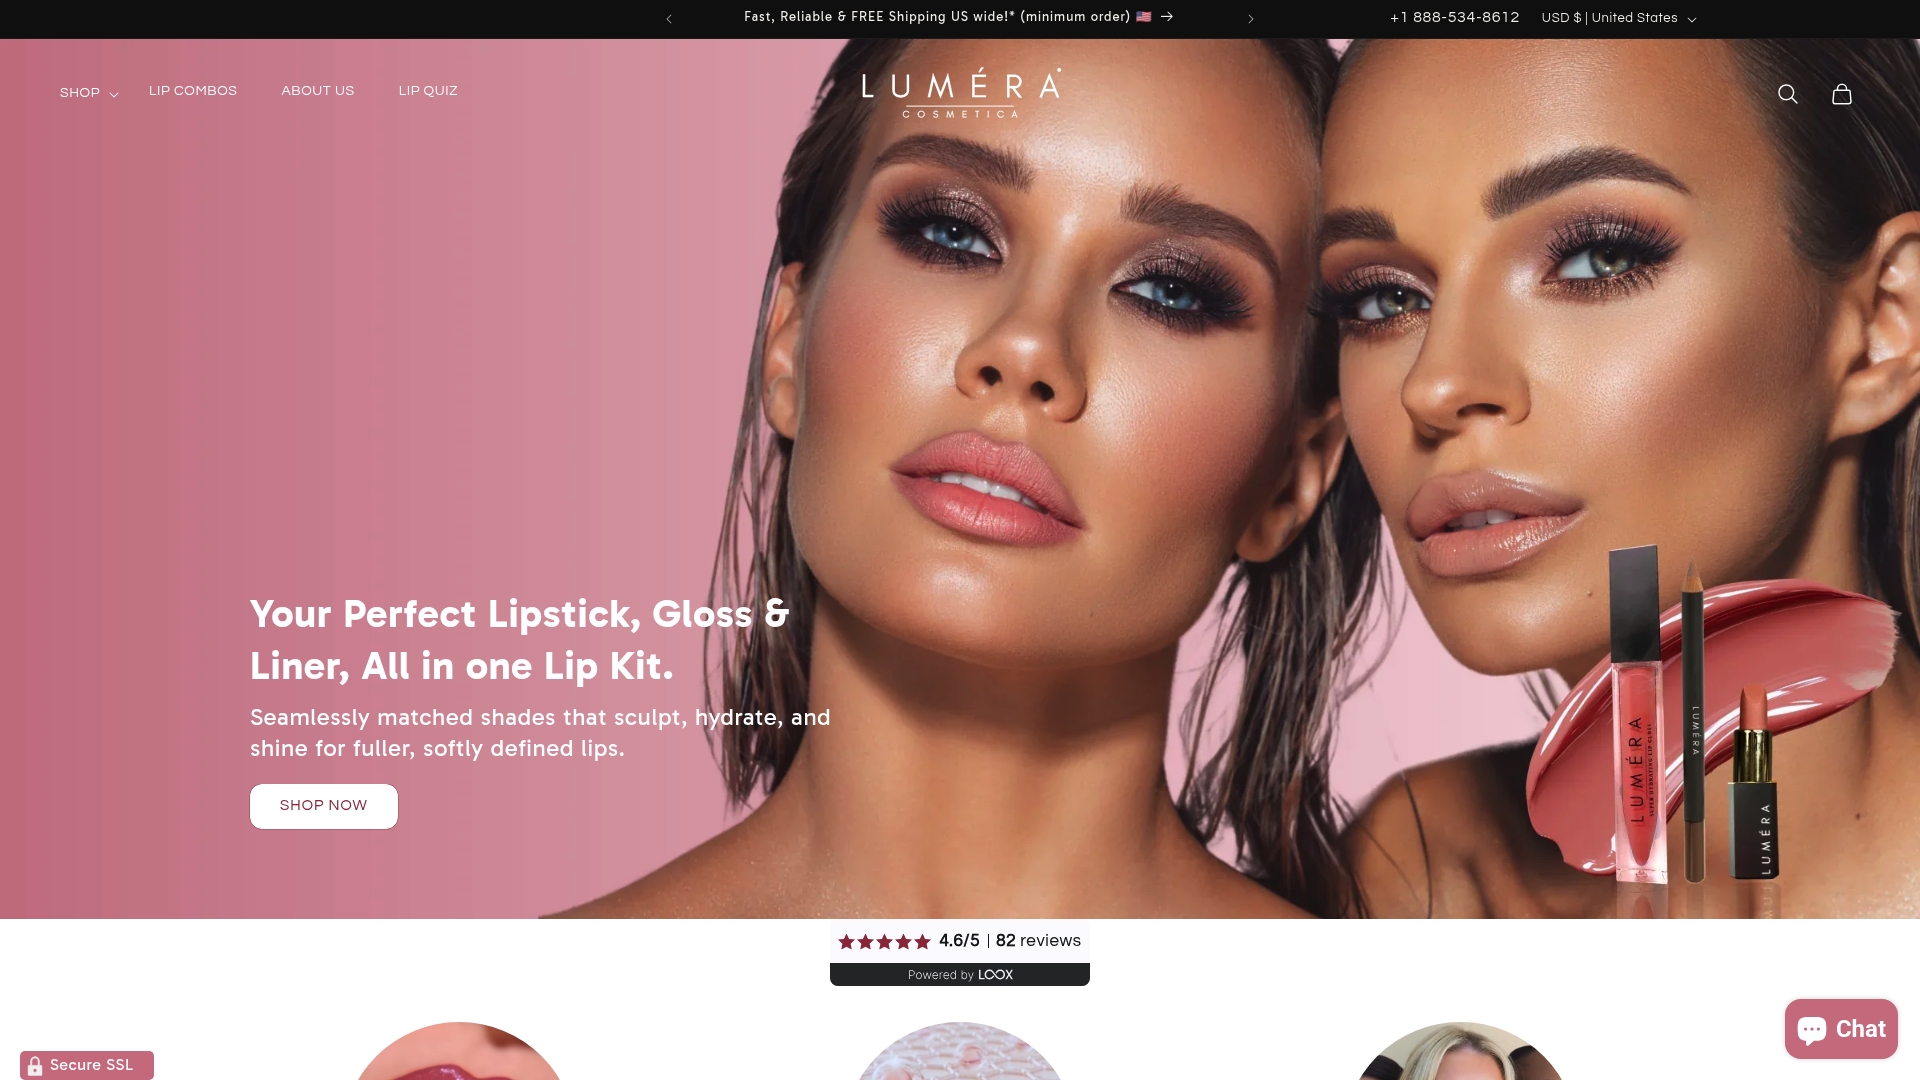
A travel-ready kit pairing a cool-toned liner with a hydrating gloss and a nourishing balm covers the entire contour routine in three pieces instead of a dozen. Each is matched to skin tone by makeup artists, which takes the shade-guessing out of the process this article just walked through, particularly for lips that need less pigment and more moisture. Browse Luméra Cosmetica’s lip kits to find a shade set built around the same cool-toned, hydration-first approach described above.
Sources
- How to Contour Your Lips in 4 Steps, According to Celeb MUAs | Who What Wear
- Dua Lipa’s Makeup Artist on the Micro-Lining Technique That Instantly Gives You Bigger Lips | Vogue
- How to Make Lips Look Fuller With Lip Liner | Cosmopolitan


