Expert Contouring with LipLiners for Defined Lips Over 40

Most American women find that even a carefully chosen lipstick falls flat without proper lip preparation. Flawless lip contouring depends on more than just steady hands, especially as lips change with time. Smooth texture and the right liner shade can make a visible difference, with studies showing that lip prep can increase lipstick wear time by up to 50 percent. Discover practical steps and simple techniques for transforming your lips into a beautiful, defined feature that looks naturally youthful.
Table of Contents
- Step 1: Prep Lips for Smooth Contouring
- Step 2: Select the Perfect LipLiner Shade
- Step 3: Outline and Define the Lip Shape
- Step 4: Blend LipLiner for a Natural Contour
- Step 5: Set and Enhance the Finished Look
Quick Summary
| Essential Insight | Description |
|---|---|
| 1. Prepare Your Lips Properly | Exfoliate and hydrate your lips before applying lip liner for a smooth finish and prevention of feathering. |
| 2. Choose the Right Lip Liner Shade | Select a lip liner that closely matches your natural lip color to enhance definition without harsh contrast. |
| 3. Outline with Precision | Use a sharpened lip liner to carefully define your lips, focusing on symmetry and natural shape enhancements. |
| 4. Blend for a Natural Look | Soften the edges of your lip liner with blending techniques to achieve a seamless and elegant finish. |
| 5. Set and Enhance Your Lips | Finish your look with lip gloss for shine and maintain definition with touch-ups and concealer as needed. |
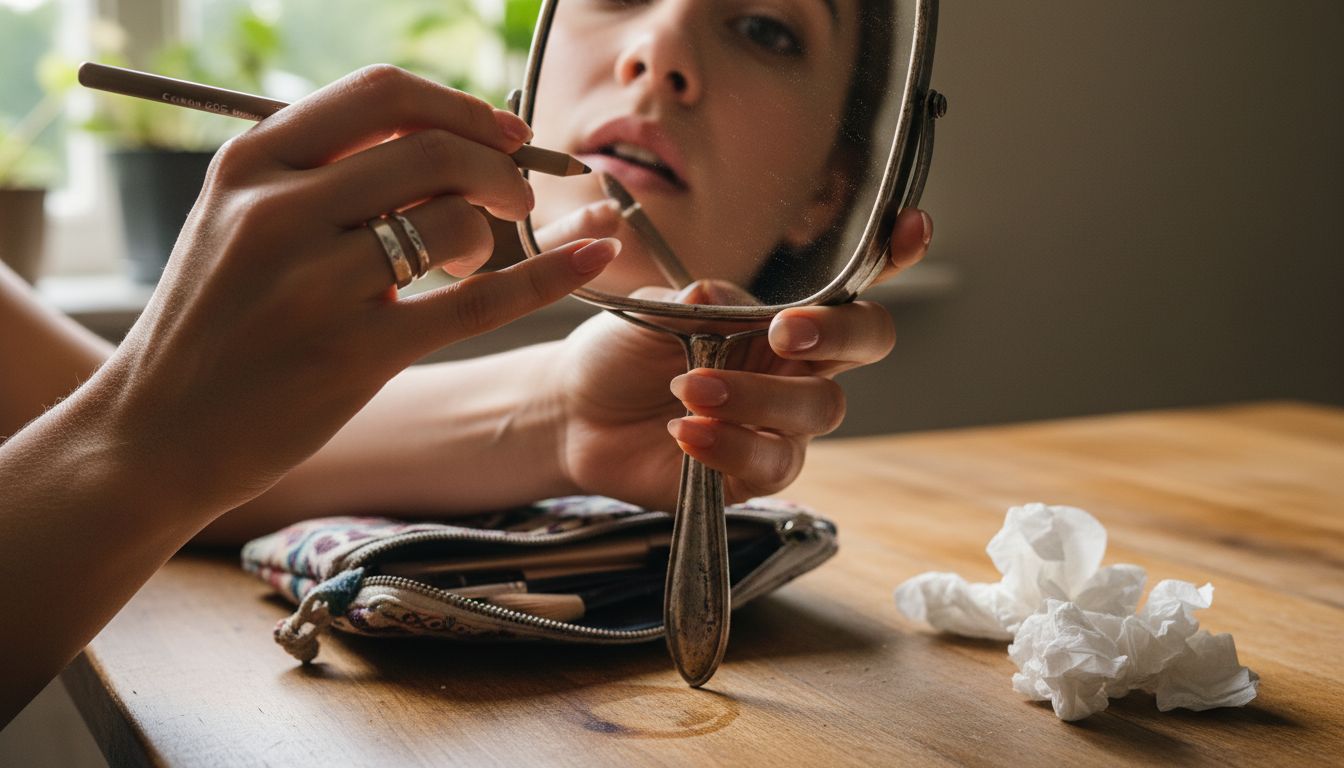
Step 1: Prep Lips for Smooth Contouring
Creating a flawless lip contour starts with preparing your canvas. Before applying any lip liner, you need a smooth and hydrated lip surface that will help your makeup glide on seamlessly and stay put all day.
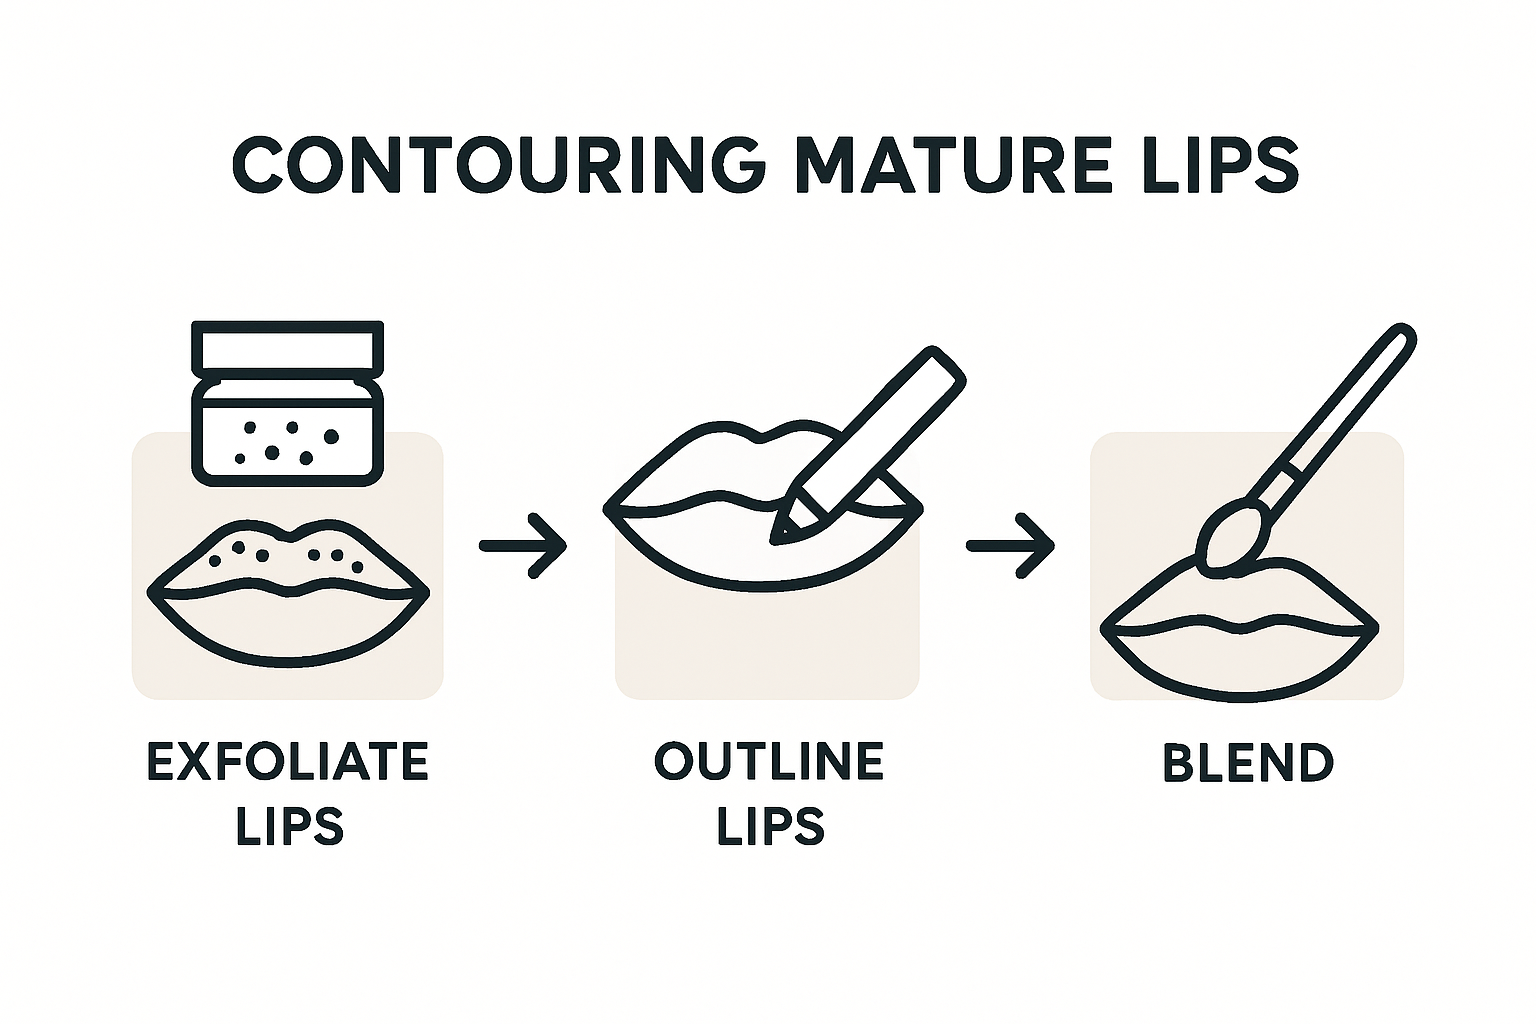
Begin by gently exfoliating your lips using a soft lip scrub or a homemade mixture of sugar and honey. This crucial step removes dead skin cells and creates a soft texture that allows lip liner to apply evenly. Massage the scrub in circular motions for about 30 seconds, then rinse with lukewarm water. Pat your lips dry with a soft towel.
After exfoliation, immediately apply a nourishing lip balm to hydrate and soften your lips. Look for balms with ingredients like shea butter or vitamin E that provide deep moisture without leaving a greasy residue. Allow the balm to absorb for a few minutes before moving on to lip liner application. This will create the perfect smooth base that helps your lip liner glide on precisely and prevents any feathering or bleeding.
Pro tip: If your lips tend to be extra dry, apply the lip balm and let it sit for 5 10 minutes before blotting away any excess. This ensures your lips are moisturized but not slick, giving you the ideal surface for crisp lip liner definition.
Step 2: Select the Perfect LipLiner Shade
Choosing the right lip liner shade is a game changer for creating defined and naturally beautiful lips for women over 40. Your goal is to find a shade that enhances your natural lip color while providing just the right amount of definition and sophistication.
Selecting the perfect lip liner shade requires a strategic approach. Start by examining your natural lip color and choosing a liner that either matches it exactly or is just slightly darker. This technique helps create seamless definition without looking harsh or obvious. Pay close attention to your skin’s undertones when selecting your lip liner the right shade will complement your natural coloring and create a polished look.
When exploring lip liner options, consider your overall makeup style and the colors you typically wear. Women over 40 benefit from neutral shades that provide soft definition without overwhelming your features. Nude rose, soft brown, and mauve tones work wonderfully for most skin tones. Pro tip: Test the lip liner along your natural lip line in natural light to ensure the color looks flattering and harmonizes with your complexion. Remember that a well chosen lip liner can help minimize the appearance of fine lines and create a more youthful looking pout.
Step 3: Outline and Define the Lip Shape
Precision is key when outlining and defining your lip shape. This crucial step transforms a basic lip liner application into a professional makeup technique that enhances your natural lip contours and creates a polished look.
To define your lips, start by using a sharpened lip liner for maximum accuracy. Begin at the center of your upper lip cupid’s bow and carefully draw towards the corners. This technique ensures symmetry and crisp definition. When outlining, follow your natural lip line closely but consider strategic techniques to enhance your lip shape. For women over 40, subtle modifications can create a more youthful appearance.
Using a taupe hued pencil can provide soft definition and create the illusion of fuller lips. For a naturally enhanced look, try slightly overlining your cupid’s bow and the center of your lower lip. The key is subtlety avoid harsh lines that can look unnatural. Choose a long wearing formula that prevents bleeding and maintains crisp edges throughout the day. Pro tip: Always blend your lip liner gently with a lip brush or your fingertip to soften any harsh lines and create a seamless transition between liner and lipstick.
Step 4: Blend LipLiner for a Natural Contour
Blending your lip liner is the secret technique that transforms a potentially harsh makeup look into a soft elegant finish. This final step creates a seamless transition between your lip liner and lipstick ensuring a professional and natural appearance.
For a modern gradient look, consider leaving the center of your lips slightly bare while darkening the edges with your lip liner. Gently blend inwards using a soft lip balm or your fingertip to create a beautiful ombré effect. This technique works especially well for women over 40 as it adds dimension without appearing too stark or heavy.
After outlining your lips, fill them in with your chosen lipstick to help create a natural contour. Blending techniques for a refined look are crucial for mature skin. Use a clean lip brush or your fingertip to softly diffuse any harsh lines. The goal is to create a subtle soft focus effect that enhances your natural lip shape without looking overdone. Pro tip: Always blend from the outer edges towards the center using light feathery motions to maintain a delicate soft finish.
Step 5: Set and Enhance the Finished Look
Now that you have meticulously applied your lip liner and lipstick, it is time to set and enhance your perfectly contoured lips. This final stage transforms your makeup from good to absolutely stunning.
After applying lipstick, amplify the shine with a strategic application of lip gloss. Apply the gloss sparingly to the center of your lips and gently spread it towards the corners. This technique creates a luminous dimension that catches the light beautifully and makes your lips appear fuller and more youthful.
To maintain perfect lip definition, keep a cotton swab and micellar water nearby for quick touch ups. Professional lip refinement techniques can help you sharpen edges using a small amount of concealer around the lip line. Pro tip: Regularly hydrate your lips and gently exfoliate to ensure a smooth canvas. Remember to completely remove your lip makeup before bedtime allowing your lips to breathe and regenerate naturally overnight.
Achieve Flawless Lip Definition with Luméra Cosmetica
Struggling with lip lines or finding the perfect lip liner for your mature skin can be frustrating. This article highlighted the importance of prepping your lips, choosing the right shade, and blending to create youthful, defined lips over 40. At Luméra Cosmetica, we understand your goal to enhance natural beauty with subtle but impactful contouring techniques that last all day.
Explore our LIP OIL – Luméra Cosmetica to nourish and hydrate your lips before makeup application for a smooth, plump base. Pair it with our curated selection of face products from Face Makeup for Every Skin Type | Natural Radiance by Luméra Cosmetica to complement your defined lips and create a radiant, youthful look. Ready to transform your lip game? Visit Luméra Cosmetica now and find the perfect products to refine your pout with confidence.
Frequently Asked Questions
How can I prepare my lips for contouring with lip liners?
Start by gently exfoliating your lips to remove dead skin using a soft lip scrub or a mixture of sugar and honey. Follow this by applying a nourishing lip balm to hydrate your lips, allowing it to absorb for a few minutes before applying your lip liner for a smooth base.
What lip liner shade should I choose for defined lips over 40?
Select a lip liner shade that matches your natural lip color or is slightly darker for subtle definition. Testing the liner in natural light will help ensure it complements your skin tone and provides a polished appearance.
How do I outline and define my lip shape correctly?
Use a sharpened lip liner to outline your lips, starting at the center of your upper lip and moving toward the corners. Aim for symmetry while following your natural lip line closely, and consider a slightly fuller look by subtly overlining the cupid’s bow and the center of your lower lip.
What blending techniques can enhance my lip contour?
After outlining, gently blend your lip liner with a clean lip brush or fingertip to soften any harsh lines. For a modern ombré effect, leave the center of your lips bare while blending outward, creating a natural contour that enhances your lip shape.
How can I set and enhance my finished lip look?
After applying lipstick, add a small amount of lip gloss to the center of your lips to amplify shine. Keep cotton swabs and micellar water handy for quick touch-ups and maintain crisp edges by softly applying concealer around your lip line as needed.
Recommended
- How to Pick Lip Liner: A Guide for Women Over 40 – Luméra Cosmetica
- How to Create Perfect Pout Naturally for Women 40+ – Luméra Cosmetica
- 7 Best Lip Liner Colors Every Woman Should Try – Luméra Cosmetica
- Understanding the Best Lip Liner Colour for Your Look – Luméra Cosmetica
- Hair Contouring Explained: Techniques and Benefits - Joel C Ma Hair Studio