

Natural Smokey Eye That Flatters Hooded and Mature Eyes, for Beginners

You can build a natural smokey eye in about ten minutes using three things: a primed lid, a mid-tone brown or taupe transition shade, and patient blending at the edges. Skip black shadow if you want daytime wearable, not dramatic. This tutorial is built for beginners who want soft definition, not a full glam smoke bomb, and every step below assumes you have never done this before.
TL;DR:
- Applying a matte, skin-tone shade as a base and a mid-tone brown in the crease is essential to achieve a soft, blended smokey eye.
- Deepening the outer corner with a darker brown and softening edges prevents harsh lines and creates a natural gradient effect.
- Layering powder over cream bases enhances color longevity and prevents creasing, especially for those with mature skin or cream-to-powder formulas.
- Avoiding heavy shimmer on the entire lid and focusing sparkle only on the inner corner or center creates a more refined, daytime-appropriate look.
- Proper blending, a clean brush between shades, and light layers of color are key to avoiding muddy, overly dark, or uneven application for beginners.
Table of Contents
- Tools, Products, and Shades You Need for a Soft Smokey Eye
- How to Do a Natural Smokey Eye Step by Step
- Adjusting the Look for Your Eye Shape and Age
- Fixing the Mistakes Almost Every Beginner Makes
- Setting the Look So It Lasts All Day
- Who Wrote This and Why It Works
- Pairing the Look: An Author’s Note on Lips and Color
- How Luméra Cosmetica Fits Into This Look
- Sources
Tools, Products, and Shades You Need for a Soft Smokey Eye
Three brushes cover almost everything: a flat “packer” brush to press color onto the lid, a smaller smudger for the lash line, and a fluffy blending brush to erase hard edges. That’s the minimal brush kit most makeup artists actually use, no matter what a 12-piece brush set tries to sell you.
Before shadow touches your lid, prep it. Eyeshadow primer or a cream concealer works as your base, and both improve longevity and prevent creasing through the day. Cream bases add slip, which makes powder blend smoother on top; concealer cancels redness and gives shadow something to grip.
For shade selection, keep it simple:
- Choose a matte, skin-tone-adjacent shade for the lid (your base)
- Pick a mid-tone brown or taupe for the crease (your transition, and the shade that does the most work)
- Save a slightly darker brown for the outer corner, not black
- Warm skin tones lean toward caramel and copper browns; cooler tones lean toward taupe and mauve-brown
Finish prep by cleansing the lid, patting on primer or concealer, and brushing your brows into place. That last step matters more than people think. Messy brows make even a well-blended eye look unfinished.
How to Do a Natural Smokey Eye Step by Step
This sequence follows the order pros actually use, adapted for a first attempt. Read it once before you pick up a brush.
-
Cancel and prime. Dab concealer or eyeshadow primer over the lid and just under the lower lash line. Blend the edges so there’s no visible line where product stops.
-
Lay down your base shade. Sweep a matte, skin-tone shadow across the whole lid, from lash line to just below the crease. This gives everything after it something even to sit on.
-
Work the transition shade into the crease. Using your fluffy brush, apply a mid-tone brown in a windshield-wiper motion, side to side, right in the crease. This is the step people rush, and it’s the one that determines whether the final look reads “soft gradient” or “smudged mistake.”
-
Deepen the outer V. Take your darker brown into the outer corner, forming a soft triangle, then blend it up and slightly out toward your brow tail. Blend upward into the transition shade until you can’t find where one color ends and the next begins.
-
Smoke the lower lash line. Take the same darker brown on your smudger brush and run it along the lower lash line, connecting visually to the outer corner. A gradient that’s darkest at the lash line and softens as it rises is what actually reads as “smokey” rather than “bruised.”
-
Layer powder over cream, if you used a cream base. Pressing a matching powder shadow on top of your cream layer adds depth and helps the color hold longer without creasing. This step is optional but worth the extra thirty seconds.
-
Clean up and highlight. Use a small concealer brush along the brow bone and outer edges to erase fallout and sharpen the shape. Finish with a shimmer-free or subtly pearled highlight in the inner corner. It brightens the whole eye instantly.
Pro Tip: Build color with your eyes open, checking your progress in a mirror every one or two layers. Shadow always looks darker with your eyes closed, and that’s exactly how beginners end up with more color than they meant to apply.
Adjusting the Look for Your Eye Shape and Age
Hooded eyes need the transition shade placed slightly higher than usual, blended upward, so color still shows when your eyes are open rather than disappearing under the brow bone. For small eyes, keep the center of the lid light, add that inner-corner highlight, and go easy on lower lash line darkness. Too much bottom smoke shrinks the eye visually instead of opening it.
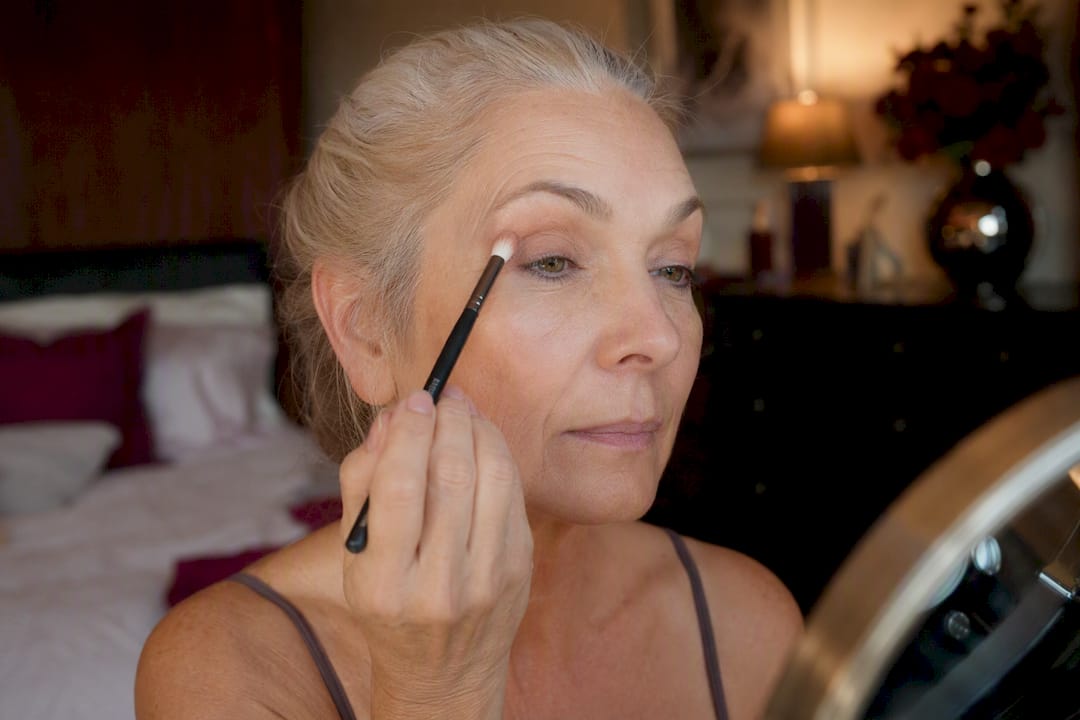
Mature eyes respond better to cream-to-powder formulas than heavy matte layering, since powder alone can settle into fine lines and emphasize texture. Keep shimmer minimal and place it only where you want light, like the inner corner or center of the lid, and lean on a hydrating cream base rather than three stacked powder layers. If your outer corners droop, angle the outer V upward toward the brow tail instead of straight out. That small shift lifts the whole eye shape.

Fixing the Mistakes Almost Every Beginner Makes
Going too dark too fast is the number one issue. Blend more than you think you need to, building color in thin layers instead of one heavy pass.
- Harsh edges: soften with a clean blending brush, or go back over the line with your base shade to feather it out
- Muddy color: switch to a clean brush between shades, since dirty brushes mix leftover pigment into your next color
- Excess fallout: do your under-eye concealer and cleanup after the eyeshadow, not before
- Too much shimmer: keep sparkle localized to the center of the lid or inner corner, never all over
Pro Tip: Tap excess powder off your brush before it touches your lid. Most fallout happens because there’s simply too much product on the brush to begin with, not because of a blending problem.
Setting the Look So It Lasts All Day
Press a matching matte powder over any cream shadow to lock it in place and stop it from creasing by midday. A light mist of setting spray afterward helps, but skip heavy setting powders around the eye. They tend to sit in fine lines rather than smoothing them.
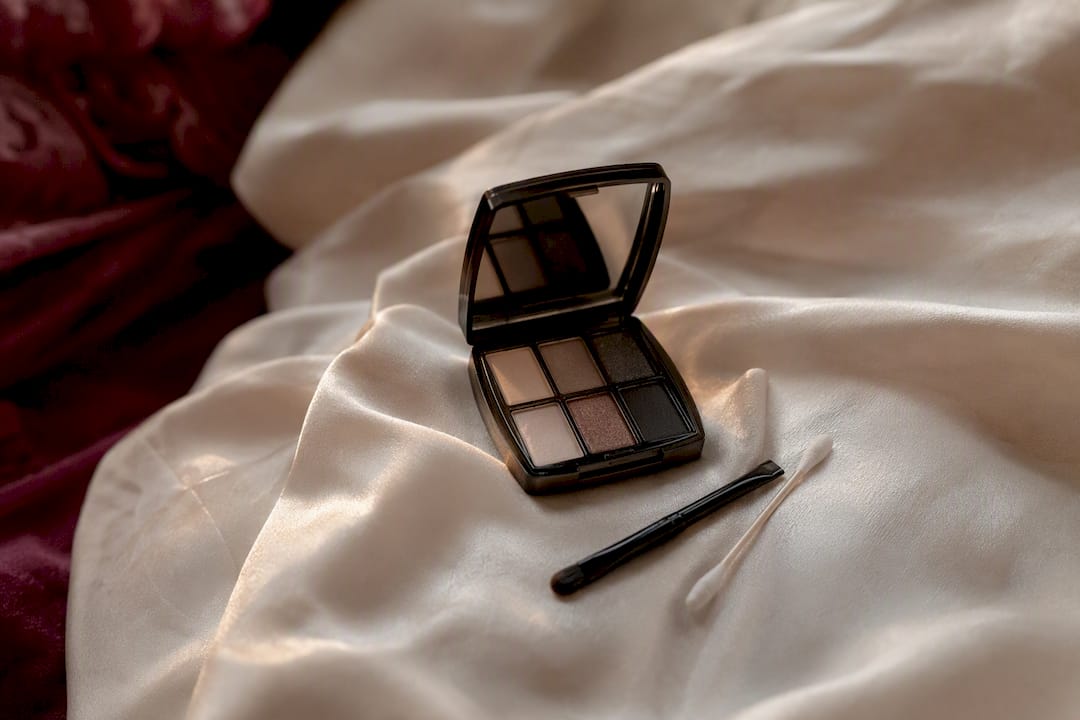
To take the same look into evening, add one more pass of the darker brown into the outer corner and lash line, without introducing black or extra shimmer. Keep a small touch-up kit handy: a smudger brush, a compact neutral shadow, and a cotton swab handle most midday fixes in under a minute. This same build-and-blend approach works whether you’re refreshing a long-wear look at hour eight or just softening a hard edge at lunch.
Who Wrote This and Why It Works
Rebecca, put this tutorial together to strip the smokey eye down to what actually moves the needle for beginners: prep, shade choice, and blending time. For related step-by-steps, see her brown-eye tutorial or the light makeup guide for days when even this feels like too much… Luméra Cosmetica builds skincare-infused color designed to look right on skin that has actually lived a little.
Pairing the Look: An Author’s Note on Lips and Color
I always finish this eye with a warm nude or rose lip, satin rather than full matte, so nothing on the face competes for attention. If your skin runs drier, a hydrating formula with a whisper of sheen reads far softer than a flat matte, especially past 40. Try the steps a few times before you decide what’s “yours.” The transition shade you love in week one is rarely the one you’ll reach for by week three, and that’s normal.
— Rebecca
How Luméra Cosmetica Fits Into This Look
A natural smokey eye works best with a lip that doesn’t fight it, and that’s exactly where a hydrating, neutral-friendly formula earns its place. The Luméra Perfect Kiss Lipstick is built for that job: a rich, smooth finish in tones that pair with warm and cool eye looks alike, without pulling focus from the blending work you just did. If you’re also rethinking your skincare-first approach to eye prep, this natural beauty piece is worth a look for ingredient-minded readers. Once you’ve settled on your go-to eye combination, check the Perfect Kiss shade range and pick the one that matches your everyday lip tone. It’s a five-minute decision that finishes a look you just spent ten minutes building.
Sources
For more depth, see British Vogue’s smoky eye guide, Byrdie’s natural smokey tutorial, and Luméra’s over-40 makeup guide.
- Beauty Crash Course: Jamie Genevieve On The Modern Smoky Eye | British Vogue
- Smokey Eye Makeup Tutorial: 7 Easy Steps for Beginners | Cosmopolitan


