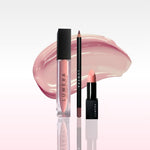
How to mix lip colors for flattering, custom looks

TL;DR:
- Finding the perfect lipstick after 40 often requires customizing shades to match changing skin tones and lip lines.
- Mixing your own lip colors using a simple kit allows for a personalized, flattering, and long-lasting result tailored to your undertone and texture needs.
Finding the perfect lipstick off the shelf after 40 can feel almost impossible. Skin tone shifts, lip lines appear, and that bold red or peachy nude that worked a decade ago suddenly looks off. The good news? Mixing your own lip color is easier than you think, and it delivers something no single tube ever can: a shade built exactly for your lips, your undertone, and your lifestyle. This guide walks you through every step, from gathering your tools to perfecting your final look, so you can stop settling for almost right and start wearing exactly right.
Table of Contents
- What you need to successfully blend lip colors
- Step-by-step: How to mix lip colors like a pro
- Avoiding common mistakes and muddy results
- Verifying and perfecting your custom shade
- The truth about lip color mixing over 40: What really works
- Ready to create jaw-dropping lip looks? Start here
- Frequently asked questions
Key Takeaways
| Point | Details |
|---|---|
| Match undertones and textures | Combining similar shades creates vibrant, flattering results without muddiness. |
| Build color gradually | Start with a lighter base and add depth slowly for full control. |
| Test in natural light | Always check your custom shade outside or by a window for truest result. |
| Avoid overmixing | Too much blending can dull your color—stop when the shade looks just right. |
| Use the right tools | Palettes, clean brushes, and balms help your blend go smoothly and last longer. |
What you need to successfully blend lip colors
Before you create your custom shade, you’ll need a few essentials and a quick review of color basics. Getting set up correctly saves you time and prevents the most common blending mistakes before they happen.
Your essential blending kit
You don’t need a professional makeup counter to get started. A few key items are all it takes:
- Two or more lipsticks in complementary shades and similar finishes
- A small, flat lip brush or a clean fingertip for application
- A white ceramic plate, clear palette, or clean compact mirror for mixing
- Lip balm to prep and prime your lips beforehand
- Makeup wipes and cotton swabs for quick cleanups and adjustments
- Good lighting, ideally near a window
The most overlooked item on that list? The palette. Mixing directly from the tube risks contaminating your lipstick and making future shades unpredictable. A clean, smooth surface gives you control.
Undertones and finishes: the foundation of everything
Understanding your undertone is the single most important skill in lip color mixing. Warm undertones have golden, peachy, or yellow hues in the skin. Cool undertones lean toward pink, red, or bluish tones. Neutral undertones sit in between and offer the most flexibility.
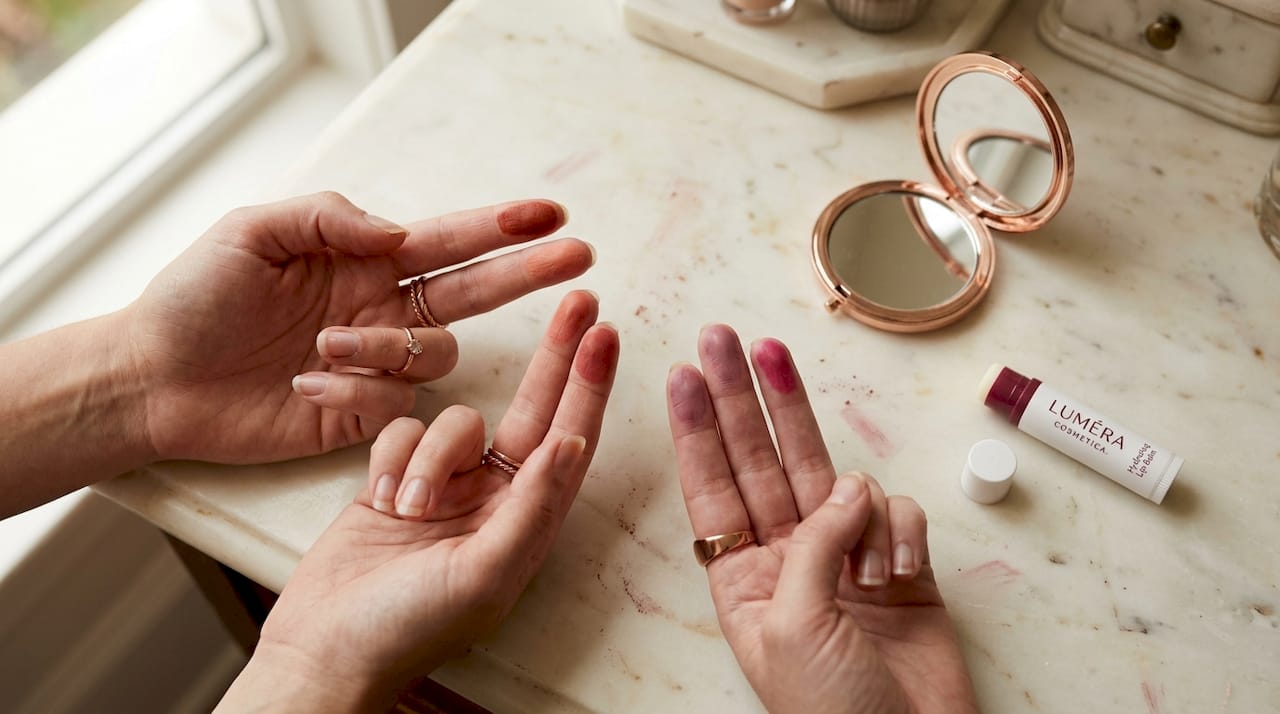
When it comes to choosing lip shade naturally, your undertone is your compass. It tells you whether a warm terracotta will enhance your natural glow or make you look washed out. And as a general rule, matching undertones and textures is essential to avoiding muddy colors or separation in your blend.
Finish matters just as much. Cream lipsticks blend beautifully with other creams. Mattes work best when combined with other mattes. Mixing a cream base with a matte shade in the same blend tends to create uneven texture and patchy results. For mature lips specifically, cream finishes are generally more forgiving and flattering, since they add moisture and reflect light rather than settling into fine lines.
| Finish type | Blending behavior | Best for mature lips |
|---|---|---|
| Cream | Blends smoothly, stays pliable | Yes, highly recommended |
| Satin | Blends well, subtle sheen | Yes, very flattering |
| Matte | Can dry out quickly, less flexible | Use as a thin layer only |
| Gloss | Best layered on top, not mixed in | Yes, as a topper |
Don’t forget that matching your lip liner and lipstick is part of the full custom look. A mismatched liner can undercut even the most perfectly blended shade.
Pro Tip: Before mixing anything, apply a thin layer of lip balm and let it absorb for 60 seconds. This creates a smoother surface for color to sit on, and it makes your blend appear more even and vibrant from the first application.
Step-by-step: How to mix lip colors like a pro
With your blending kit ready, you’re set to create your custom color step by step. The process is more forgiving than most people expect, and each step builds on the last.
The mixing process
- Prep your lips. Apply a thin layer of balm and blot gently. Dry or flaky lips distort how colors appear, so this step directly affects your final result.
- Scrape a small amount of your base shade onto your palette. Start with your lighter color. This is your foundation, and you’ll build depth from here. Starting with a light base and adding depth gives you far more control than starting with a dark shade.
- Add a tiny amount of your second shade. Use the tip of your brush or a cotton swab to add a pea-sized amount of the second color beside your base, then slowly blend them together.
- Mix in circular motions on the palette until the two shades are fully combined. You should see a new, unified color with no streaks.
- Test the swatch on the back of your hand first. Wait a few seconds for it to settle. The color will look slightly different on your hand than on your lips, but this step catches obvious mismatches before they reach your face.
- Apply to your lips using a lip brush. Start from the center and work outward for the most natural, dimensional result.
- Evaluate and adjust. Too dark? Add more of your base. Too light? Add a tiny amount of the deeper shade and remix.
Useful blending combinations
| Base shade | Accent shade | Result |
|---|---|---|
| Nude pink (warm) | Terracotta | Earthy, warm rose |
| Mauve (cool) | Dusty plum | Deep, sophisticated berry |
| Soft coral | Peach | Bright, summery apricot |
| Rose (neutral) | Deep burgundy | Classic, dramatic red-rose |
For more inspiration on layered and combined lip looks, exploring pre-curated pairings can speed up your learning curve significantly. And if you want a polished, clean finish on a matte mix, the step-by-step matte lip guide covers application technique in real detail.
Pro Tip: Mix a slightly larger batch than you think you’ll need. Running out mid-application and trying to recreate the same mix on the spot rarely produces identical results. A little extra gives you room to work.
Avoiding common mistakes and muddy results
Even with the best technique, mistakes can happen. Here’s how to avoid and recover from the most common ones.
The top blending pitfalls
- Mixing warm and cool undertones together. This is the number one reason blended lip colors look “off.” A warm terracotta mixed with a cool-toned mauve will produce a grayish, flat result that flatters almost no one. Undertone and texture matching is not optional if you want clarity and vibrancy in your result.
- Combining matte and cream in the same blend. The textures don’t bind properly when mixed together on a palette. Instead, apply a cream shade first, let it set for 30 seconds, then tap a matte shade on top as a second layer. You’ll get the depth of matte with the comfort of cream.
- Over-blending. Working the colors together too aggressively breaks down the pigment and reduces vibrancy. Mix until just combined, not beyond.
- Skipping the swatch step. Always test your blend on skin before it goes on your lips. Natural light is your friend here.
- Using too much of the darker shade. It’s much easier to deepen a blend than to lighten it. Add dark shades in the tiniest increments.
“Mixing different undertones or textures is the fastest way to a dull or muddy result. When you stay within the same family, the finished color stays vibrant and true.” This principle applies whether you’re a beginner blender or an experienced makeup enthusiast.
How to fix a muddy mix
If your blend already looks murky, don’t panic. Add a small amount of a bright neutral (a clean warm pink or a classic nude) to the mix and work it in gently. The neutral tone acts as a reset, lifting the flat quality and restoring some vibrancy. If the mix has gone too dark, that same neutral base shade can soften it considerably.
Understanding lipstick mistakes that age mature lips can also help you spot problems before they happen. Many of the pitfalls in mixing overlap with the broader mistakes that tend to make lips look thinner or older. And if you need help narrowing down which shades to stock for blending, these 7 shade-choosing tips give you a strong shortlist to work from.
Pro Tip: Keep a small tube of a warm nude or clean rose on hand specifically as a rescue shade. When any mix starts going wrong, this neutral anchor can pull it back from the edge.
Verifying and perfecting your custom shade
Once you have your lip mix, these final checks ensure your look is seamless and personalized. Testing your blend in the right conditions makes the difference between a color that looks great at home and one that looks great everywhere.
The verification checklist
- Check in natural light. Indoor lighting, especially yellow-toned overhead lights, can make a color look warmer or darker than it really is. Step near a window and check your blend against your skin tone in natural light for the most accurate read.
- Evaluate with your full makeup look. A lip color that looks amazing on its own can compete with bold eye makeup or clash with a specific blush tone. Put the whole look together before you commit.
- Compare to your natural lip tone. A custom blend should enhance your natural lip color, not fight it. If it looks stark or disconnected, adjust the base.
- Set with translucent powder. This one step adds measurable staying power. Lightly press translucent powder over your lips with a small brush after applying your blend, then reapply a thin coat of the color on top.
- Photograph your favorite mixes. Before you clean up your palette, snap a photo of the blend and note the two (or three) shades you used and the approximate ratio. This becomes your personal recipe card for future use.
Before and after: what a good custom blend achieves
| Without blending | With custom blending |
|---|---|
| Shade may feel too bold or too flat | Color feels natural and personal |
| Off-the-shelf shade may clash with undertone | Undertone-matched shade enhances complexion |
| Single finish can look dated or aging | Combined formula flatters lip texture |
| No record for replication | Recipe notes let you recreate perfectly |
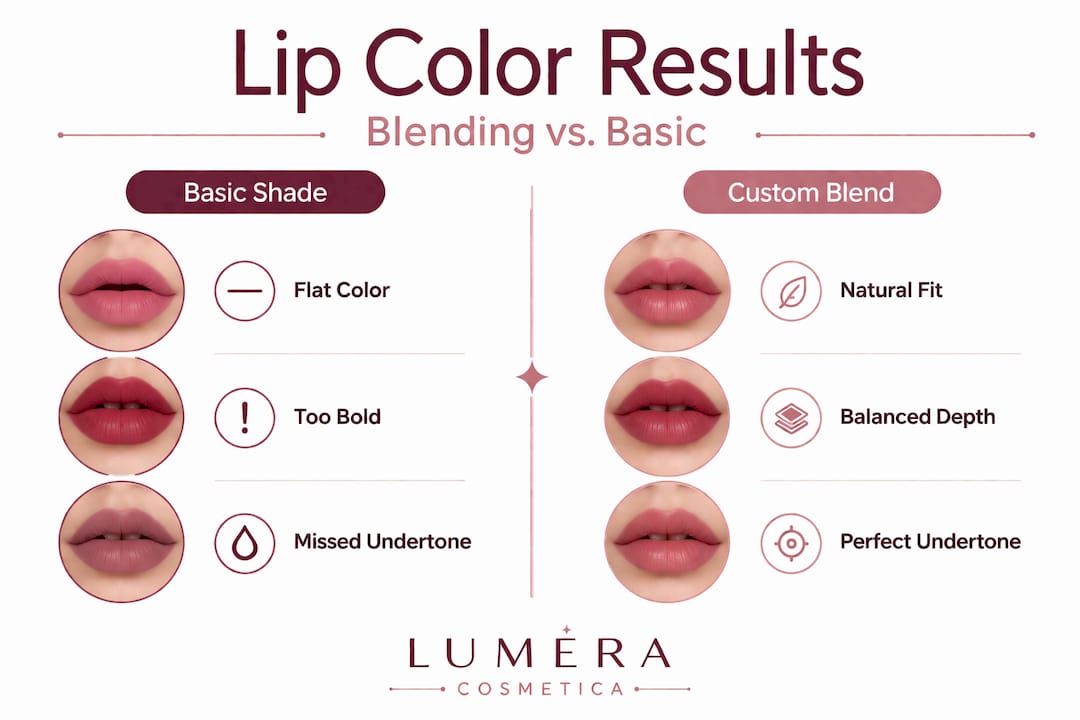
Understanding how to pick a lip color for your skin tone provides a valuable foundation here. And if you want to deepen your palette even further, exploring what makes certain lipstick shades genuinely flattering will sharpen your eye quickly.
Pro Tip: After snapping your recipe photo, write the shade names on a sticky note and keep it in your makeup bag. When you want to recreate the look in six months, you won’t need to guess.
The truth about lip color mixing over 40: What really works
Here’s the honest advice that most beauty content skips over entirely. The beauty industry is set up to sell you finished products, which means the entire category of custom mixing gets minimized or ignored. But for women over 40, that off-the-shelf approach is often the least effective one.
Your skin’s undertone can shift subtly with hormonal changes, sun exposure, and natural aging. A shade that was perfect at 35 may need adjusting by 45, not because your taste changed, but because your skin did. That’s not a flaw; it’s just biology. And mixing is the most practical, low-cost response to it.
The other myth worth challenging: “mature” means subtle, safe, or muted. That is simply not true. A deeply pigmented custom berry or a warm, vivid coral can look extraordinary on mature lips, precisely because it was built around your specific undertone and texture needs rather than a generic demographic. Vibrancy and age-appropriateness are not opposites.
What really matters is the ratio and the finish. A vibrant shade in the right undertone and a well-prepped lip will always look more elegant than a “safe” nude that drains your complexion. So experiment with confidence. Finding a genuinely flattering lipstick color takes practice, and mixing gives you more chances to get it right.
The women who get the best results from lip mixing are the ones who treat it like a skill, not a one-time trick. They keep notes. They build a small but intentional collection of shades across warm and cool families. They know their undertone, and they use it as a filter for every purchase. That is the real secret.
Ready to create jaw-dropping lip looks? Start here
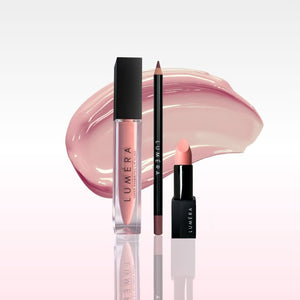
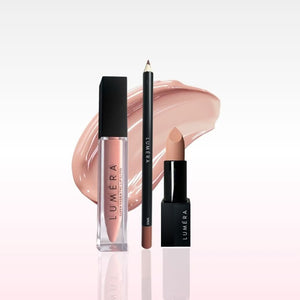
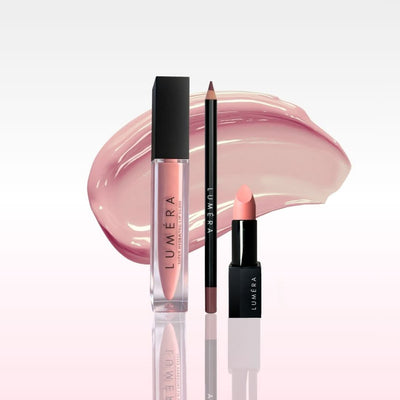
Experimenting with custom lip color is so much easier when you start with formulas designed for blending, layering, and long wear. At Luméra Cosmetica, our lip range is built with exactly this in mind.
Whether you’re creating a soft ombré effect, layering a matte accent over a cream base, or building your first custom shade from scratch, our lip products at Luméra Cosmetica are formulated to blend cleanly, last beautifully, and flatter mature lips at every stage. Browse our full collection for curated shades, expert tips, and everything you need to make your custom color practice both effortless and genuinely exciting. Your perfect shade isn’t on a shelf. It’s waiting to be mixed.
Frequently asked questions
Why do my mixed lip colors sometimes look dull or muddy?
Mixing different undertones or textures is the most common cause; always match warm with warm and cream with cream to keep your blended color clear and vibrant.
Can I combine matte and cream lipsticks together?
It’s best to layer matte over cream rather than blend them directly on a palette, since direct mixing tends to cause texture separation and uneven wear.
How can I make a mixed lip color last longer?
After applying your custom blend, press a light layer of translucent powder over your lips with a small brush, then add a second thin coat of the color on top to lock it in.
Will custom blends work for mature lips with visible lines?
Yes, especially when you prep with a hydrating balm first and stick to cream or satin formulas, which sit on top of fine lines rather than settling into them.
How do I pick the first two shades to blend?
Start with a lighter neutral base and add depth gradually by introducing a deeper shade that shares your undertone family for a result that looks intentional and polished.
Recommended
- How to Choose Lip Color for a Flattering Look Over 40 – Luméra Cosmetica
- How to Choose Lipstick Colour for Flattering Results – Luméra Cosmetica
- Choosing Flattering Lipstick Shades for Your Look – Luméra Cosmetica
- Achieve Flawless Even Lip Color Application for Mature Women – Luméra Cosmetica
- What is skin tone blending? Men’s guide to flawless look – NORML