

More than 60 percent of american beauty enthusiasts admit they struggle to achieve a smooth, lasting lip look. Lip color that fades or bleeds can leave anyone frustrated, especially when you want to feel confident all day. With a few proven steps and the right techniques, you can turn any lip routine into a flawless process from prep to finish, making every detail count for natural, comfortable results.
Table of Contents
- Step 1: Prep Lips For Smooth Application
- Step 2: Select The Right Lip Liner Shade
- Step 3: Outline Lips With Precision
- Step 4: Fill In And Blend For A Natural Look
- Step 5: Set And Check For Long-Lasting Results
Quick Summary
| Key Point | Explanation |
|---|---|
| 1. Prep lips for smooth application | Gently exfoliate and moisturize your lips for a clean base, ensuring a smooth application of lip liner. |
| 2. Choose the right lip liner shade | Select a lip liner that matches or is slightly darker than your lipstick to enhance your overall look. |
| 3. Outline with precision | Use a sharpened lip liner and small strokes to create smooth lines that enhance your natural lip shape. |
| 4. Fill and blend for a natural look | Fill in lips with soft strokes and blend edges to create a seamless, natural appearance. |
| 5. Set for long-lasting results | Apply translucent powder to set the lip liner, preventing smudging and ensuring a polished look throughout the day. |
Step 1: Prep Lips for Smooth Application
Creating a flawless lip liner look begins with proper lip preparation. Before applying any color, your lips need a clean smooth canvas that helps makeup glide on perfectly and stay in place. Lipstick application steps reveal the secret starts with hydration and gentle exfoliation.
Start by gently buffing away dry skin using a soft lip scrub or a clean soft toothbrush. Use light circular motions to remove dead skin cells without irritating your delicate lip area. After exfoliating, apply a lightweight moisturizing lip balm and let it absorb for 2-3 minutes. This creates the ideal smooth base that allows lip liner to glide effortlessly and prevent feathering.
Pro tip: Blot excess balm with a tissue before applying lip liner. Too much moisture can cause your lip color to slide around or look uneven. Your lips should feel soft and prepped but not greasy. When done correctly, this preparation ensures your lip liner application looks crisp professional and stays put throughout the day.
Step 2: Select the Right Lip Liner Shade
Choosing the perfect lip liner shade is crucial for achieving a polished and professional makeup look. Lip liner color selection can dramatically enhance your overall appearance by creating dimension and defining your lips with precision. The key is finding a shade that complements your natural lip color and the lipstick or gloss you plan to wear.
Start by examining your natural lip tone and selecting a lip liner that is either exactly matching or slightly darker than your chosen lipstick. For mature skin, neutral nude shades work beautifully to create soft definition without looking harsh. If you prefer a bolder look, choose a liner that is one shade deeper than your lipstick to create depth and prevent color bleeding. Pro tip: When in doubt, opt for neutral pink or soft brown tones that work universally across different skin undertones.
Remember that lighting matters when selecting your shade. What looks perfect in your bathroom mirror might appear different in natural daylight. Always test your lip liner in multiple lighting conditions to ensure it creates the flattering definition you desire. With the right shade, your lip liner becomes an invisible magic wand that transforms your entire makeup look.
Step 3: Outline Lips with Precision
Mastering lip liner application requires technique and patience. Precision lip lining techniques can transform your makeup look from amateur to professional. The key is creating smooth clean lines that enhance your natural lip shape without looking overly drawn or artificial.
Begin by tightening your lips slightly inward toward your teeth, which helps create a more stable surface for precise application. Use a sharpened lip liner and start by marking key points on your cupid’s bow and the corners of your mouth. Draw short controlled strokes rather than one continuous line. This approach allows for greater accuracy and helps prevent wobbly or uneven edges.
Pro tip: Always use natural light when applying lip liner. Bathroom lighting can be deceiving and lead to overly harsh or uneven lines. Invest in a quality lip liner with a fine point and practice gentle pressure. Your goal is to create a soft defined border that looks like a natural extension of your lip line not a harsh artificial boundary.
Step 4: Fill In and Blend for a Natural Look
Creating a seamless lip liner look requires more than just precise outlining. Lipstick application steps emphasize the importance of strategic filling and blending to achieve a professional finish that looks effortlessly natural.
Start by gently filling in your entire lip area with the lip liner using soft feathered strokes. This creates a perfect base that helps your lipstick adhere better and last longer. Use a lip brush or your fingertip to softly blur the edges, creating a gradient effect that eliminates harsh lines. The key is to make the color look like it melts into your natural lip tone rather than sitting on top of your skin.
Pro tip: For mature skin, choose lip liners with a creamy texture that glides smoothly without tugging. Avoid pressing too hard when filling in your lips as this can create an unnatural thick appearance. Your goal is a soft diffused look that enhances your natural lip shape and provides a subtle definition that looks elegant and age appropriate.
Step 5: Set and Check for Long-Lasting Results
The final stage of lip liner application is ensuring your carefully crafted look stays flawless throughout the day. Waterproof lip liner techniques provide essential insights into creating a lasting makeup finish that resists smudging and fading.
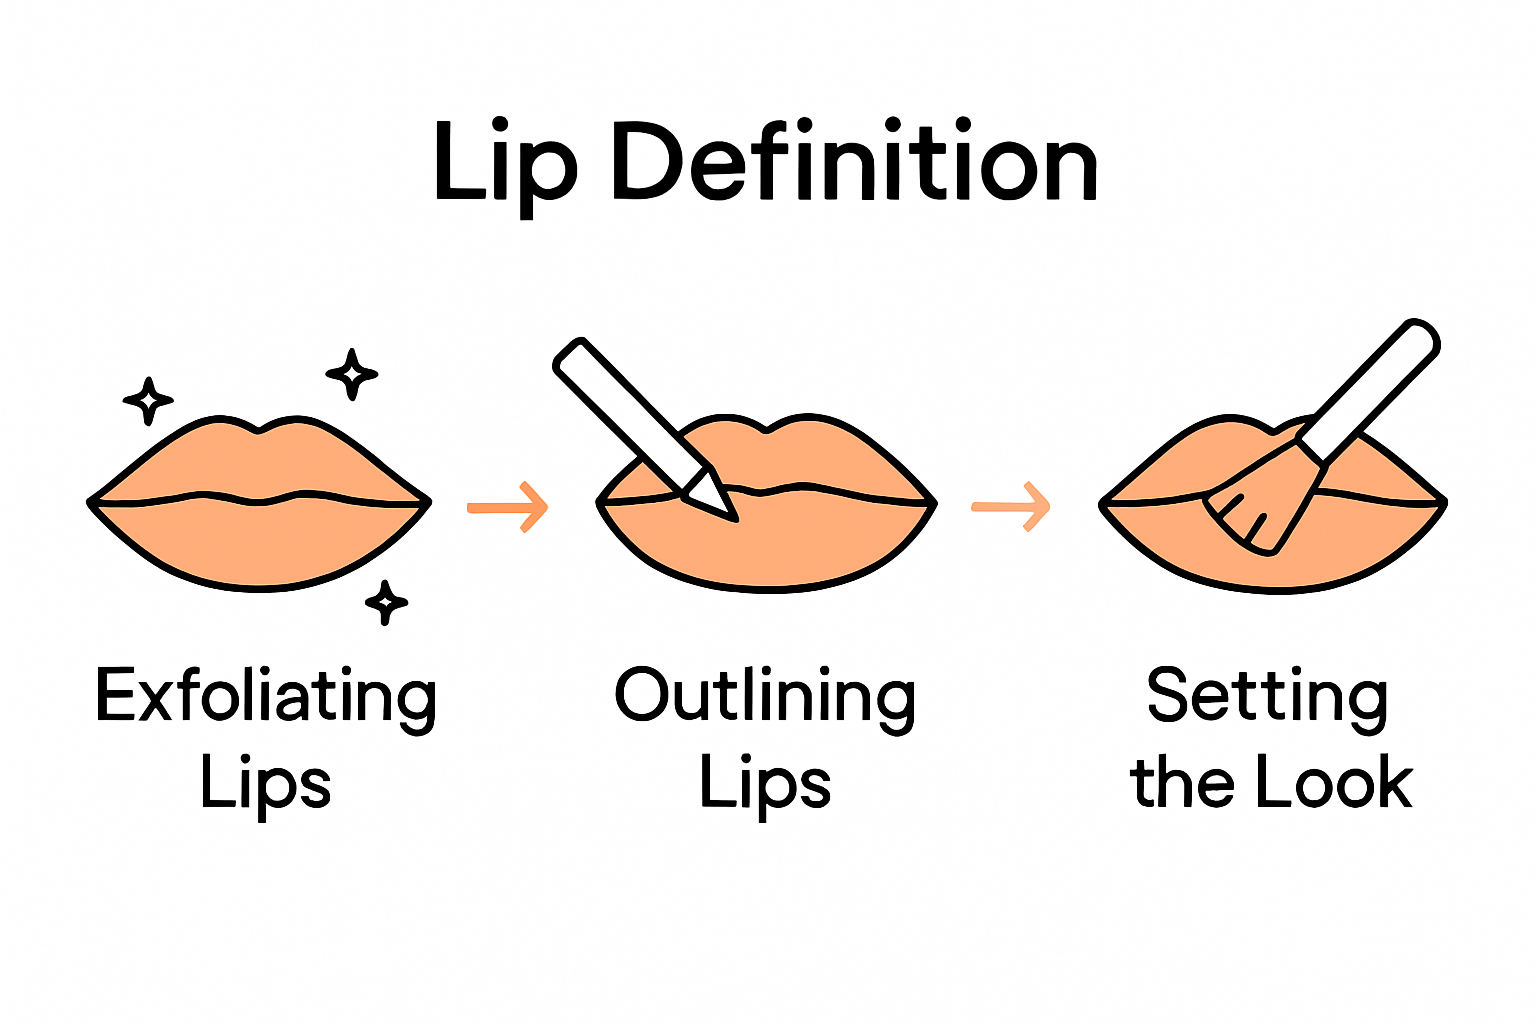
Apply a light dusting of translucent powder over your lip liner using a small fluffy brush. This sets the color and creates a barrier that helps prevent feathering or bleeding. Check your application in natural light from different angles. Look for any uneven areas or places where the liner might need subtle blending. Use a clean cotton swab to softly correct any minor imperfections without disrupting the entire application.
Pro tip: For mature skin, consider carrying a small mirror and your lip liner for quick touch ups. Humidity, talking, eating and drinking can subtly shift your lip color. A two minute midday check can help you maintain that crisp professional look you worked so hard to achieve. Your goal is a polished appearance that looks effortless and stays put from morning coffee to evening cocktails.
Elevate Your Lip Liner Game with Luméra Cosmetica
Struggling to achieve that perfect lip liner definition without feathering or fading is a common challenge. This article highlights the importance of preparation, precise outlining, and long-lasting techniques that every makeup lover craves. If you want your lips to stay flawless from morning to night, hydration and the right products are essential. Our collection of nourishing LIP OIL is designed to soften and prep your lips for smooth application and vibrant definition.


Discover solutions that enhance your natural beauty with our carefully crafted products. Visit Luméra Cosmetica now and explore our Face Makeup for Every Skin Type collection to complement your lip liner techniques. Don’t wait to create that polished look you deserve. Start your flawless lip journey today and make every detail count.
Frequently Asked Questions
How do I prepare my lips for flawless lip liner application?
To prep your lips for flawless lip liner application, start by gently exfoliating to remove any dry skin. Use a soft lip scrub or a toothbrush in light circular motions, then apply a lightweight moisturizing lip balm and let it absorb for 2-3 minutes for a smooth base.
What lip liner shade should I choose for a polished look?
Choose a lip liner shade that matches your natural lip tone or is slightly darker than your lipstick. For a universally flattering option, consider neutral pink or soft brown tones that complement various skin undertones.
What techniques can I use for precise lip liner application?
For precise lip liner application, lightly tighten your lips inward and use short strokes to outline your lips rather than drawing a continuous line. This method allows for better control, which helps you create smooth, clean lines without looking overly harsh.
How can I blend lip liner for a more natural finish?
To achieve a natural finish with your lip liner, fill in your entire lips with soft feathered strokes and use a lip brush or fingertip to blur the edges gently. This helps create a gradient effect that seamlessly integrates the liner with your natural lip color.
What steps can I take to ensure my lip liner lasts all day?
To ensure your lip liner lasts all day, lightly dust translucent powder over your lip liner after application to set the color. Check your look in natural light from different angles to catch any uneven areas that might need blending, and carry a lip liner for quick touch-ups throughout the day.
Should I use light or heavy pressure when applying lip liner?
Use gentle pressure when applying lip liner to avoid harsh lines and an unnatural look. Aim for a soft defined border that looks like a natural extension of your lip line, not a stark outline.
Recommended
- 7 Best Lip Liner Colors Every Woman Should Try – Luméra Cosmetica
- What Is Waterproof Lip Liner? Complete Overview – Luméra Cosmetica
- Understanding the Best Lip Liner Colour for Your Look – Luméra Cosmetica
- How to Pick Lip Liner: A Guide for Women Over 40 – Luméra Cosmetica
- 7 παραδείγματα makeup trends 2025 για απόλυτο K-Beauty look | B Woman